- 22 Oct 2024
- 4 Minutes to read
- Contributors

- Print
- DarkLight
- PDF
Weather bot on Line
- Updated on 22 Oct 2024
- 4 Minutes to read
- Contributors

- Print
- DarkLight
- PDF
Introduction
The weather bot is a simple and efficient tool for getting real-time air temperature updates. By providing either your city name or coordinates, the bot instantly retrieves the current temperature and sends it directly to you. It's designed to be user-friendly and quick, saving you time when you need weather information on the go. Whether you're planning your day or checking for travel, the weather bot has you covered with accurate, location-based data.
To learn more about the weather bot ion Line, get familiar with the following topics:
Create Line official account
To create the Line official account:
Go to https://developers.line.biz/en and create an account by clicking Log in to Console.

On the Providers tab, click Create.

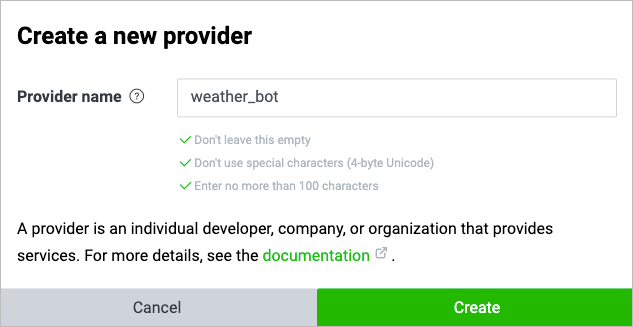
In the Create a new provider dialog, enter a provider name and click Create.
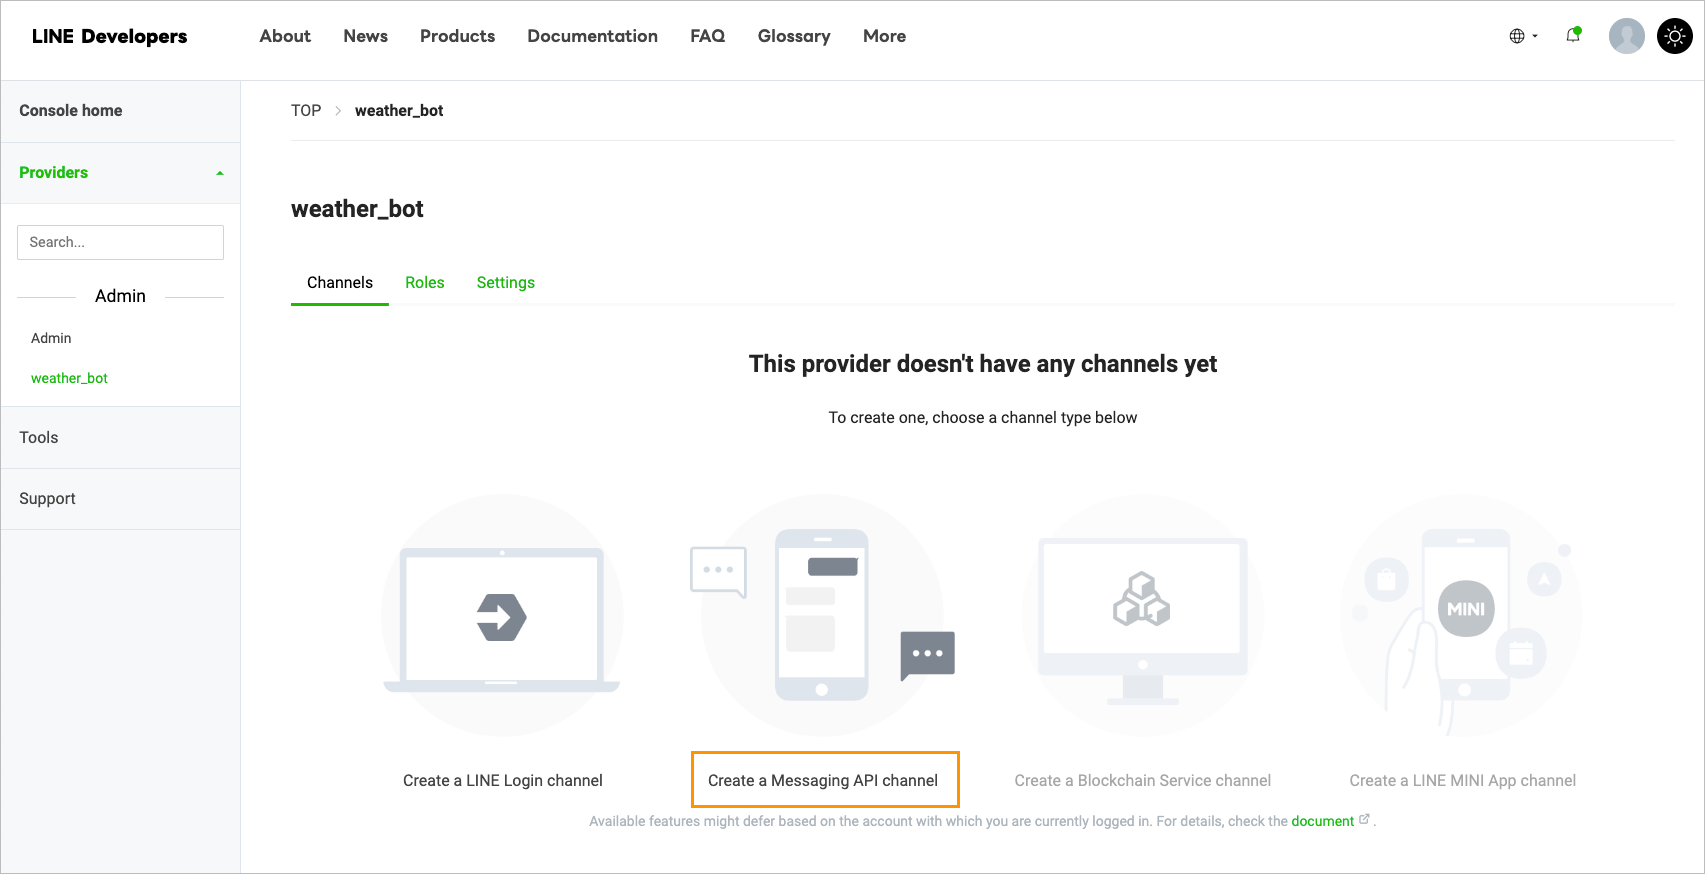
On the Channels tab of the created provider, click Create a Messaging API channel.
On the Create a Messaging API tab, click Create a Line Official Account.

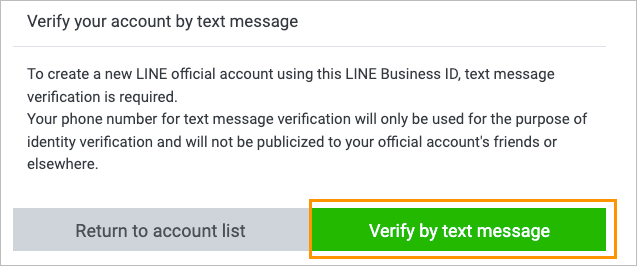
In the Verify by text message dialog click Verify by text message and pass the verification by using your phone number.
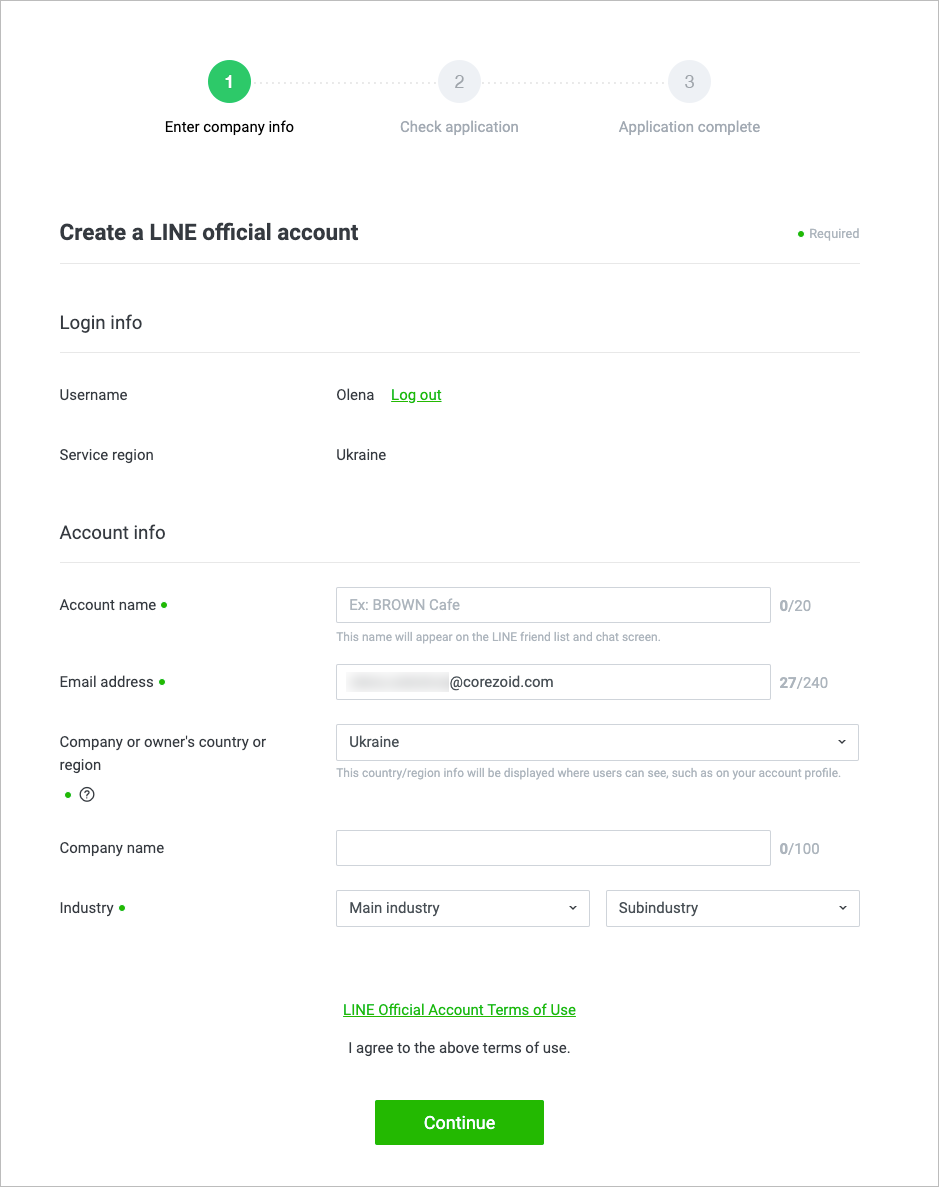
On the Create a Line official account page:
- Enter an account name in the Account name field.
- Enter an email in the Email address field.
- Select a country in the Country dropdown list.
- (Optional) Enter a company name in the Company name field.
- Select a main industry in the Main industry dropdown list.
- Select a subindustry in the Subindustry dropdown list.
- Click Continue.
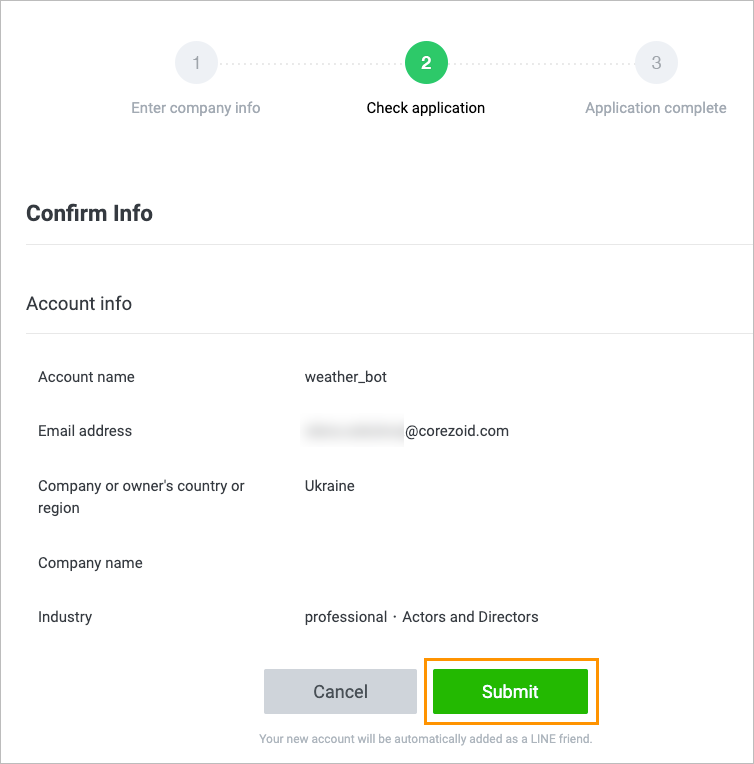
On the Confirm info page, check whether the provided information is correct and click Submit.
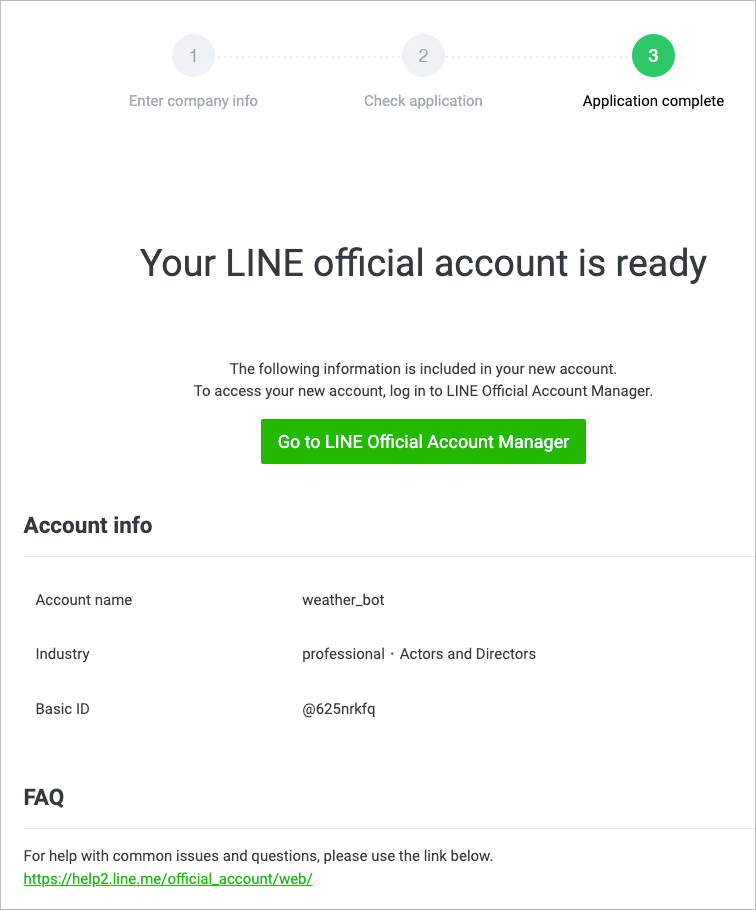
On the Account info page, click Go to Line Official Account Manager.
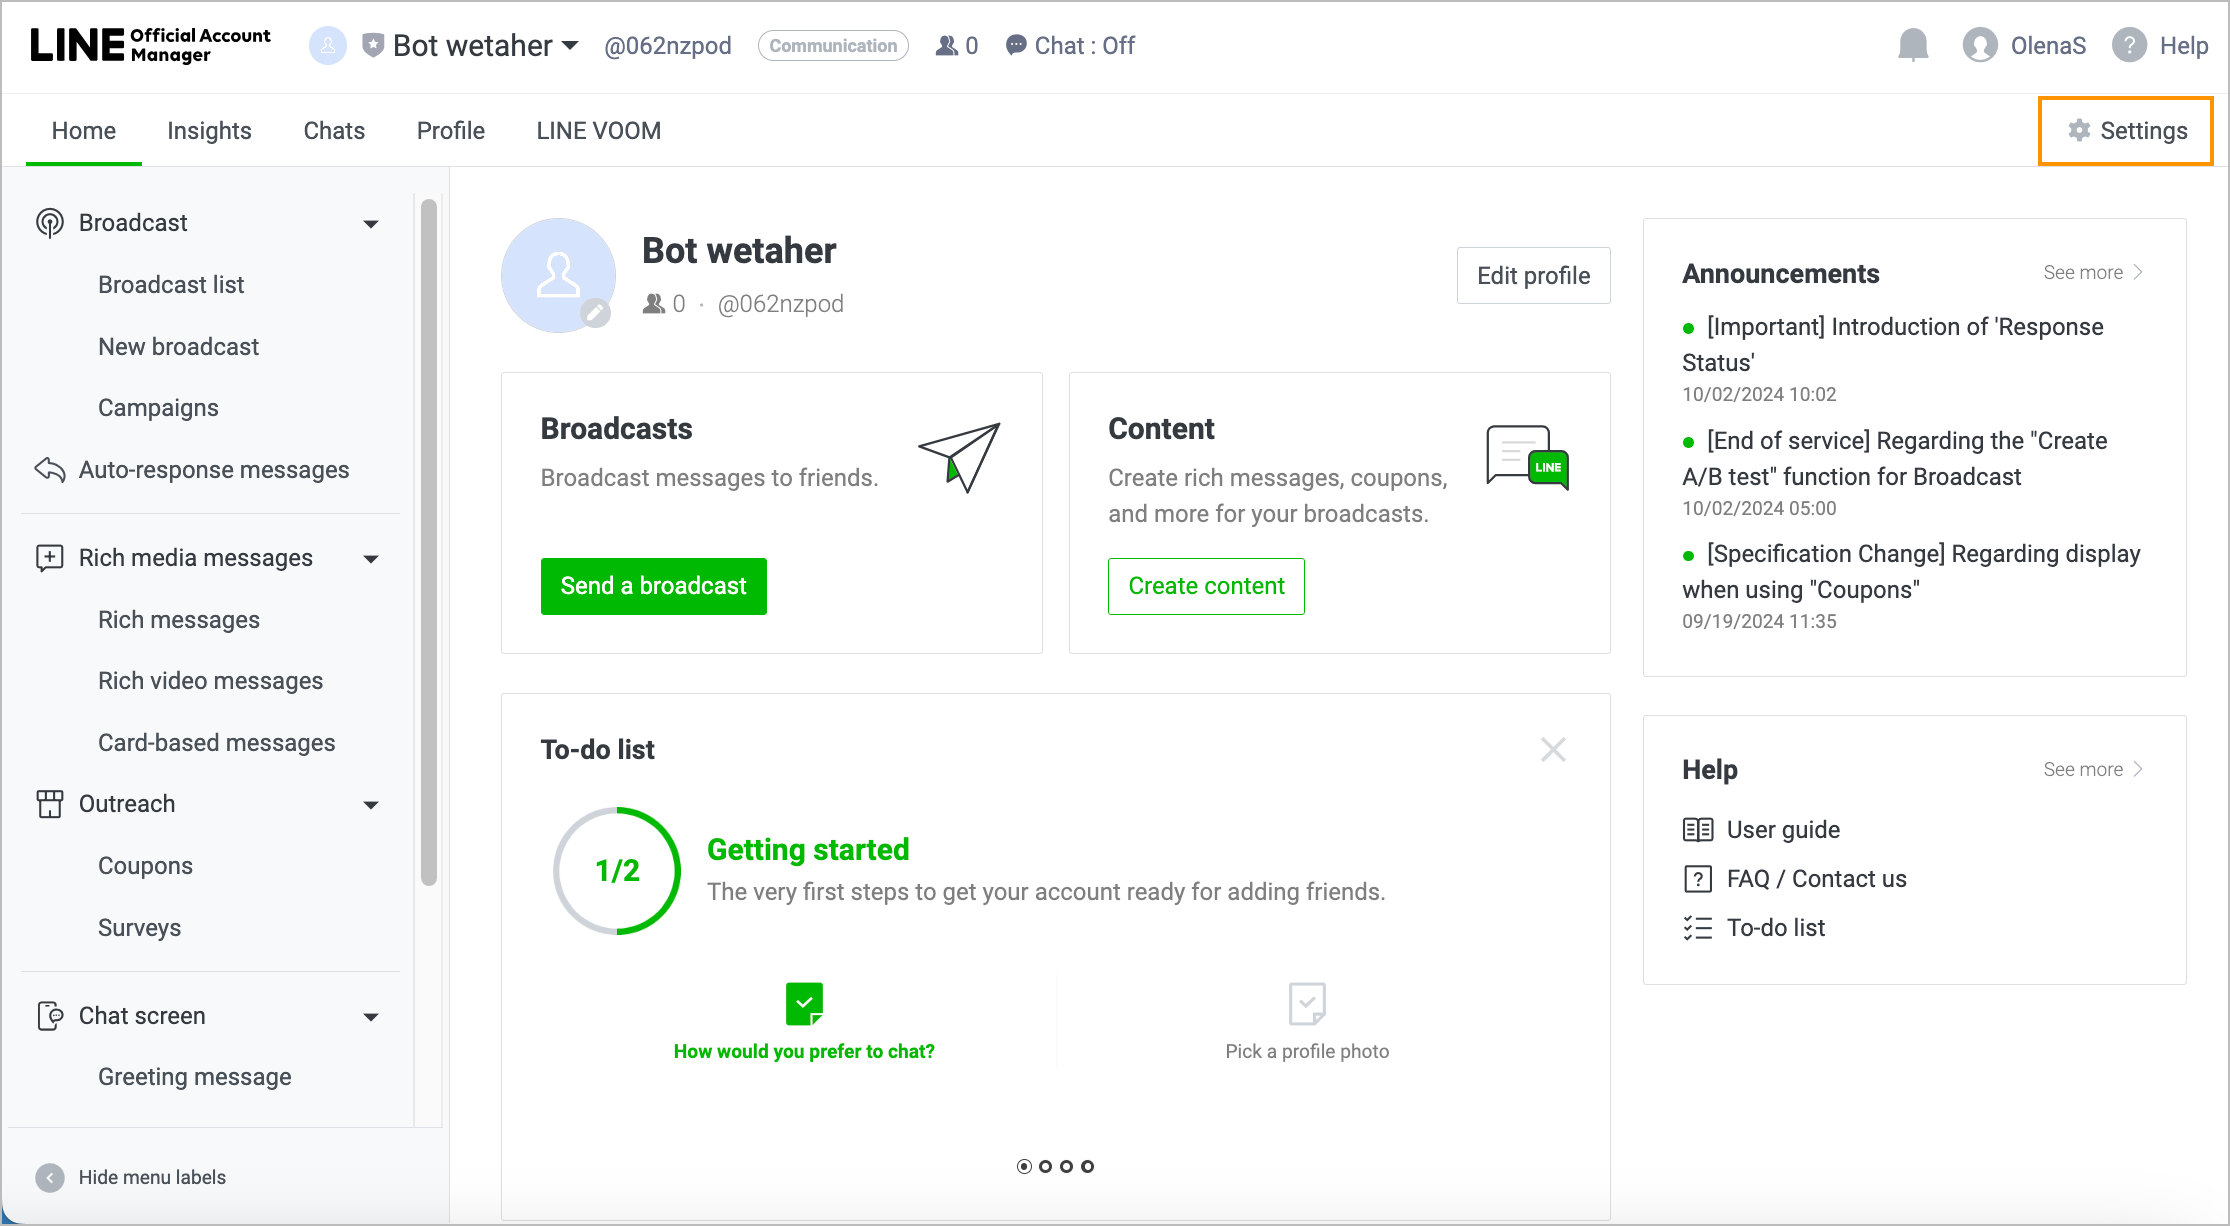
In the upper-right corner of the created bot page, click Settings.
On the left navigation panel of the Account settings page, click Messaging API.
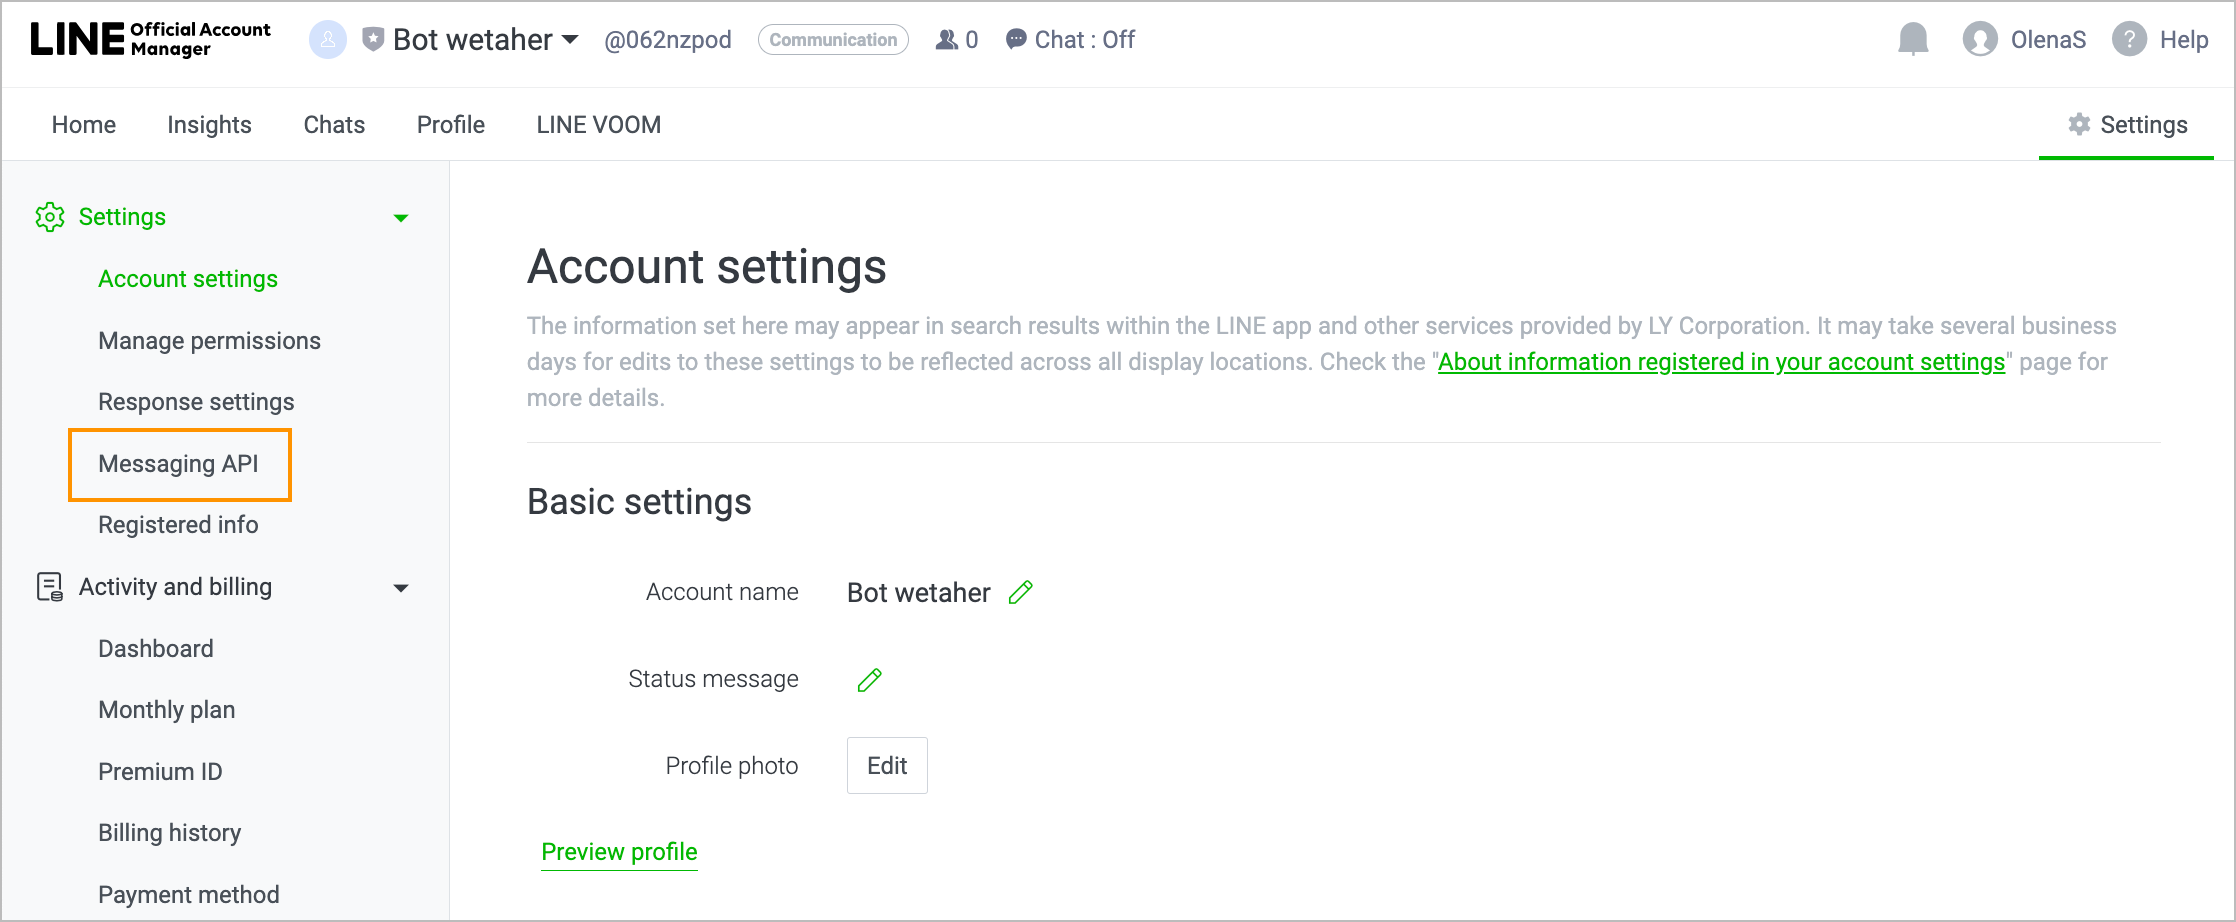
On the Messaging API page, click Enable Messaging API.

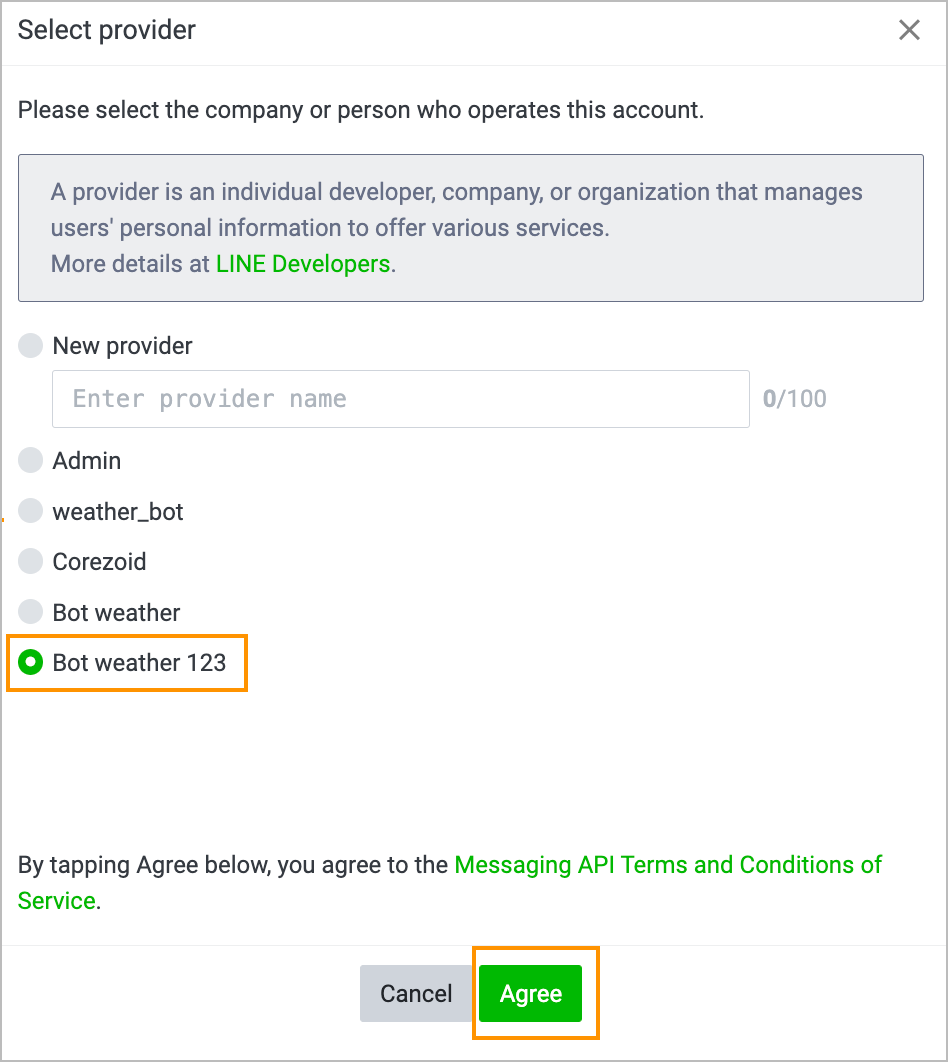
In the Select provider dialog, select the newly created bot checkbox and click Agree.
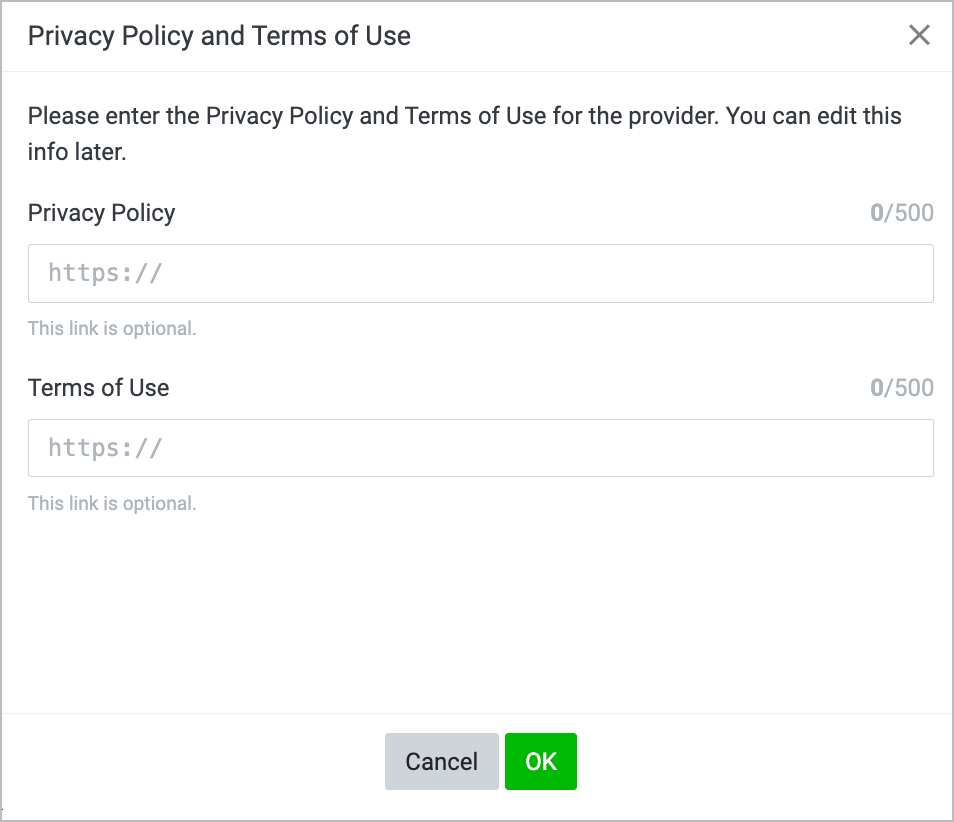
(Optional) In the Privacy Policy and Terms of Use dialog, enter the Privacy policy and Terms of Use URLs and click Ok.
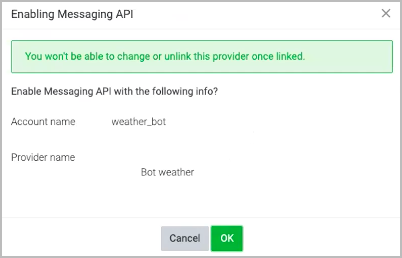
In the Enabling Messaging API dialog, click Ok.
In the Webhook URL field of the Messaging API page, enter the corresponding webhook URL and click Save.
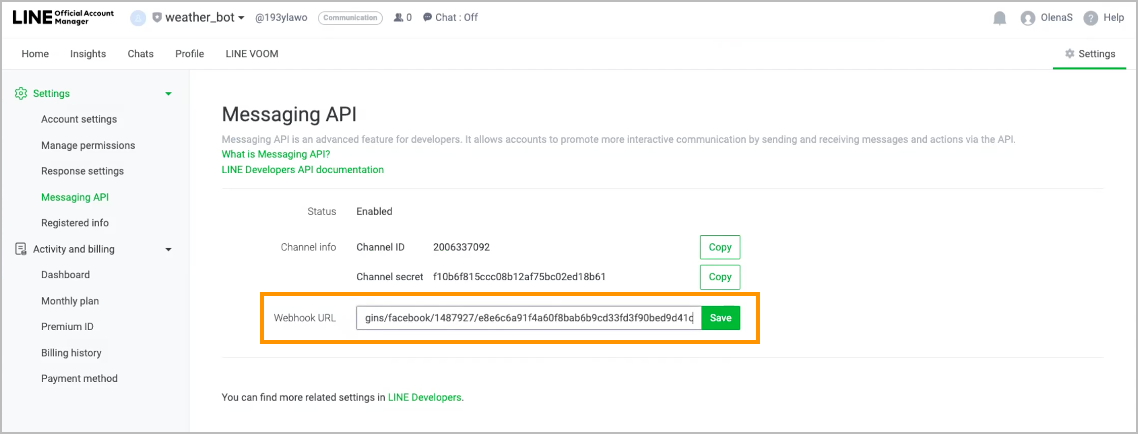
Your account and your bot have been created with the messaging API channel.
Customize weather bot
Before proceeding with the steps below:
- Upload the weather bot project file to your computer.
- Create an account on https://home.openweathermap.org, go to My API keys, generate an API key and copy it.
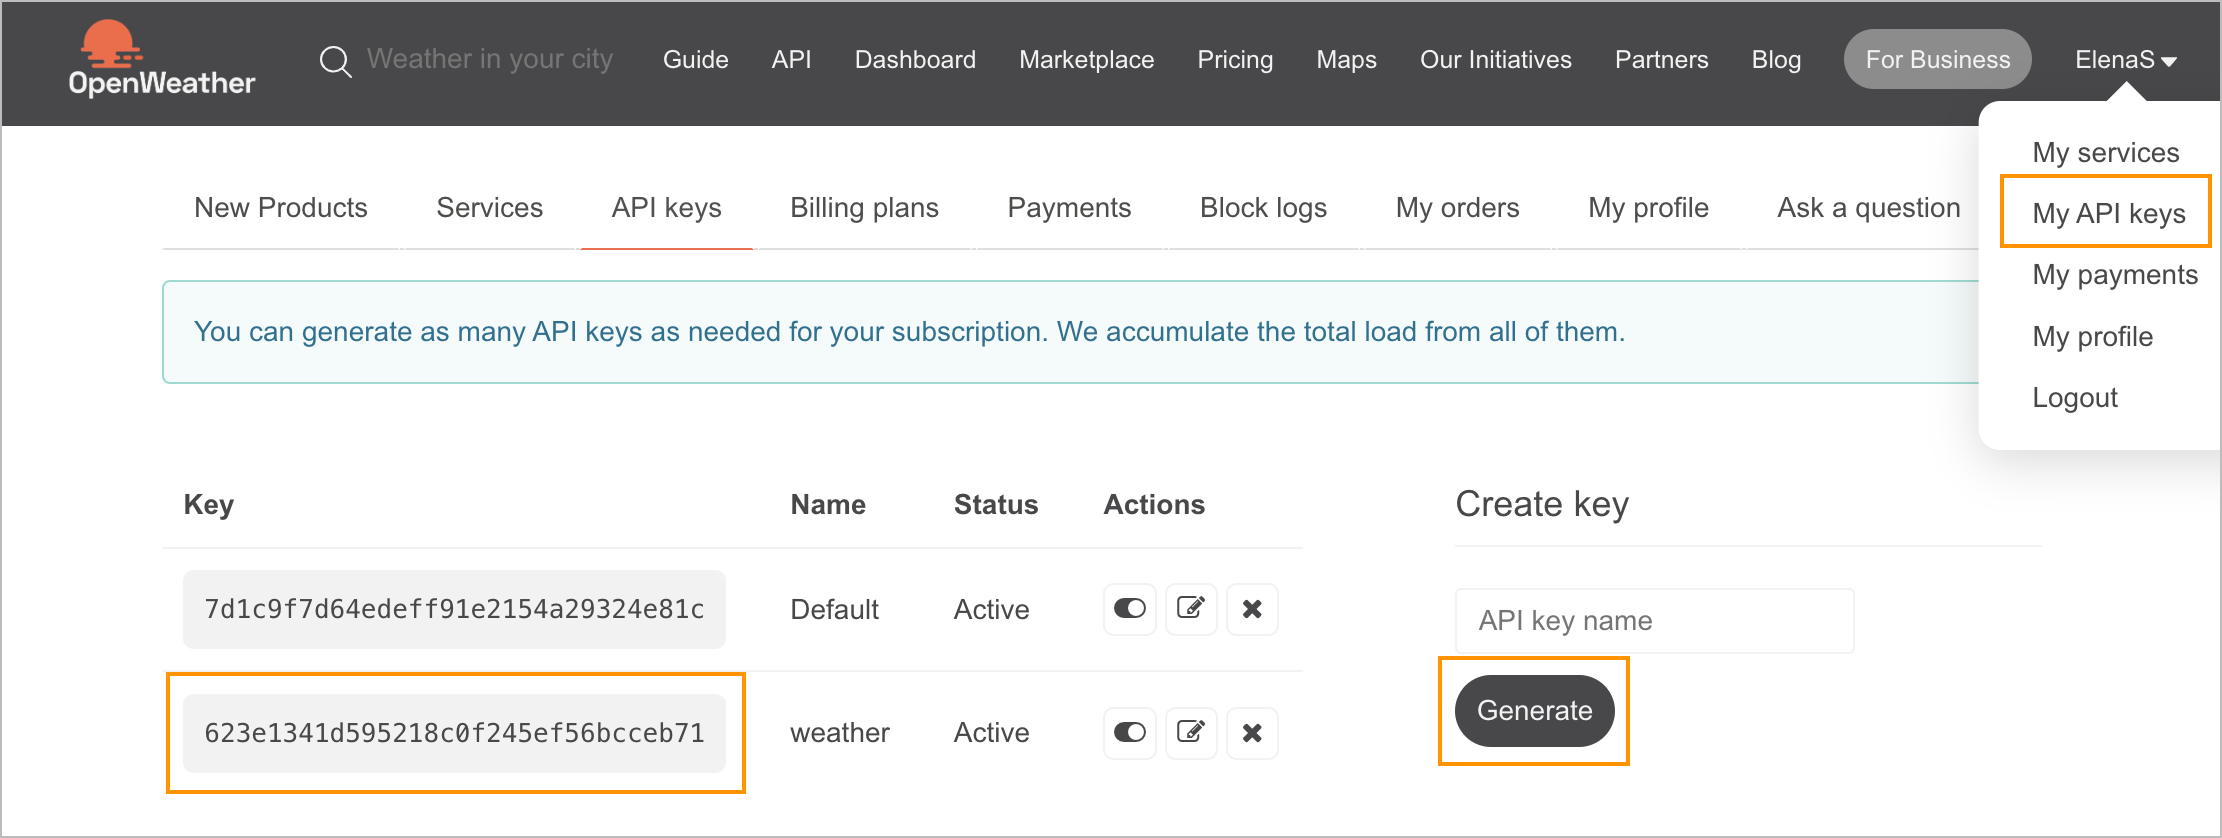
To customize your weather bot:
Go to admin.corezoid.com, in the upper-left corner, click Create, and from the dropdown list, select From file.
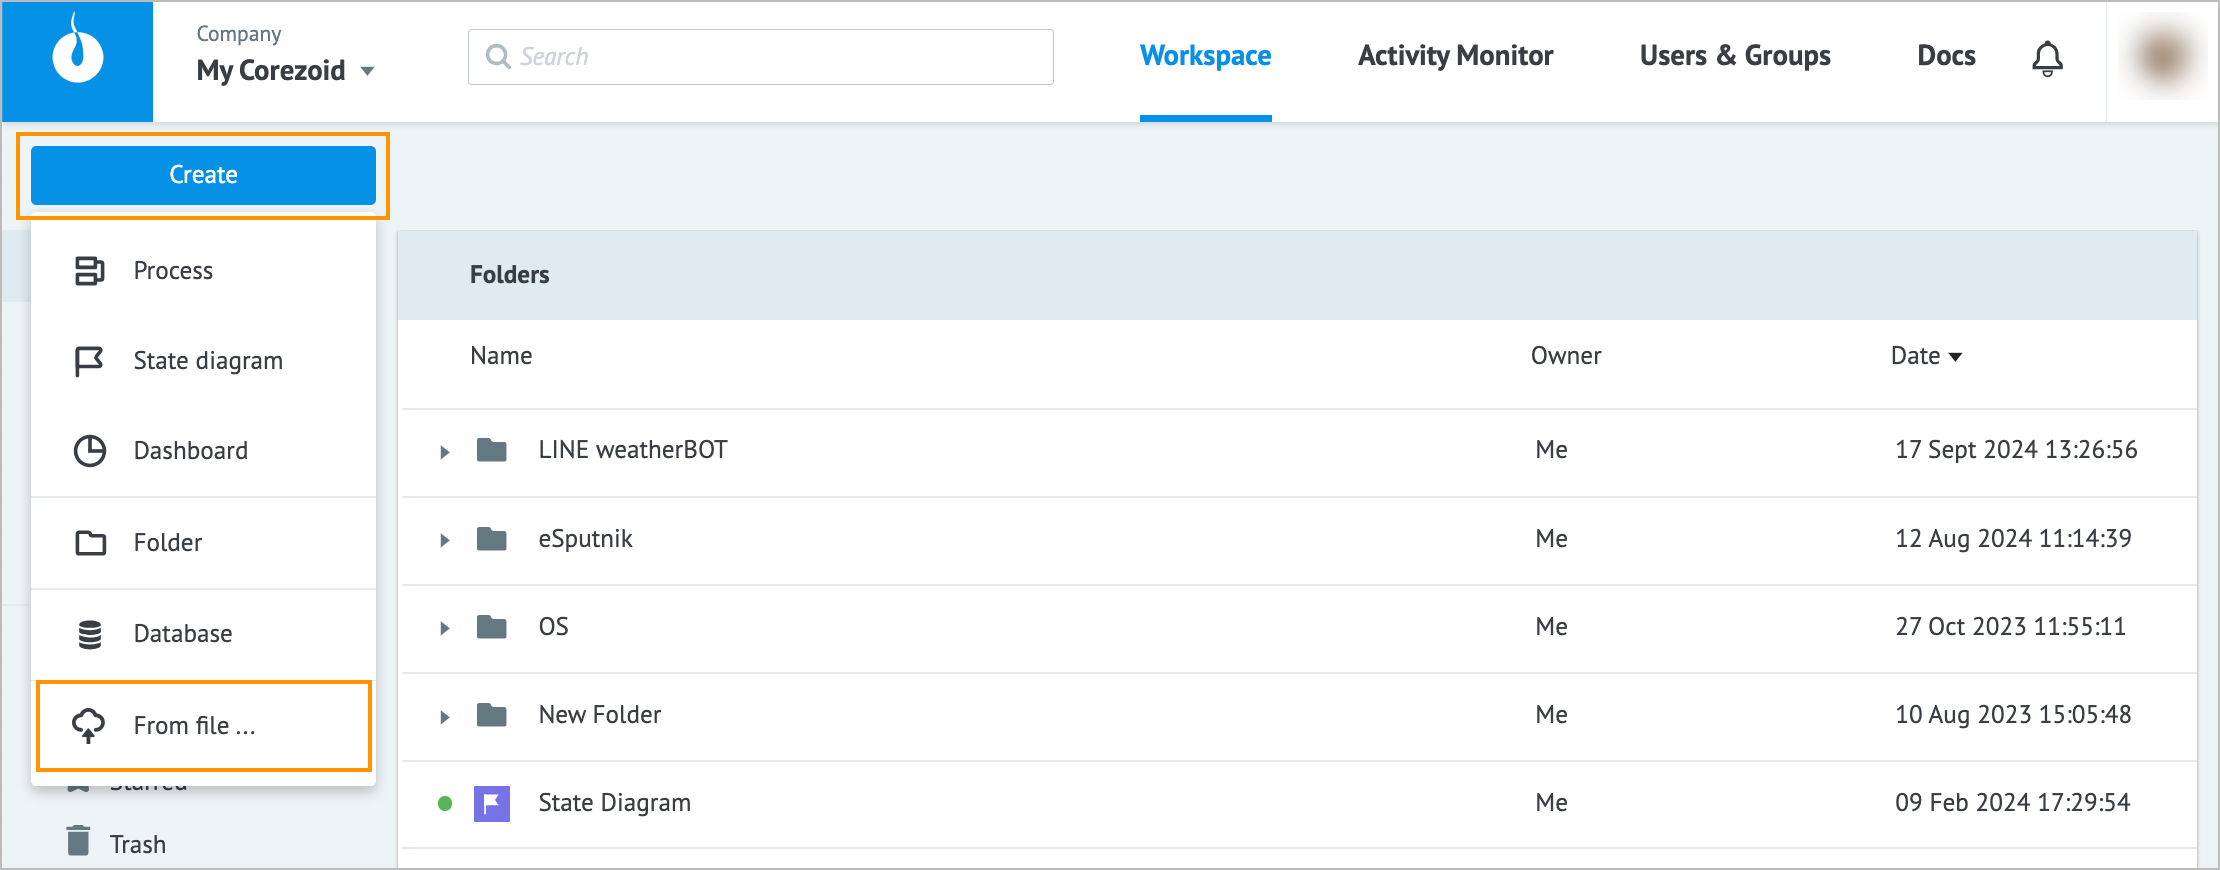
Upload the weather bot project file to your Corezoid workspace, click it, and select the config diagram.
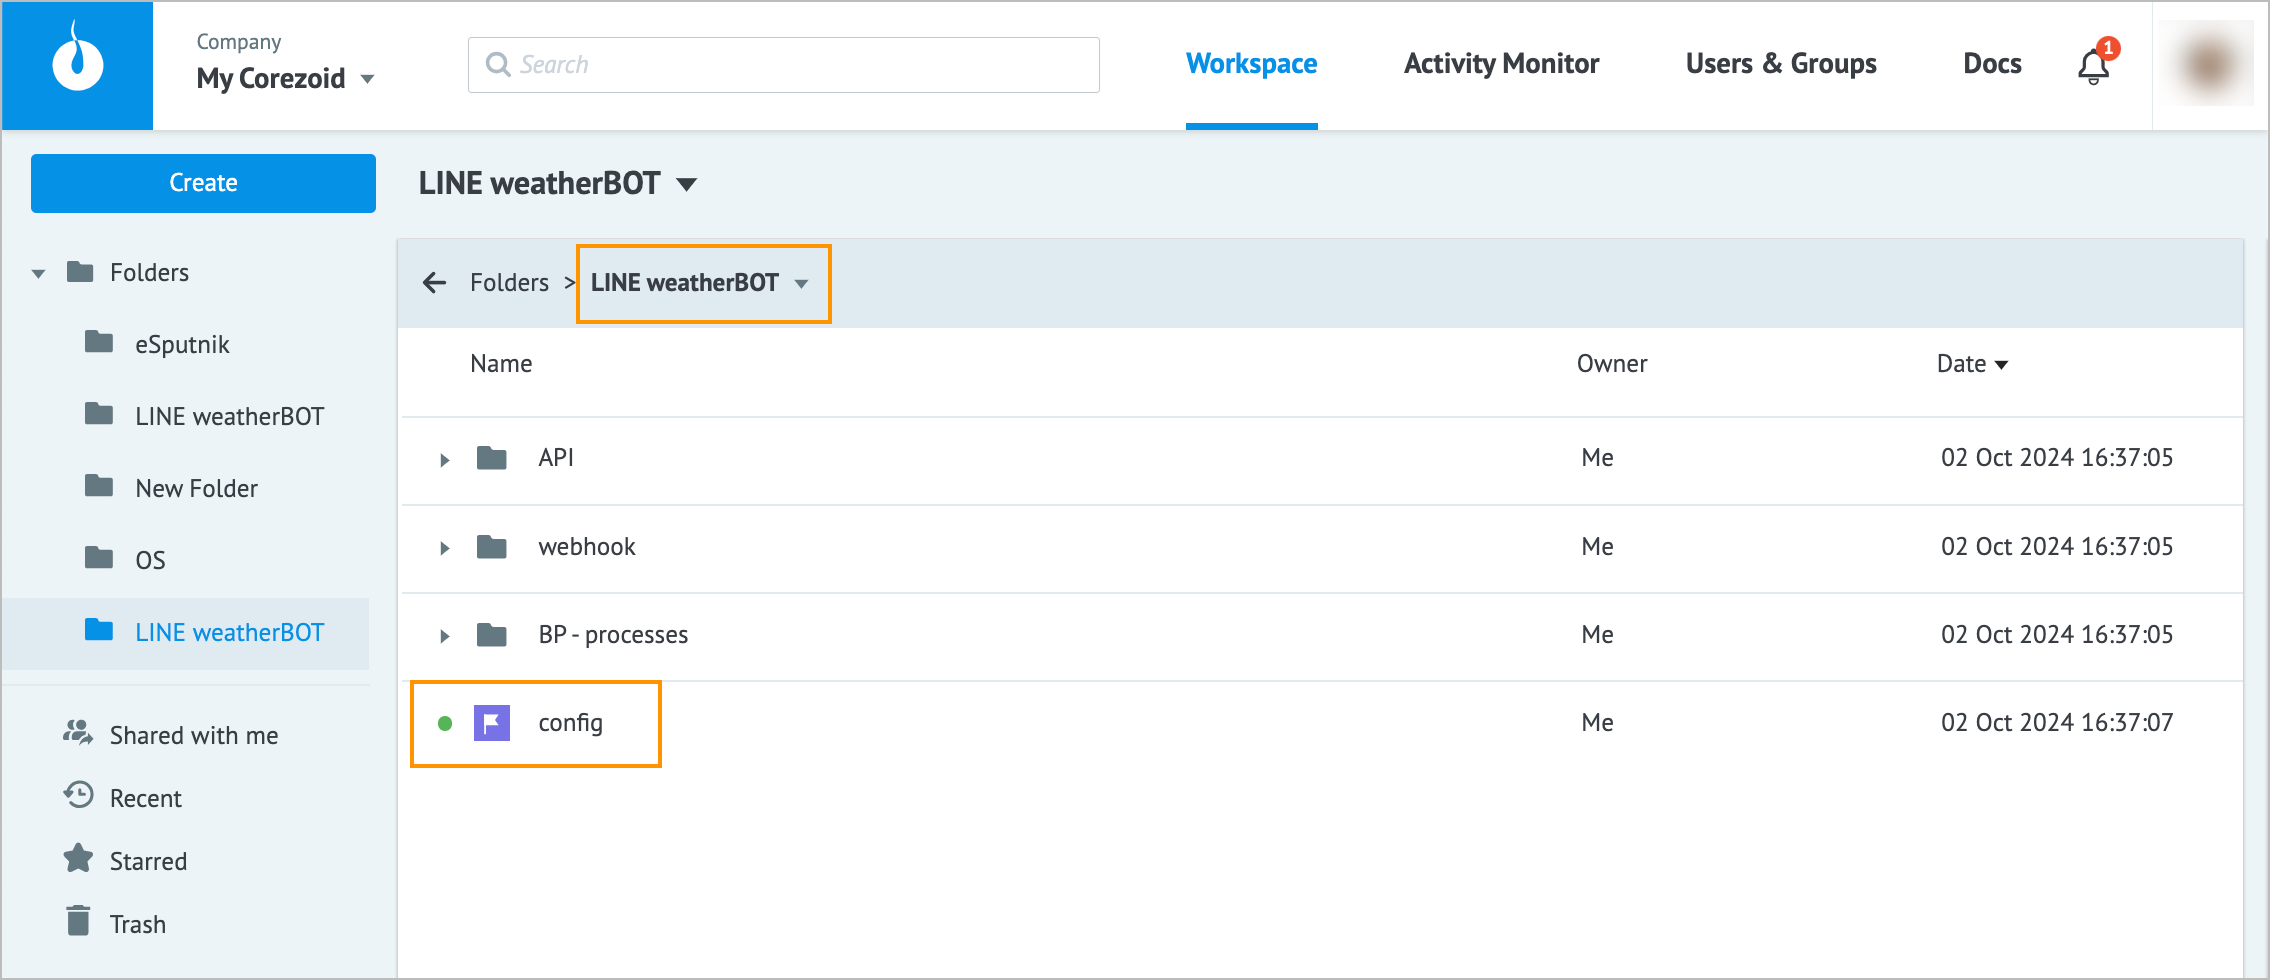
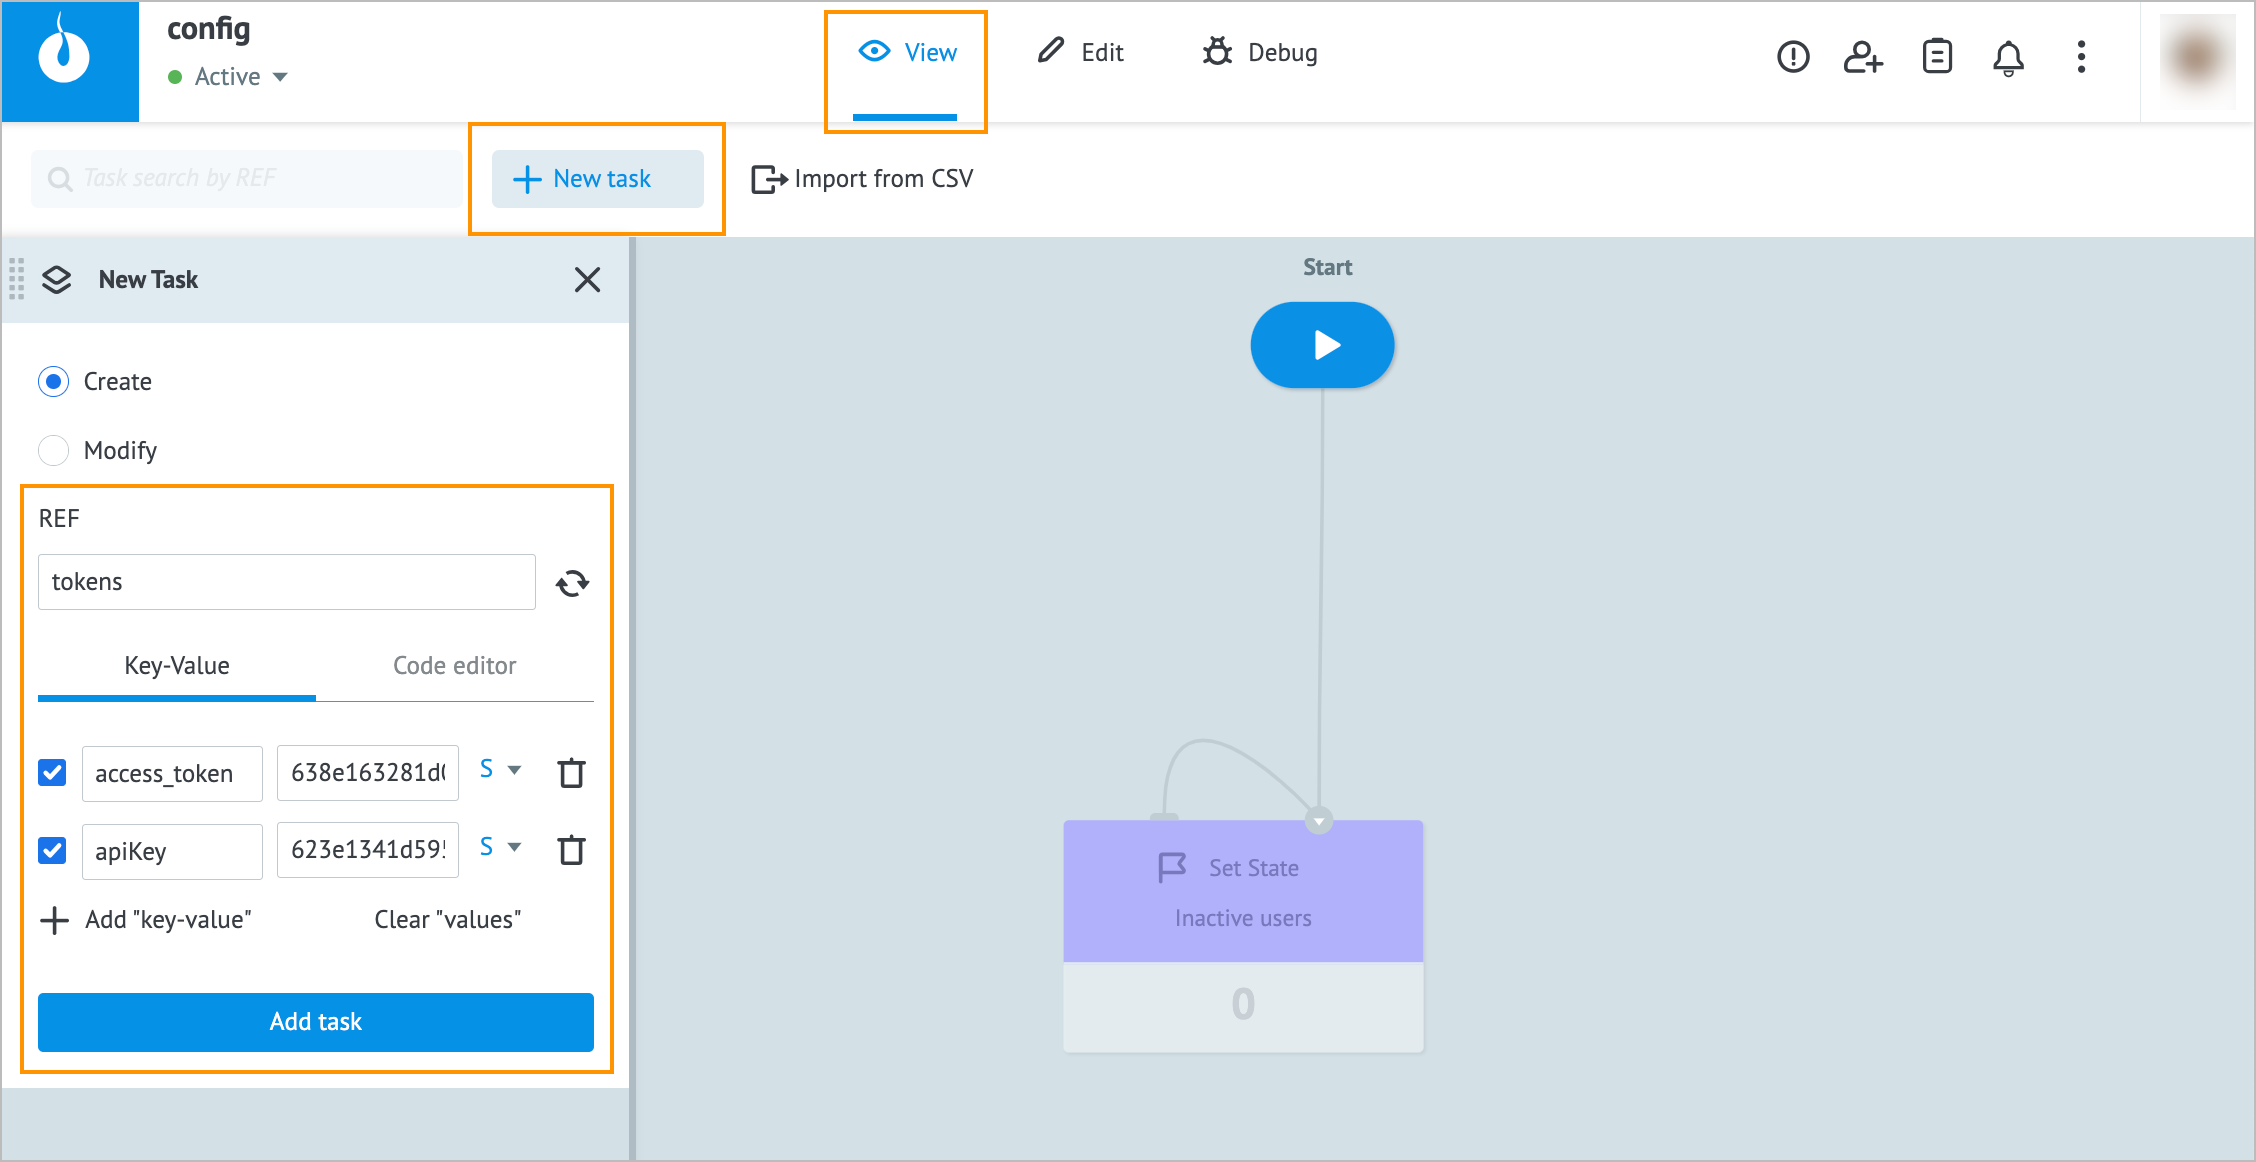
In the upper-left corner, click View, click + New task, and in the New Task dialog:
- Enter tokens in the REF field.
- Enter access_token and apiKey in the Key fields.
- Enter the channel secret key (from the Line weather bot) and the generated key (on https://home.openweathermap.org) in the Value fields.
- Click Add task.
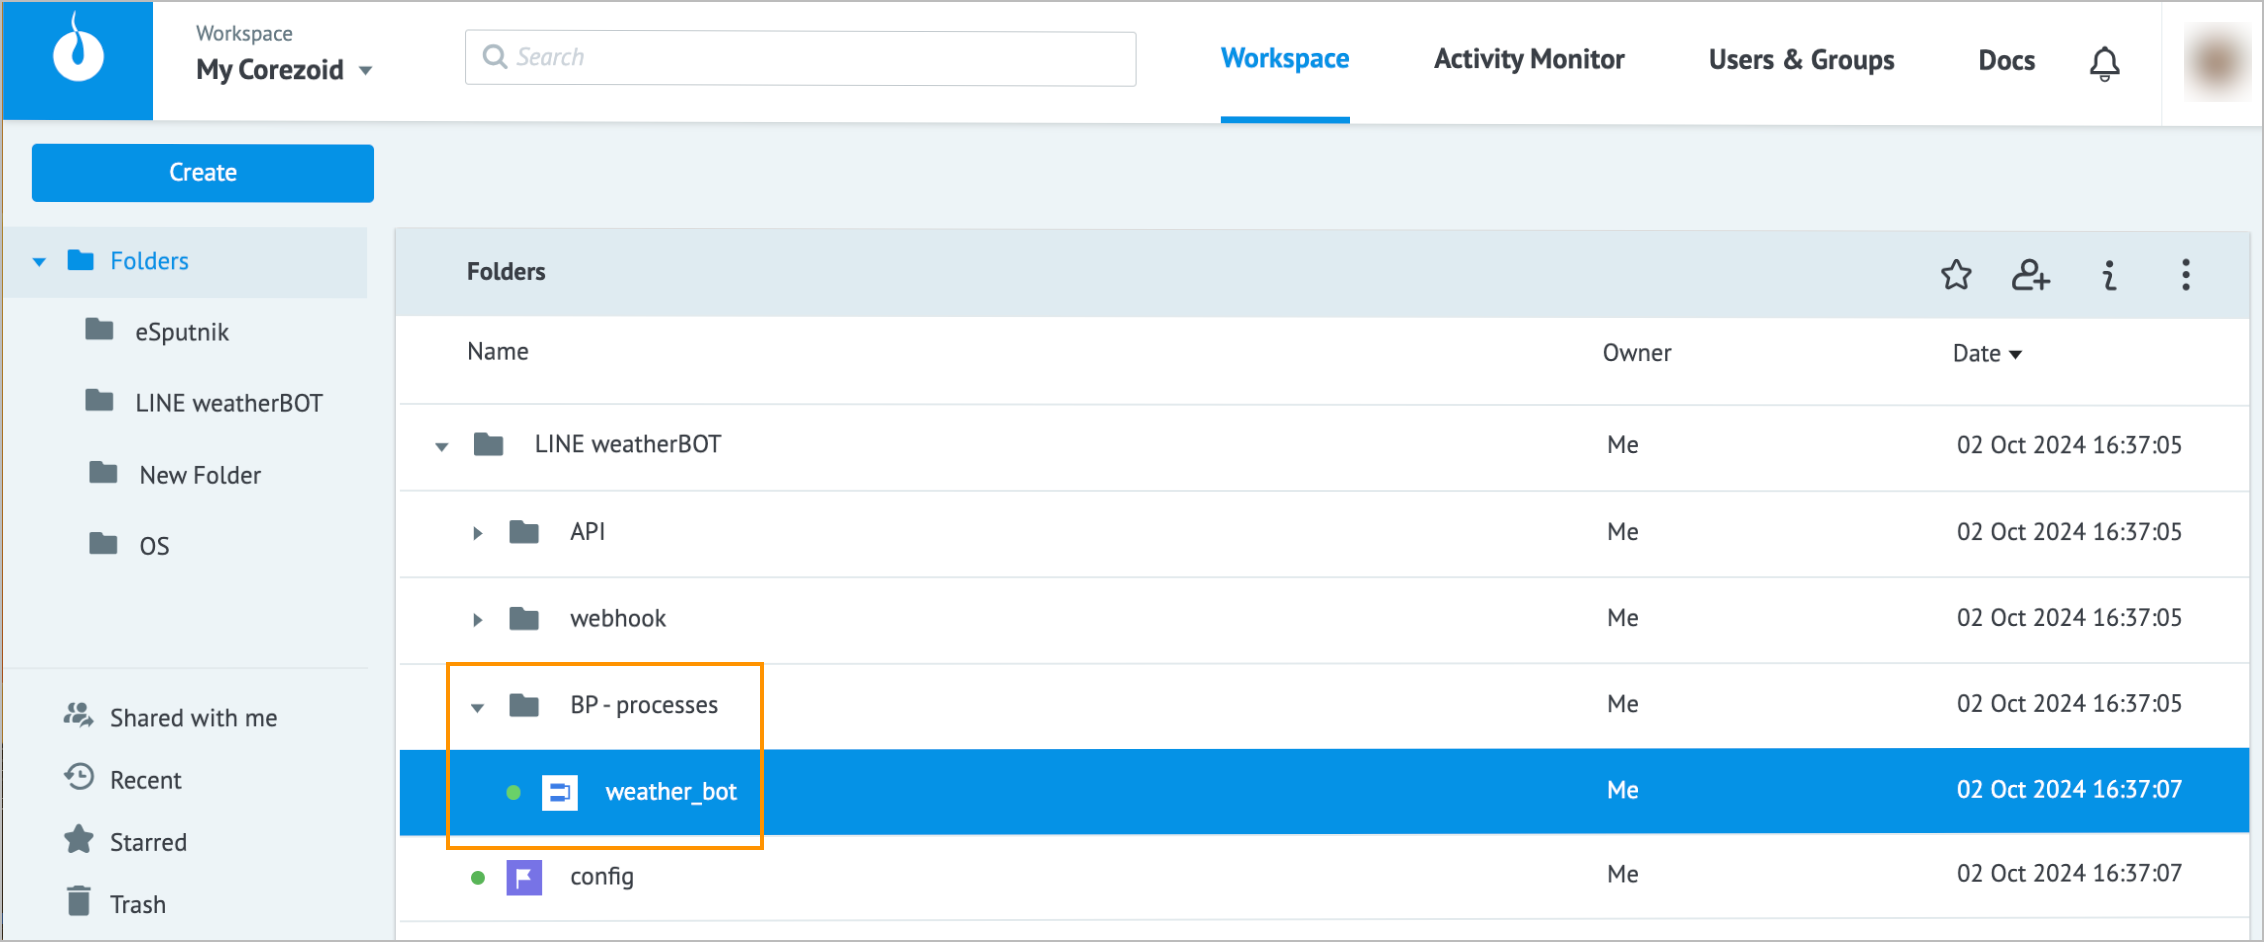
Go back to the Line weatherBot folder, select the BP-processes folder, and click the weather_bot process.
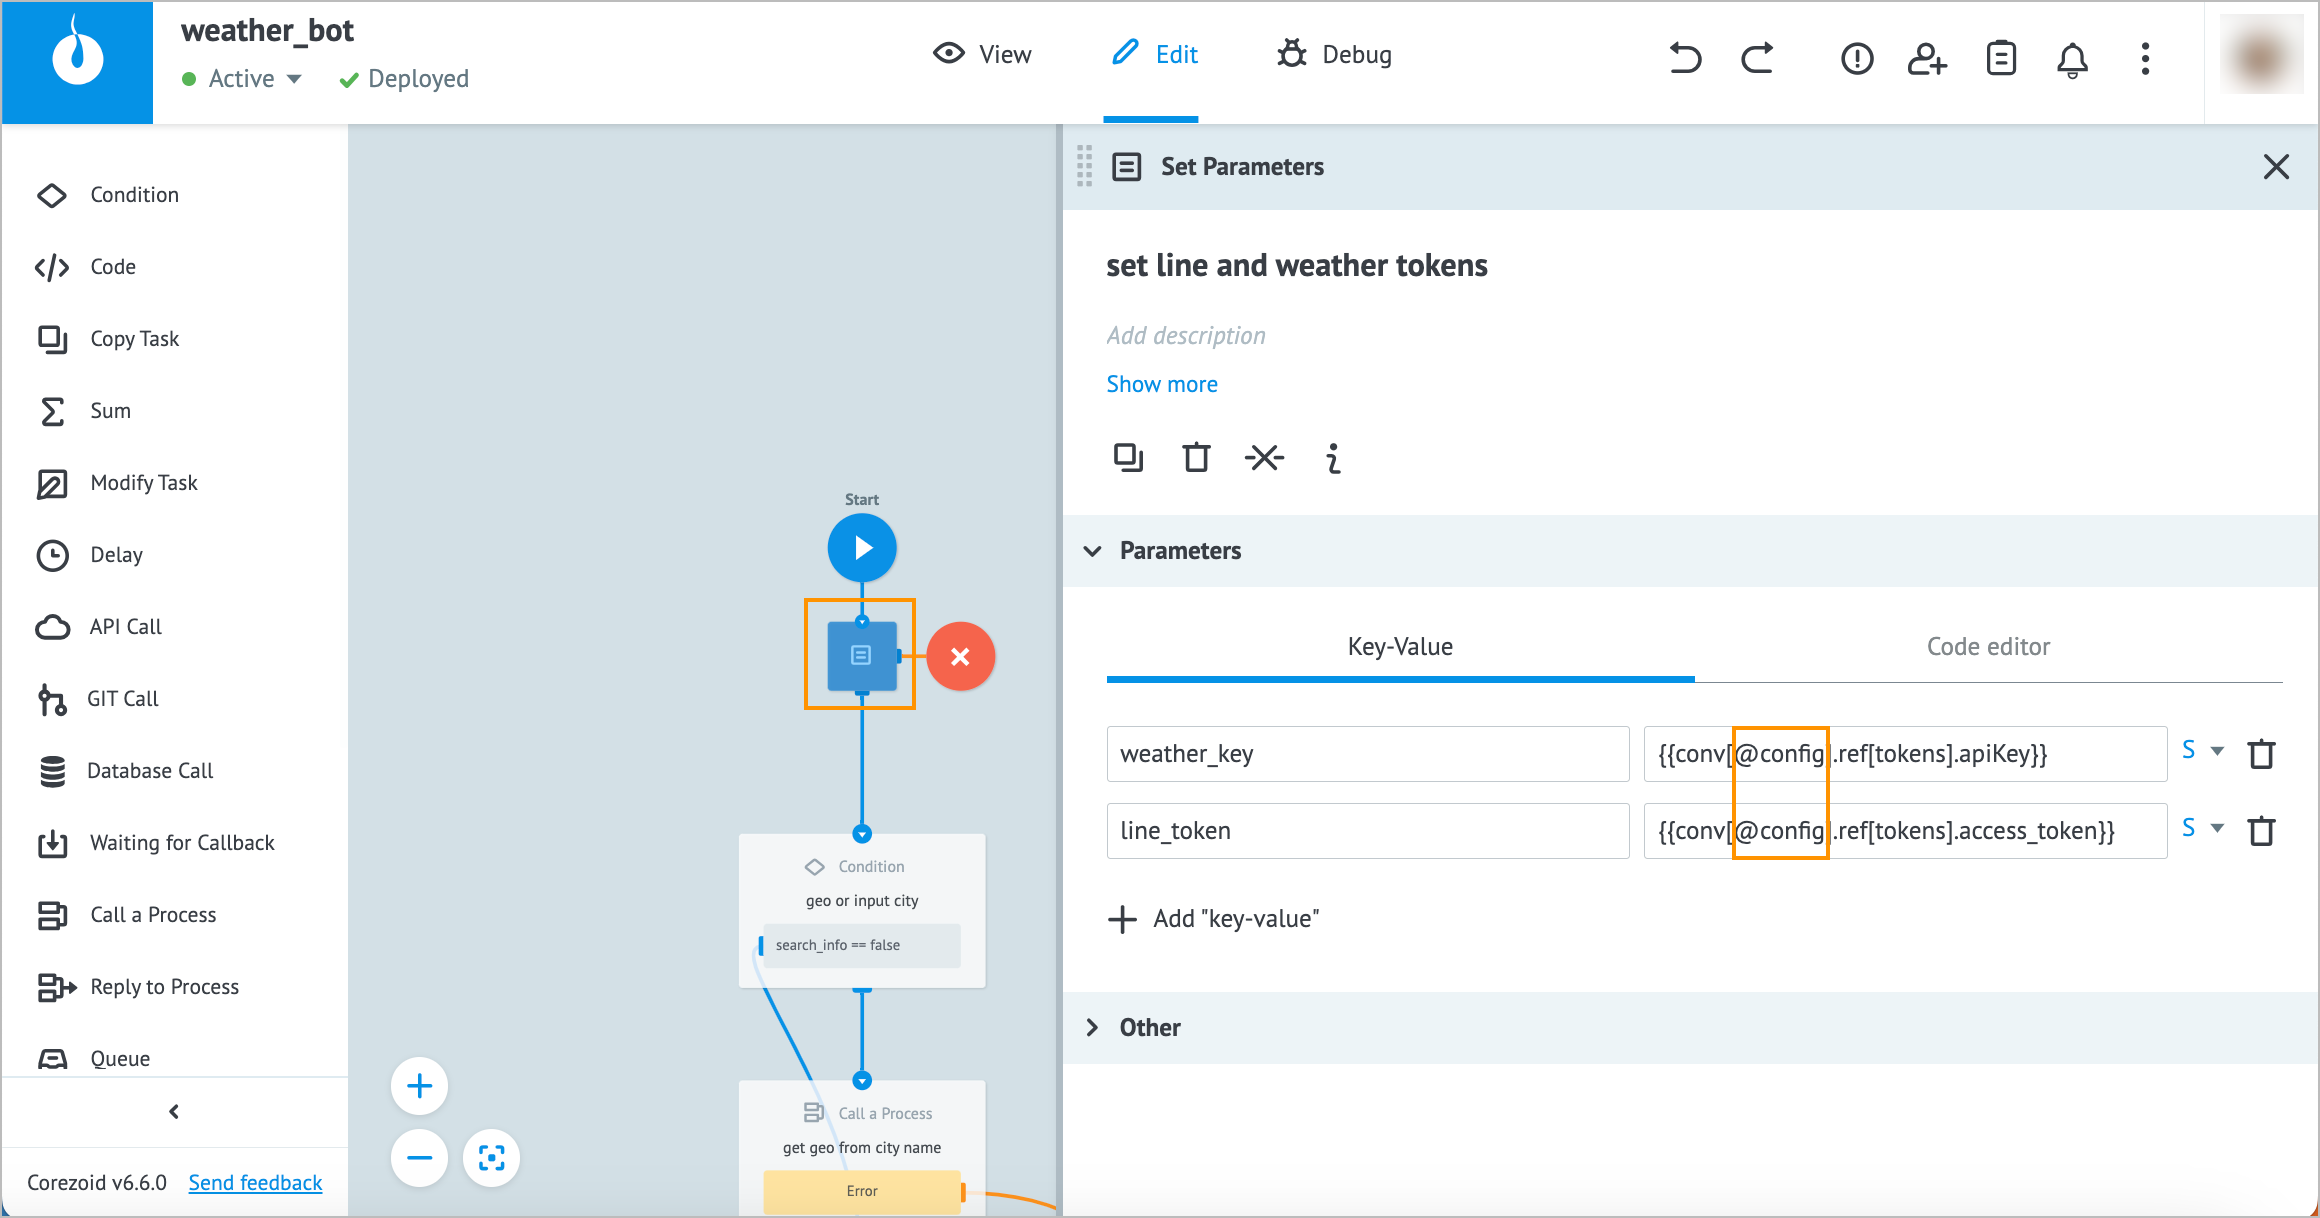
In the weather_bot process, click the first node, in the Parameters of its details panel, change @config with the config diagram ID, and click Deploy.
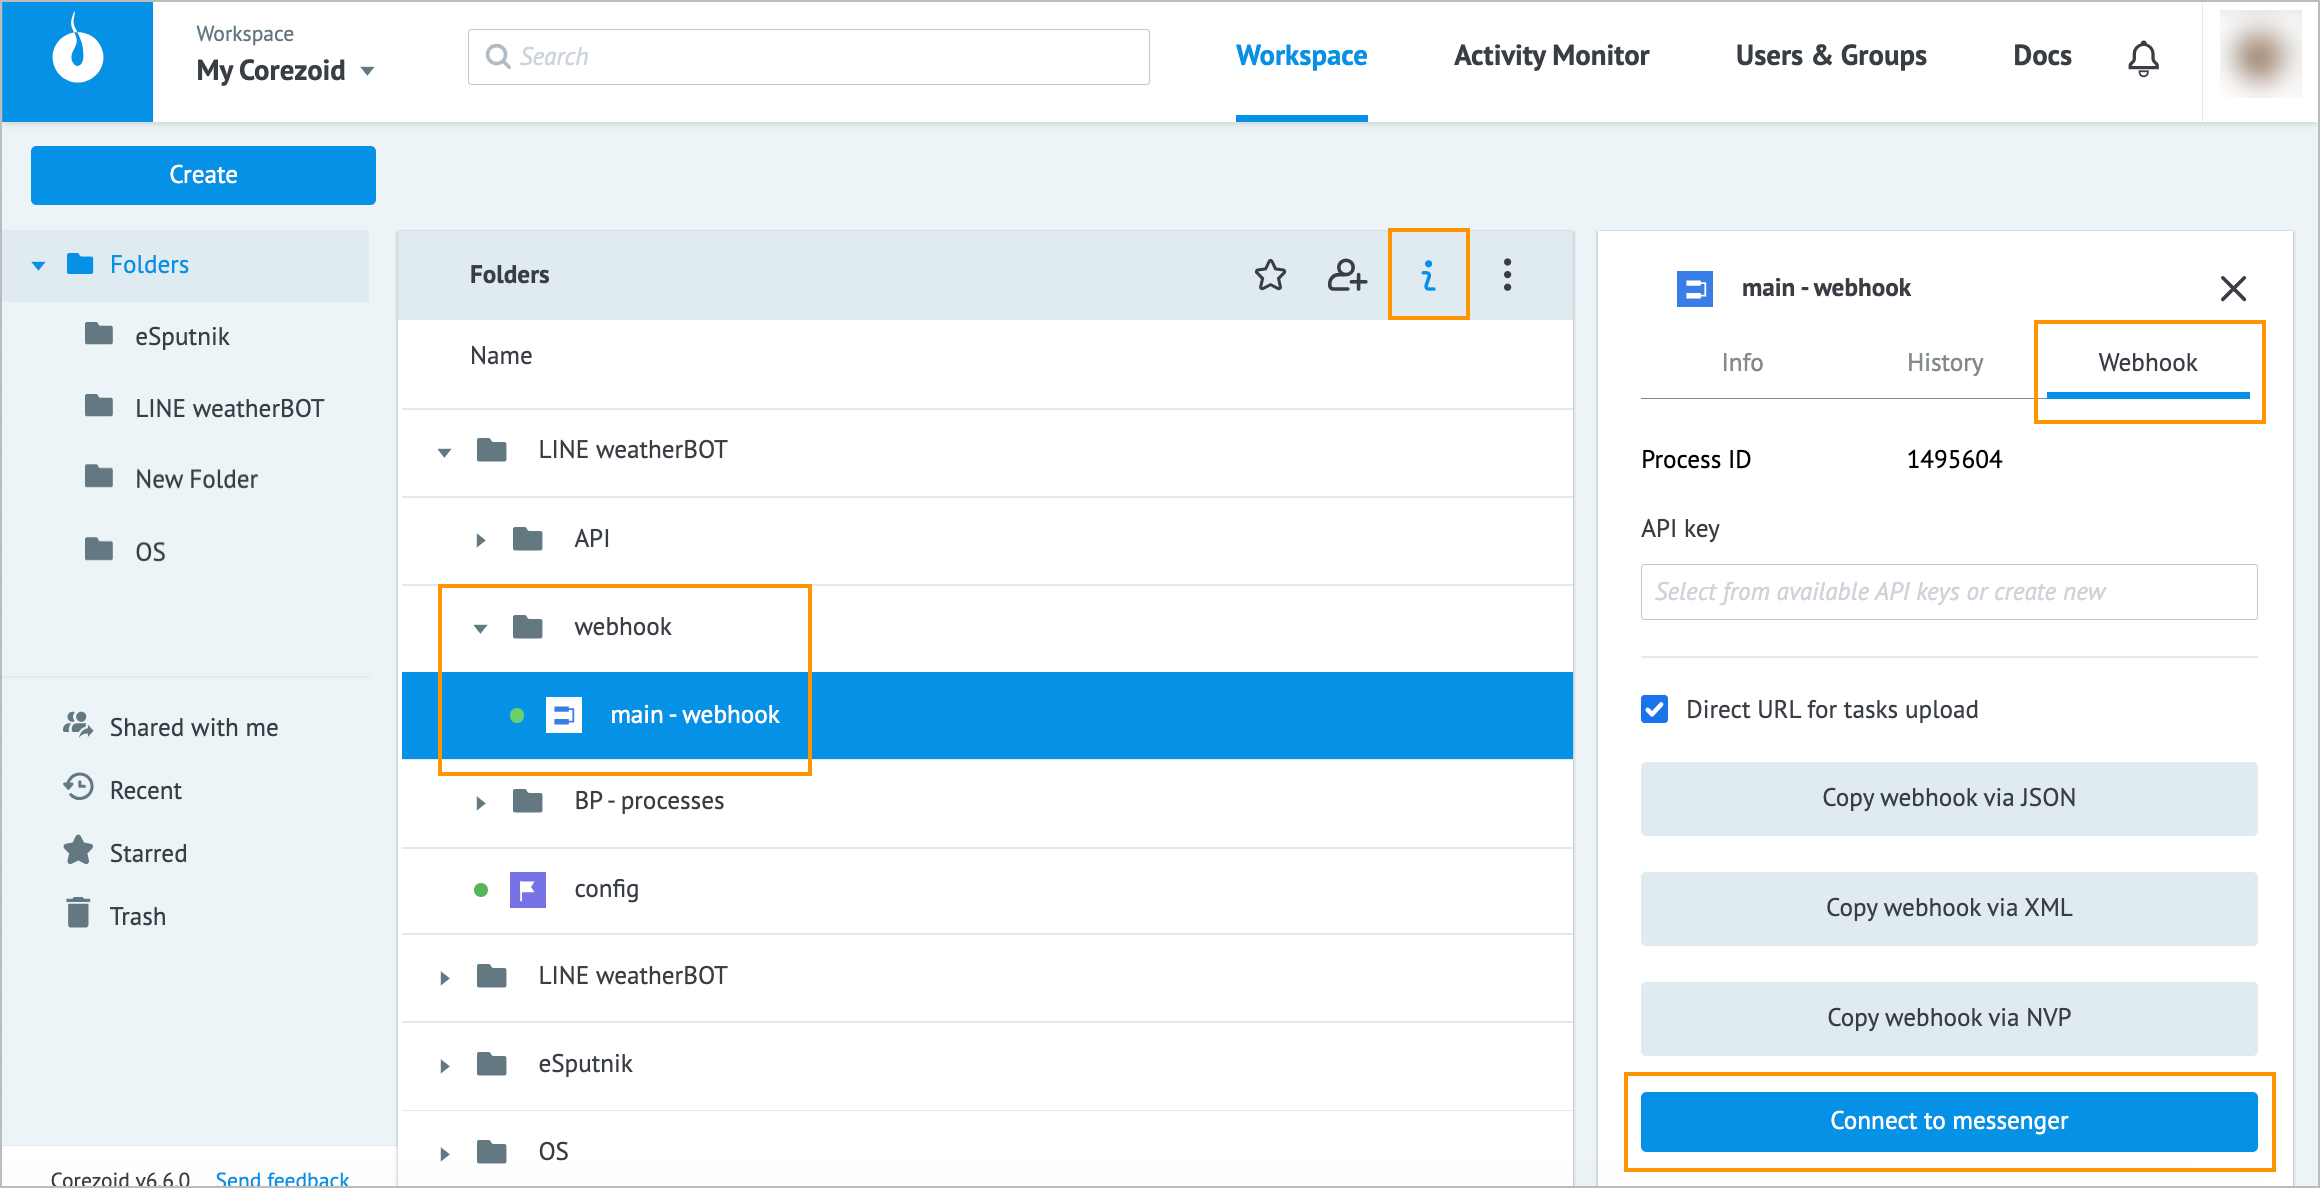
In the webhook folder, click the main-webhook process, click the info icon, and on the Webhook tab, click Connect to messenger.
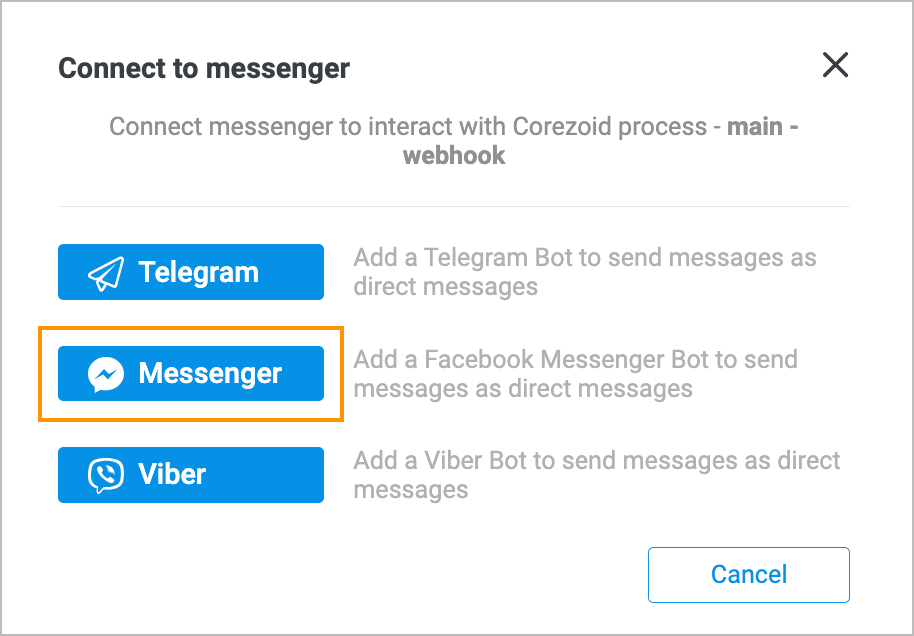
In the Connect to messenger dialog, click Messenger.
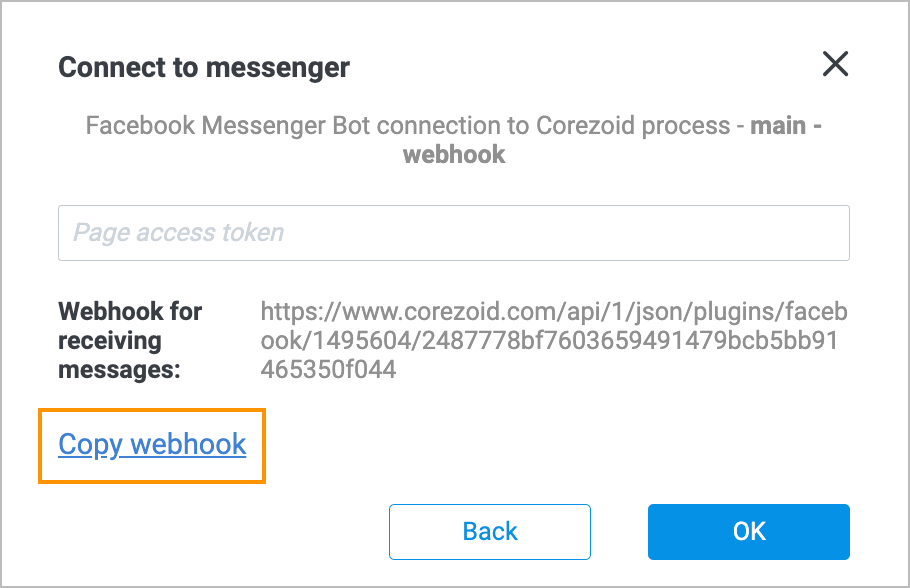
In the Connect to messenger dialog, click Copy webhook.
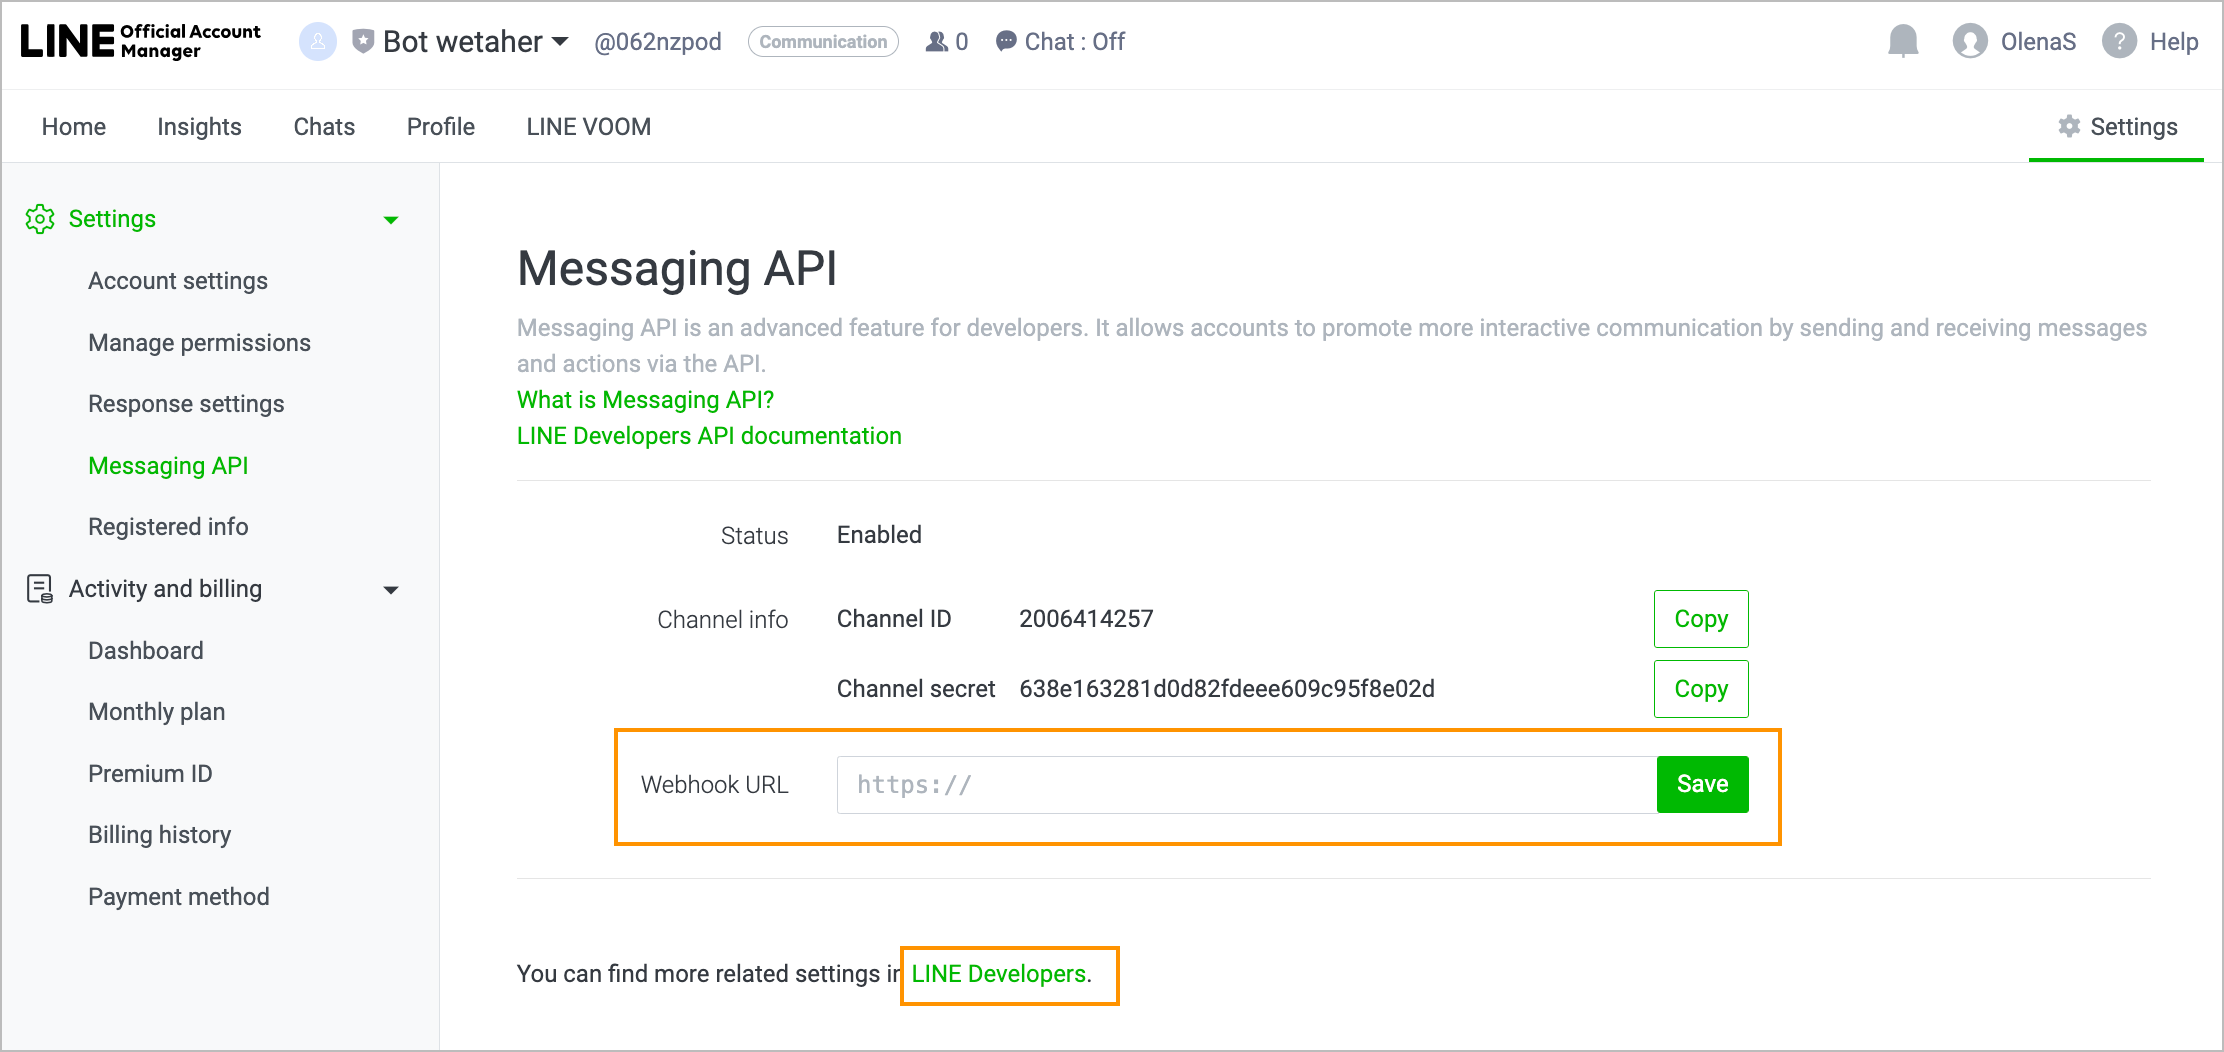
On the Messaging API page, enter the copied webhook in the Webhook URL field, click Save, and then click Line Developers.
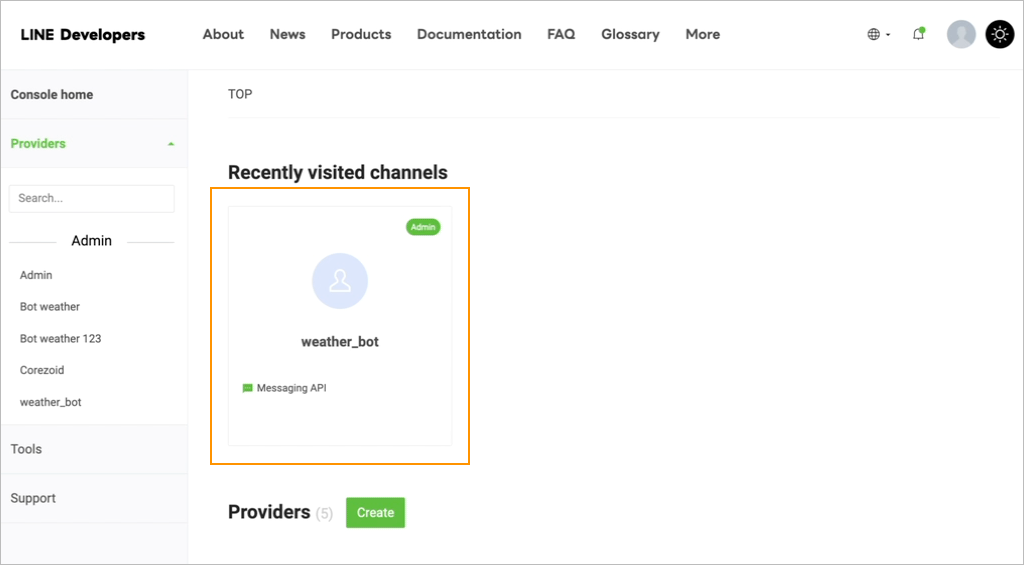
In the upper-right corner of the Line Developers page, click Console.

On the Providers tab, click your bot name.
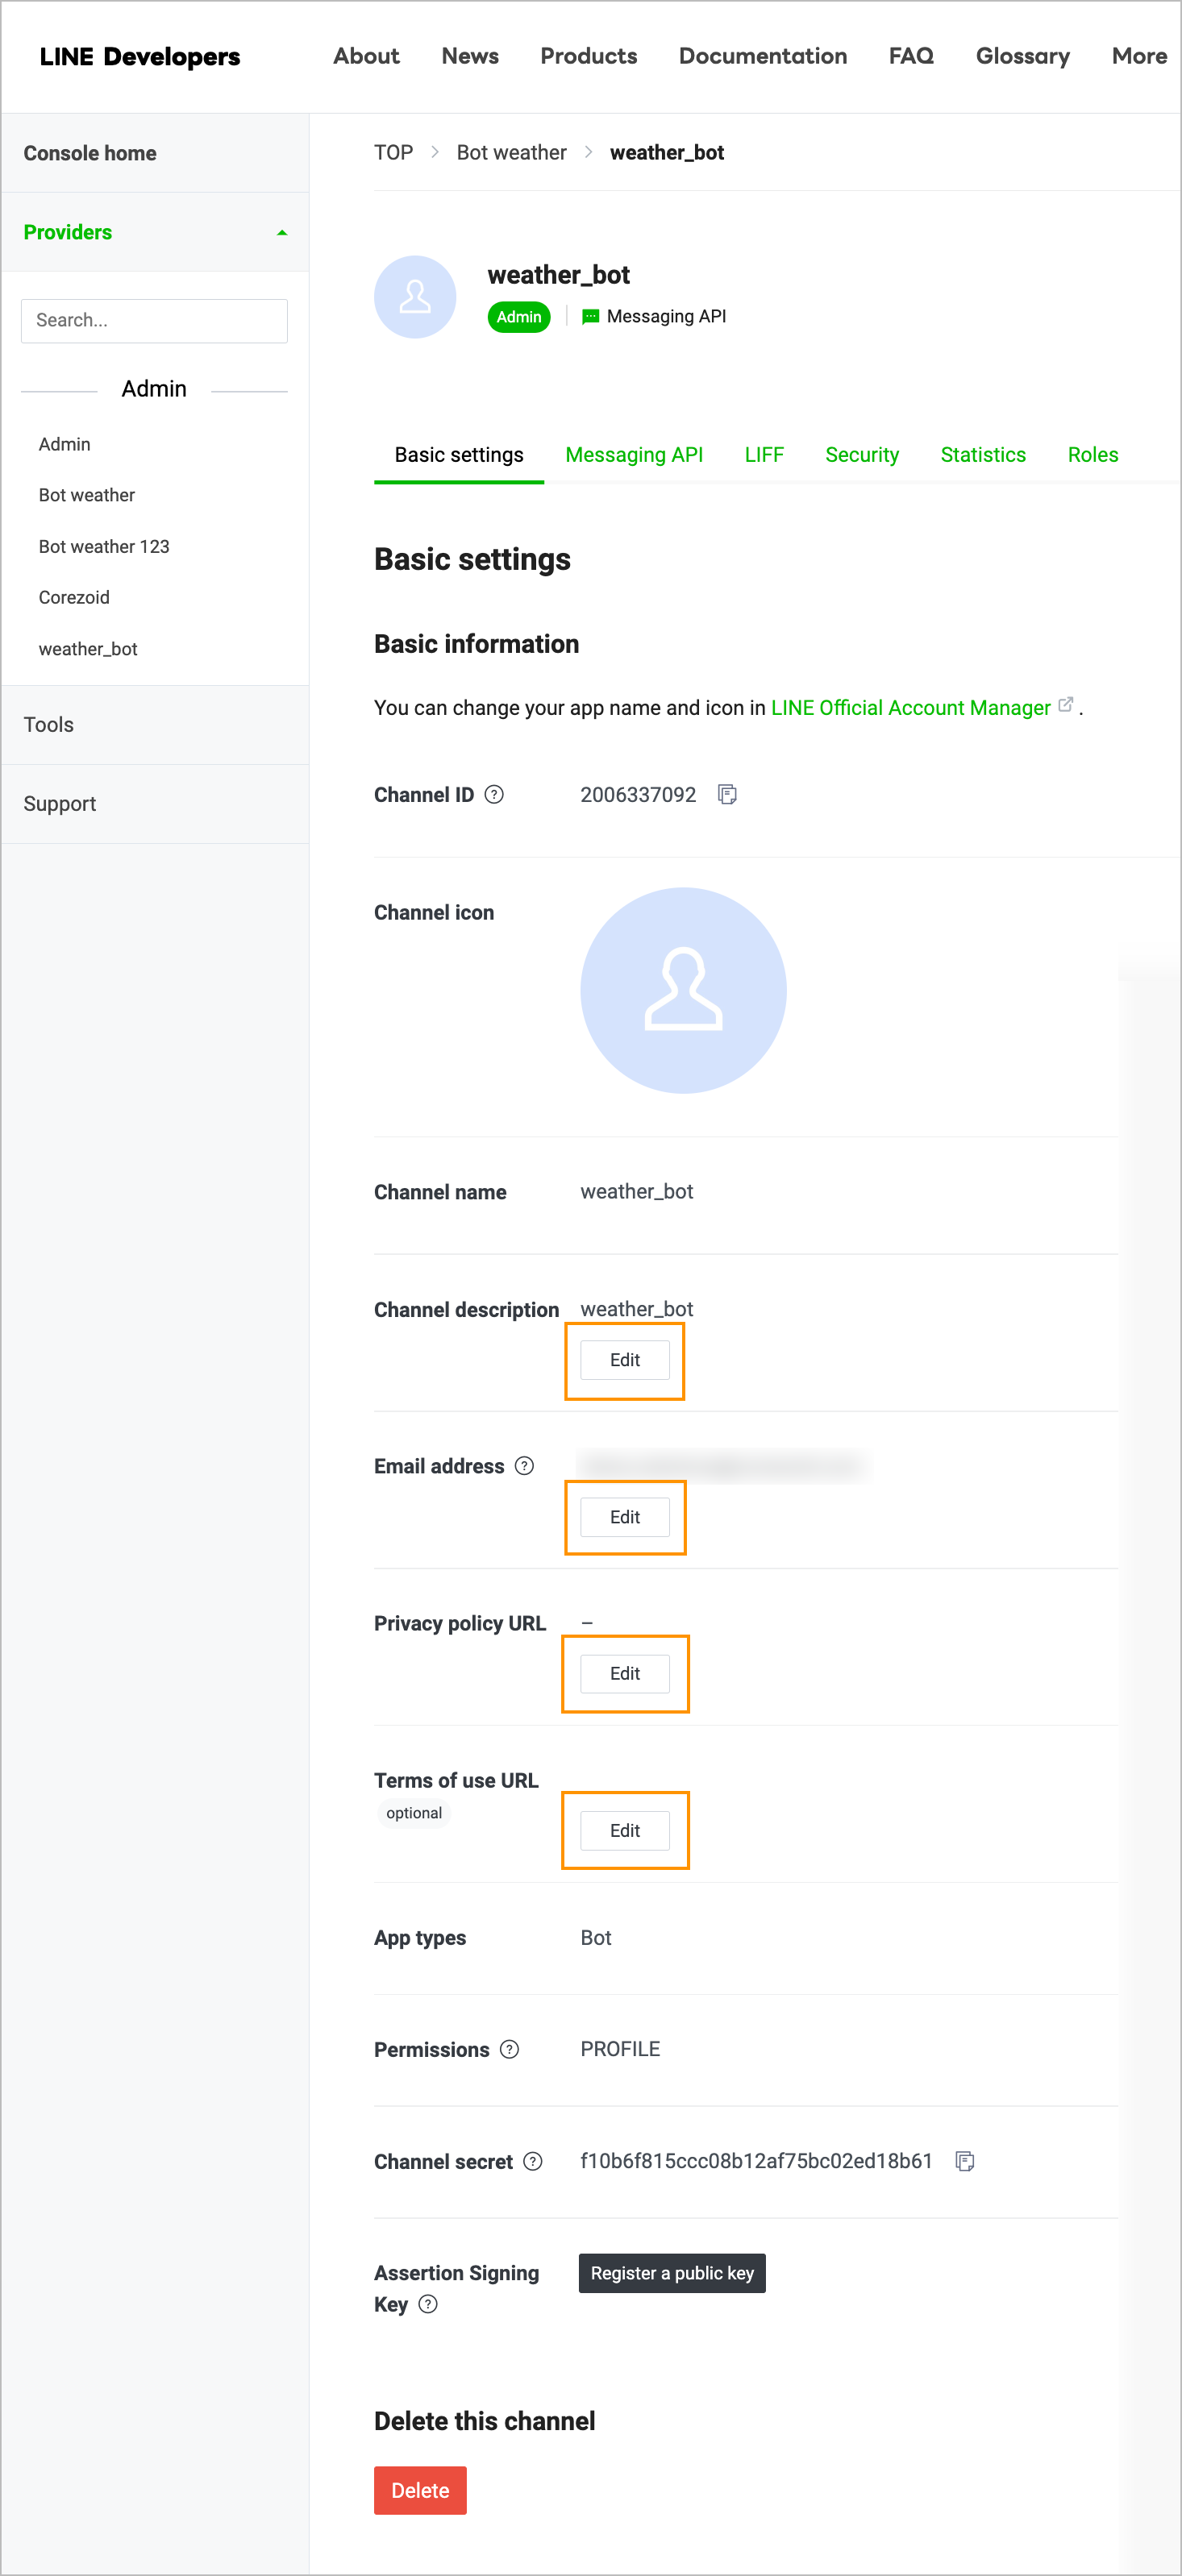
On the Basic settings tab, customize your bot data by clicking Edit.
On the Messaging API tab, scan your bot QR code, turn the Use webhook toggle on, edit your bot information by using toggles or clicking Edit (if needed), and click Issue to generate the channel access token.
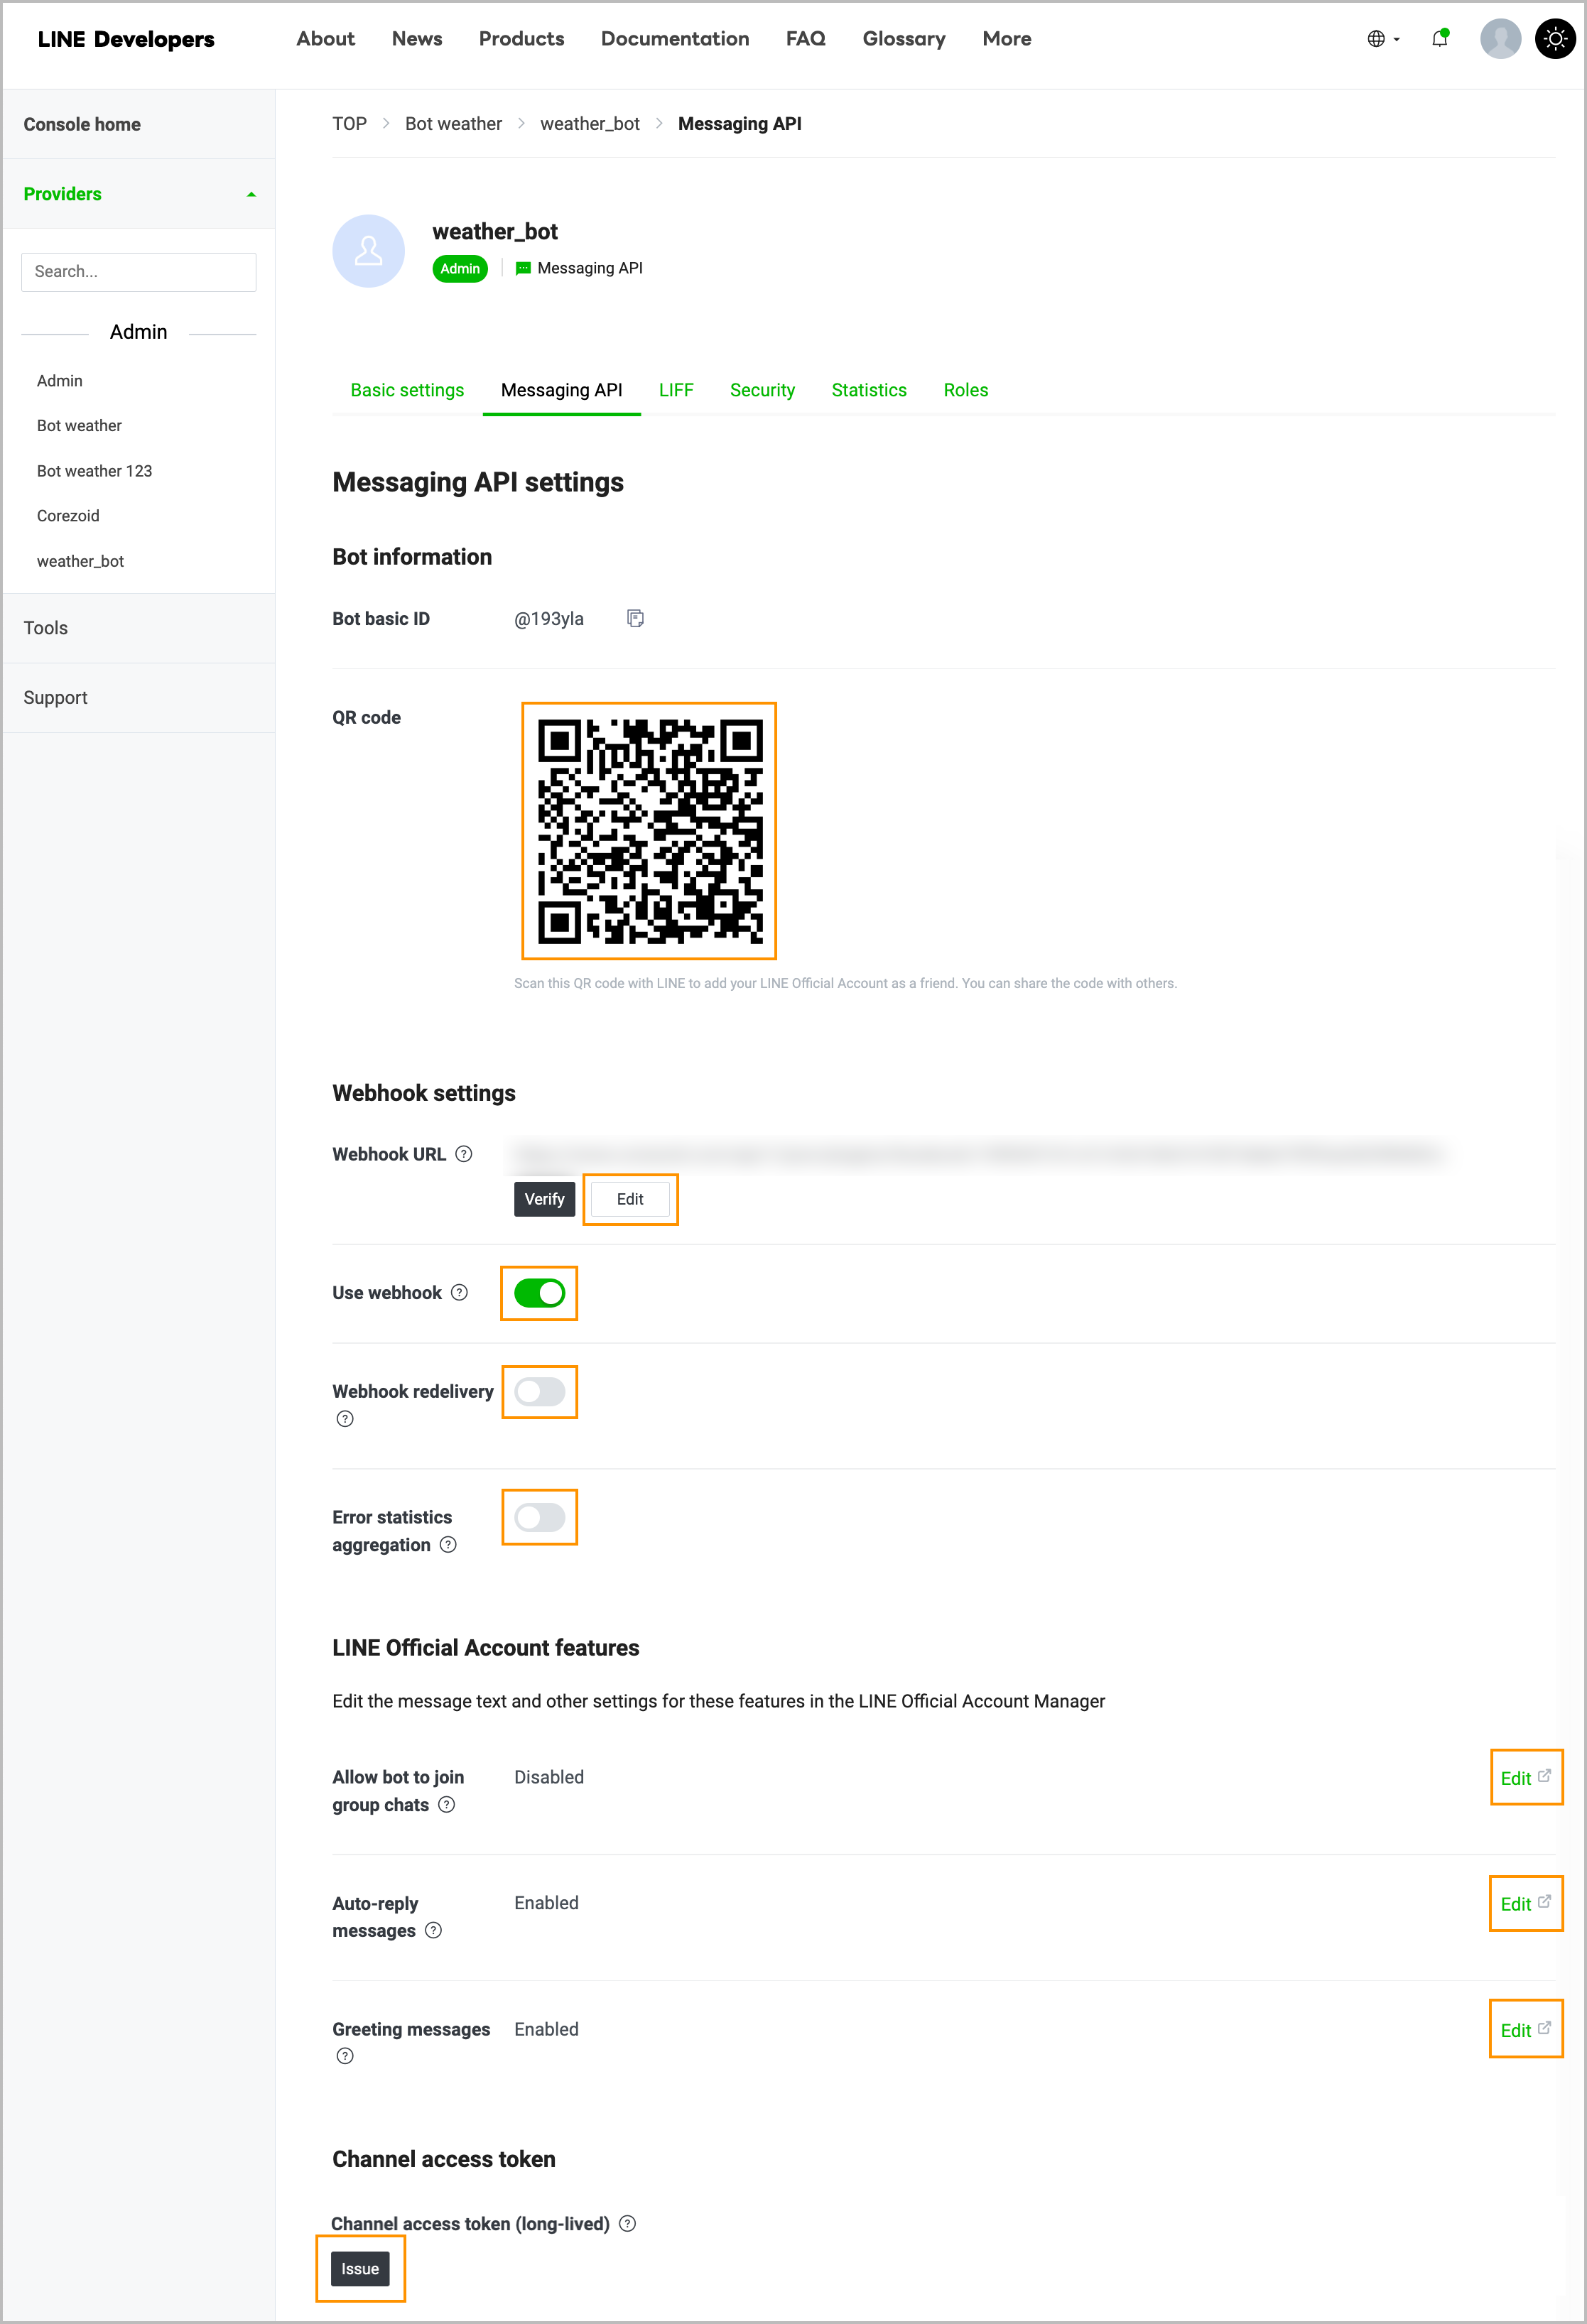
Copy the generated channel access token by clicking the copy icon.

In the config diagram, click the edit icon and in the New task dialog, insert the copied channel access token in the Value field, and click Add task.
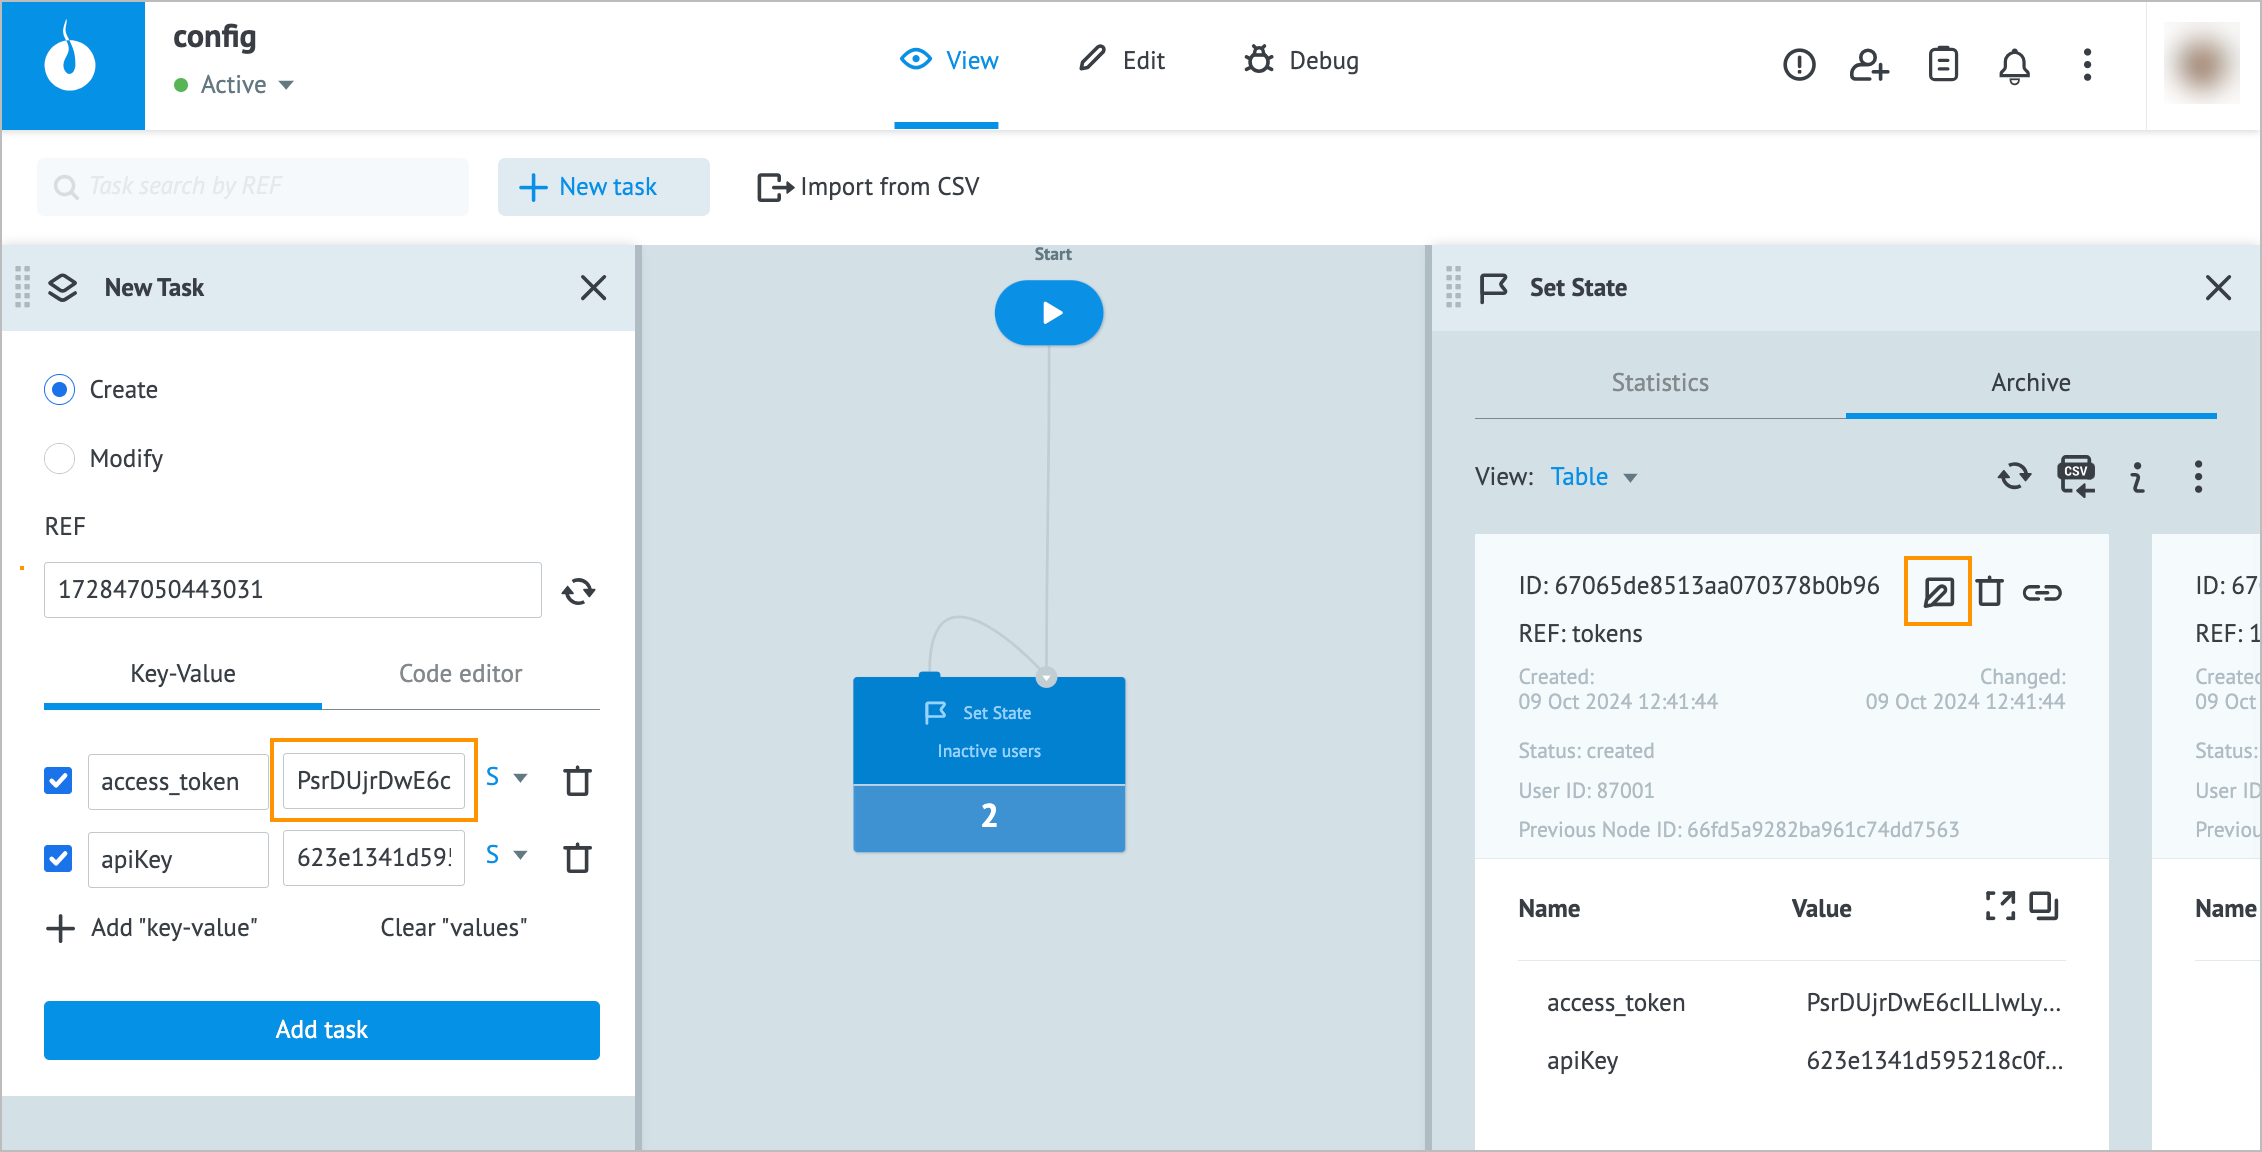
Your weather bot has been customized, and you can start using it.
Use weather bot
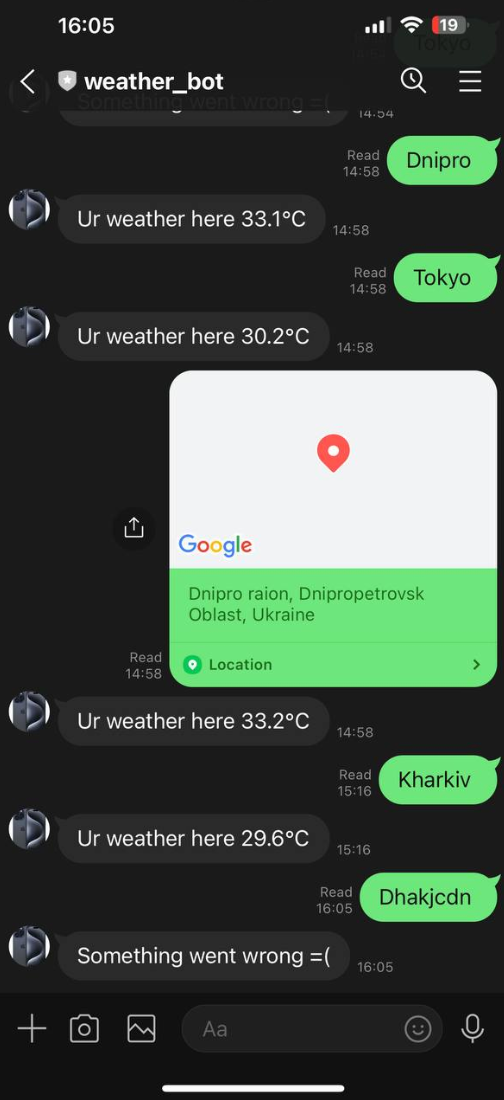
You can use the weather bot by sending either the city name or your coordinates. The bot will receive this data, fetch the relevant air temperature data, and send you a message with the result.

If a city or coordinates are specified incorrectly or there is an error occurred in the process, the weather bot sends the corresponding message.

Test and launch weather bot
To test your weather bot:
Add it to your friend list by using its ID on Line or QR code.
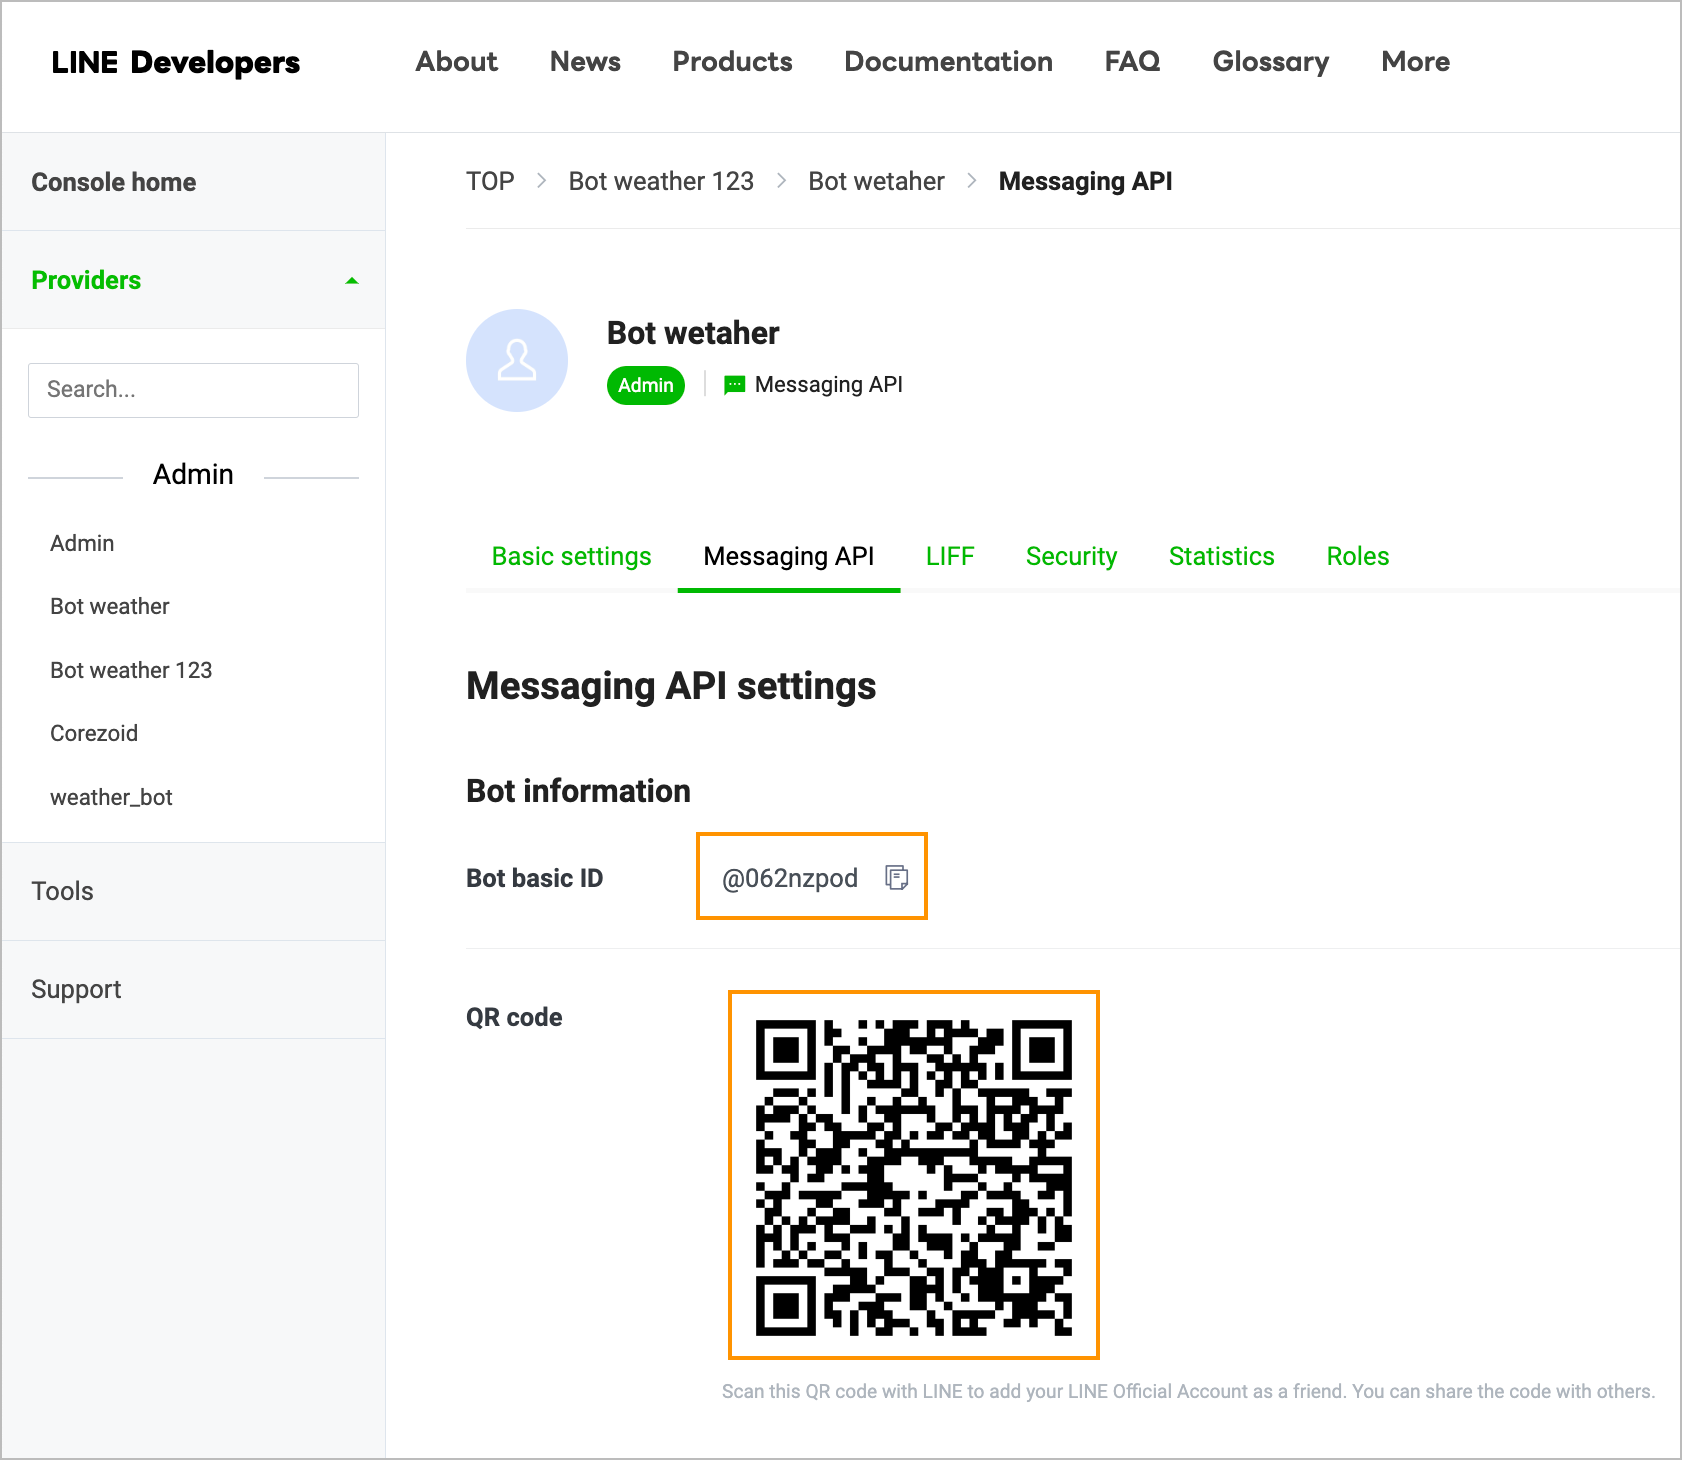
Add your bot in Line and start a chat.
