- 18 Dec 2023
- 3 Minutes to read
- Contributors

- Print
- DarkLight
- PDF
Stage
- Updated on 18 Dec 2023
- 3 Minutes to read
- Contributors

- Print
- DarkLight
- PDF
Overview
Stage is an environment where you can store your Processes, State Diagrams, and so on to test and work on. After you’ve created a project, it has two stages by default: Production and Develop.

By default, each stage includes the Aliases and Variables sections where you create and manage these objects. For more information, go to Alias and Variable.

Create stage
To create a stage:
On the Workspace tab of your company, select the needed project, and then double-click Stages.
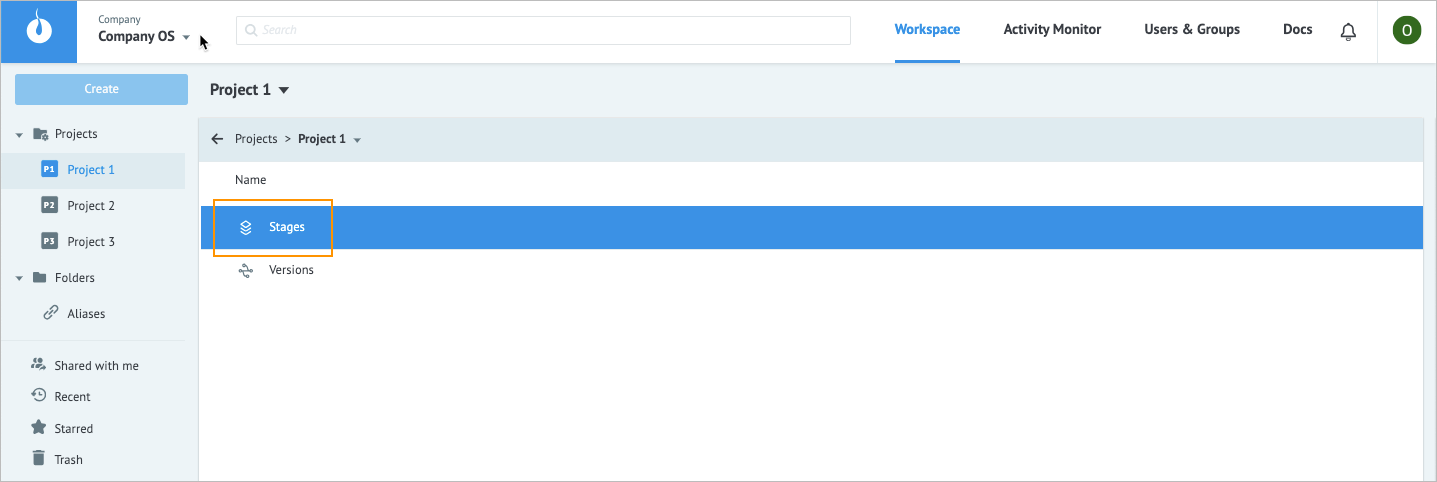
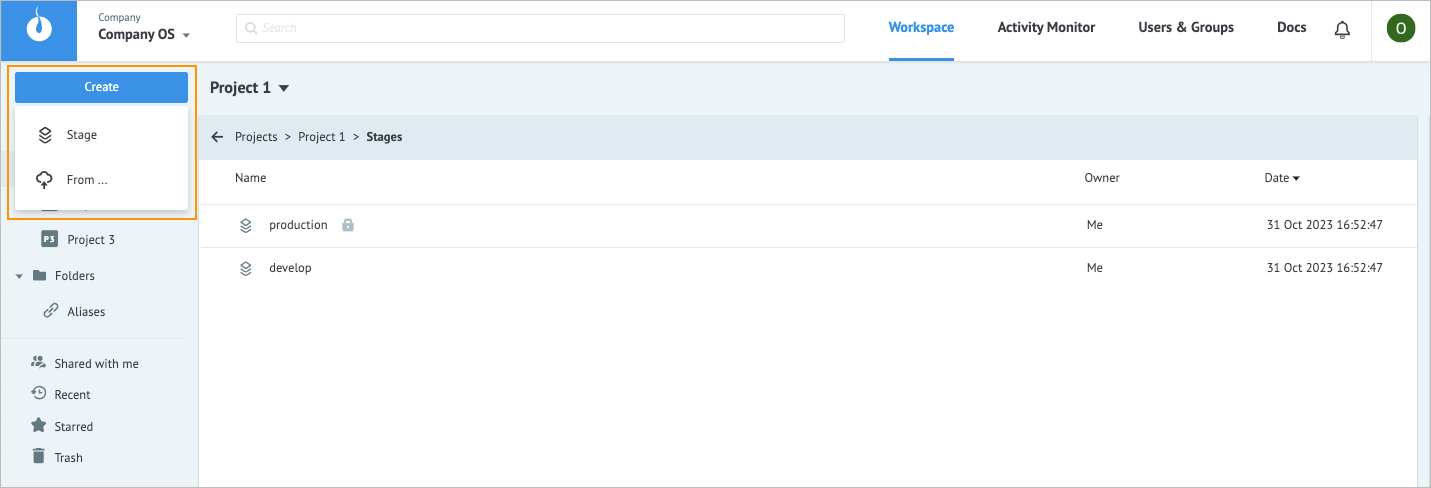
In the upper-left corner, click Create, and in the dropdown list, select Stage.
Note: You can import a stage file from your device by selecting From ….
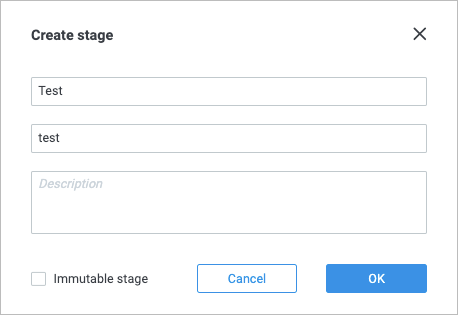
In the Create stage dialog, enter your stage name and description (optional), and then click Ok.
Note: To make the stage protected of any changes, select the Immutable stage checkbox. For more information on immutable stages, go to Immutable stage.
The new stage has been created and automatically added to Stages.

Manage stage
To see what additional actions you can perform on your stage, click the needed stage in the selected project.

Now, you can:
Share the stage with other users and groups:
- In the upper-right corner, click the share icon
 .
. - In the Invite user or group field of the Sharing settings dialog that opens, enter the name or email of the needed user or group, press Enter on your keyboard, and then click Send invitation.
Note: Users and user groups that you want to provide access to the stage, must be registered in your company.
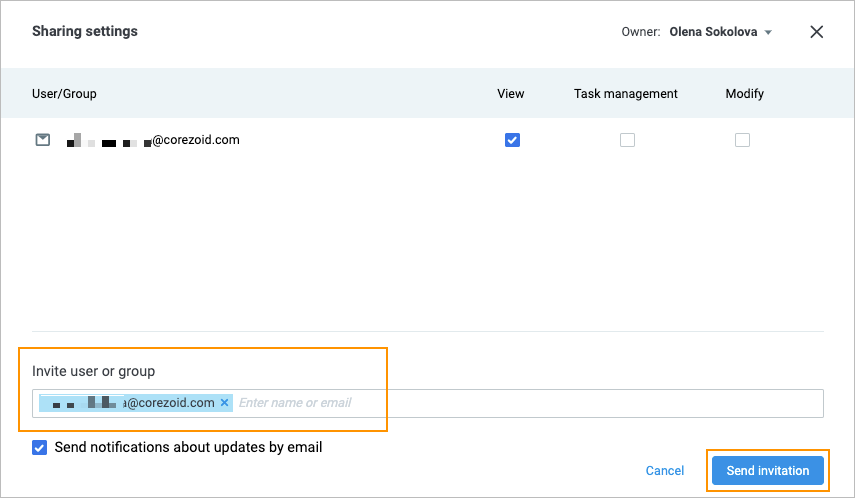
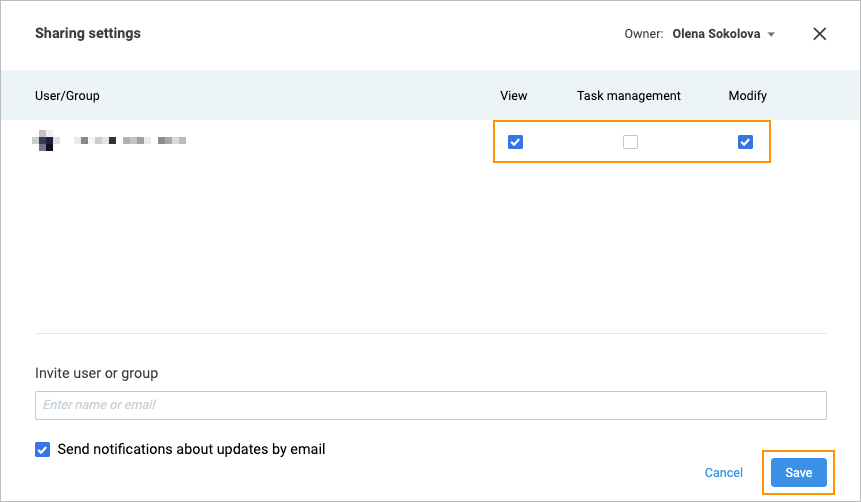
- After the selected user has confirmed the invitation by email, set the needed sharing permissions checkboxes (View, Task management, and Modify), and then click Save.
Note: You can select the permissions for the user you want to share the stage with before clicking Send invitation. Setting the permissions for a user after the user has clicked the link in the email sets the new permissions. Every time, the user receives the corresponding notification by email.
- In the upper-right corner, click the share icon
Check the stage information:
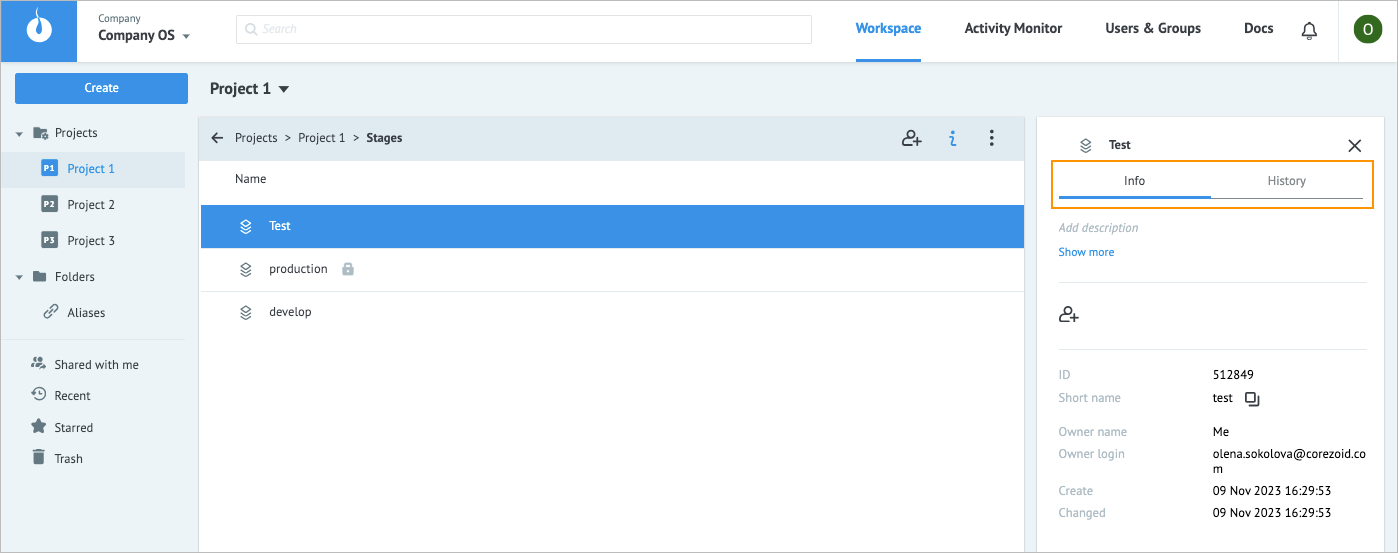
- In the upper-right corner, click the info icon
 .
. - View alias details by clicking the Info and History tabs.
- In the upper-right corner, click the info icon
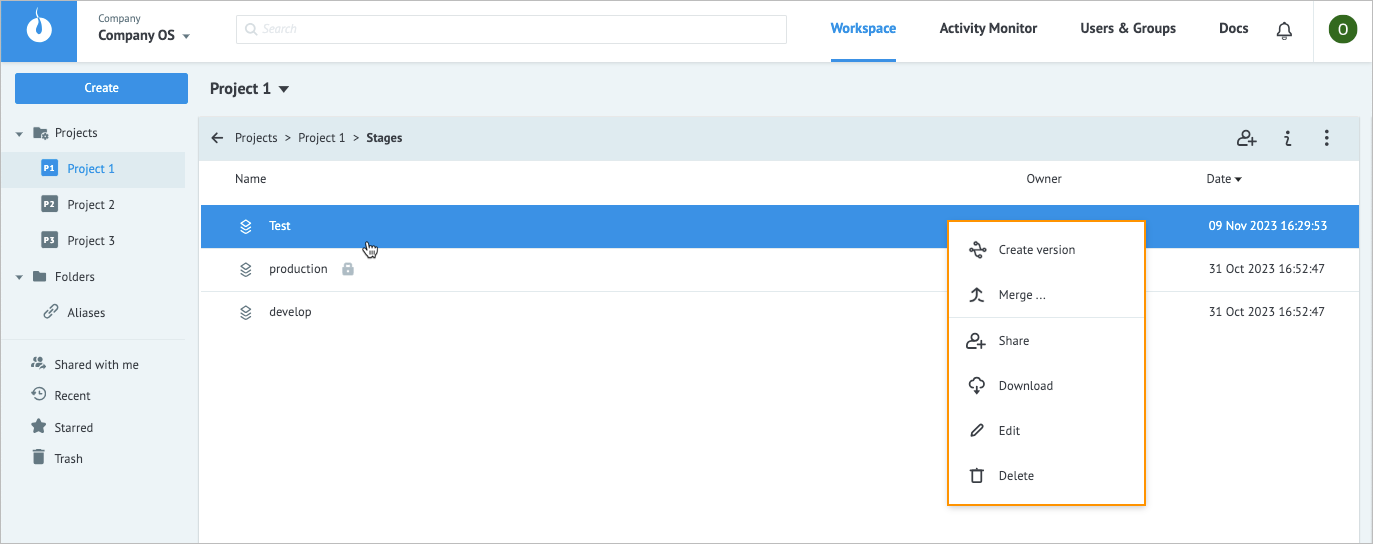
Perform more actions by using the options icon
 and clicking:
Create version to create a new version of a stage
Note: You can create versions only from the stages that contain at least one object (Process, State Diagram, and so on). If the selected stage does not have any objects, then the Create version option will be unavailable for selection and will be grayed out. For more information, go to Create version.Merge to merge a stage or a version with another stage
Note: For more information, go to Merge.Download to download the stage
Edit to change the stage name
Delete to delete the stage
Note: To perform an action on multiple stages, press Shift or Command on your keyboard, click the needed stages, and then click the options icon
 .
.
Immutable stage
When you create a project, it has two stages by default: Production and Develop. By default, the Production stage is immutable, that is protected from any changes so that no user can add any object to the immutable stage.
To make a stage immutable:
In the Stages section, click the needed stage, click the options icon, and in the dropdown list, select Edit.

In the Edit stage dialog, select the Immutable stage checkbox, and then click Ok.
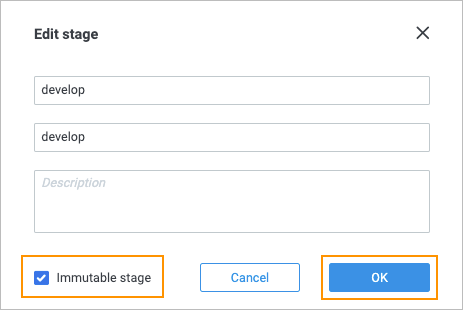
The stage becomes immutable and gets the lock icon next to its name.

Note: You can make your stage accessible for other users by deselecting the Immutable stage checkbox when editing it. So, the stage will be editable, and you can add needed objects to it.


