Groups
- 28 Feb 2024
- 2 Minutes to read
- Contributors

- Print
- DarkLight
- PDF
Groups
- Updated on 28 Feb 2024
- 2 Minutes to read
- Contributors
- Print
- DarkLight
- PDF
Article summary
Did you find this summary helpful?
Thank you for your feedback
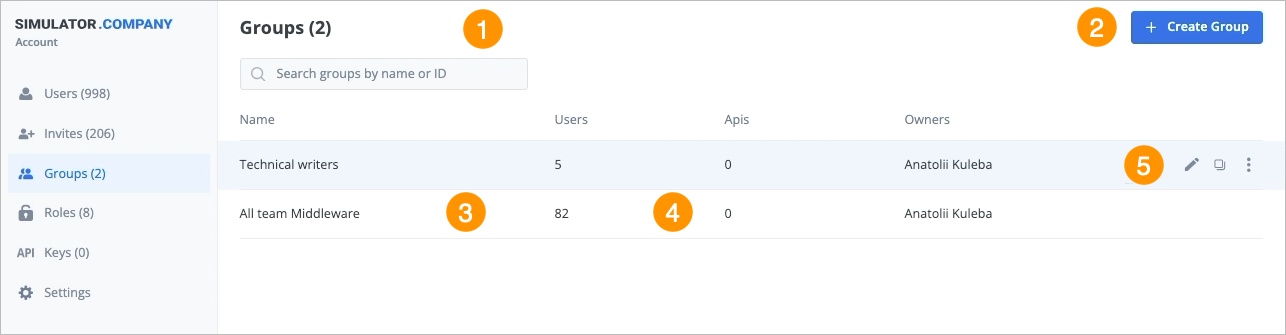
On the Groups page, you can:
- Find a group.
- Create a group.
- Add/remove a user to/from a group.
- Add/remove an API key to/from a group.
- Perform additional actions on a group.
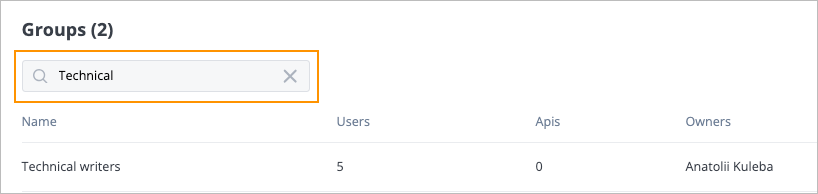
Find group
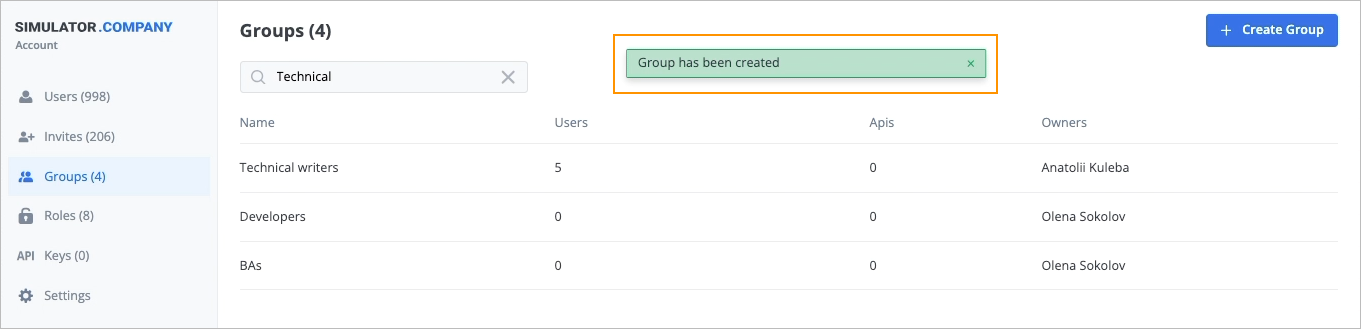
To find a group, in the Search field of the Groups page, enter the needed group name, and in the list that appears, select the group you are looking for.
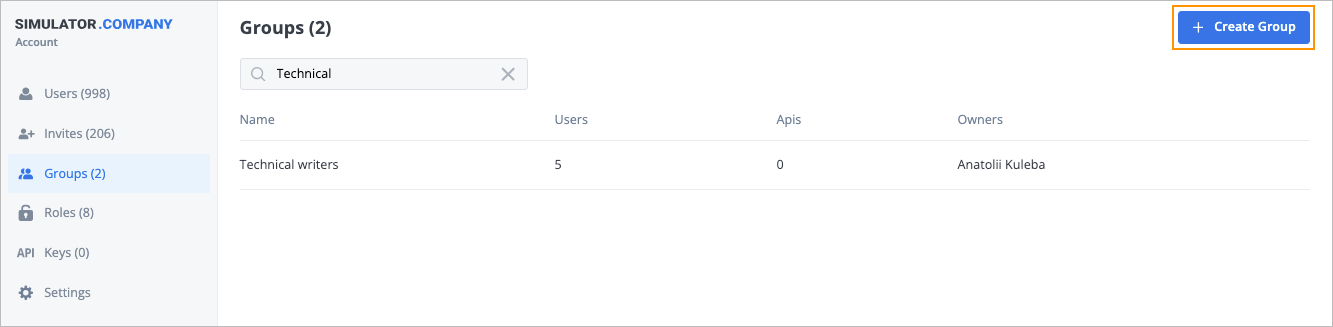
Create group
To create a group:
In the upper-right corner of the Groups page, click Create Group.
In the New group dialog, enter a group name and click Create.
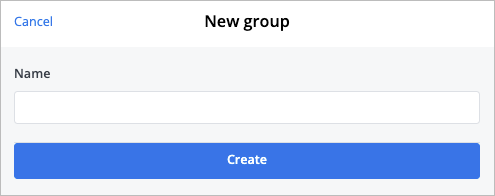


The new group is created and the success message appears at the top of the Groups page.
Add or remove a user
To add a user to a group:
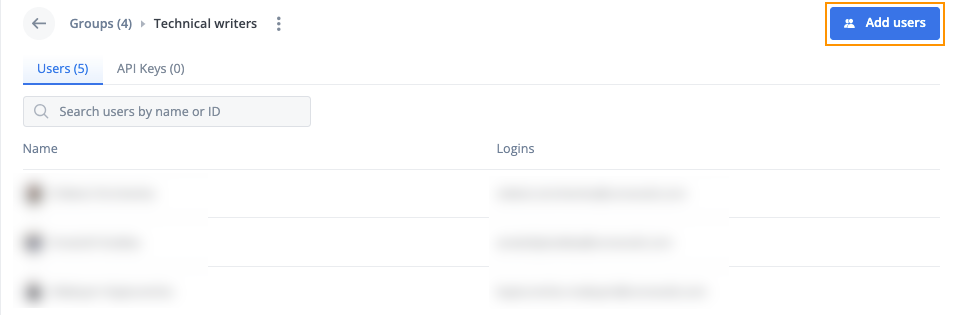
On the Groups page, select the needed group.
In the upper-right corner of the selected group page, click Add users.
In the Assign to group dialog, enter the needed user name or email and click Save.
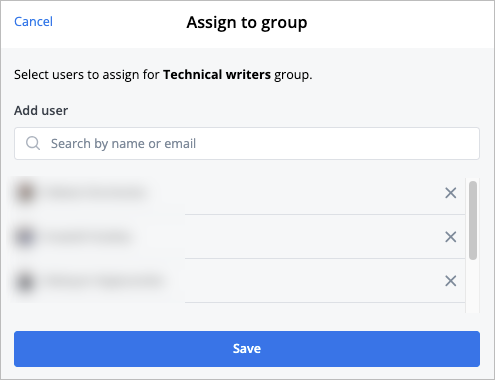


The new user is added to the group and appears in the group list.
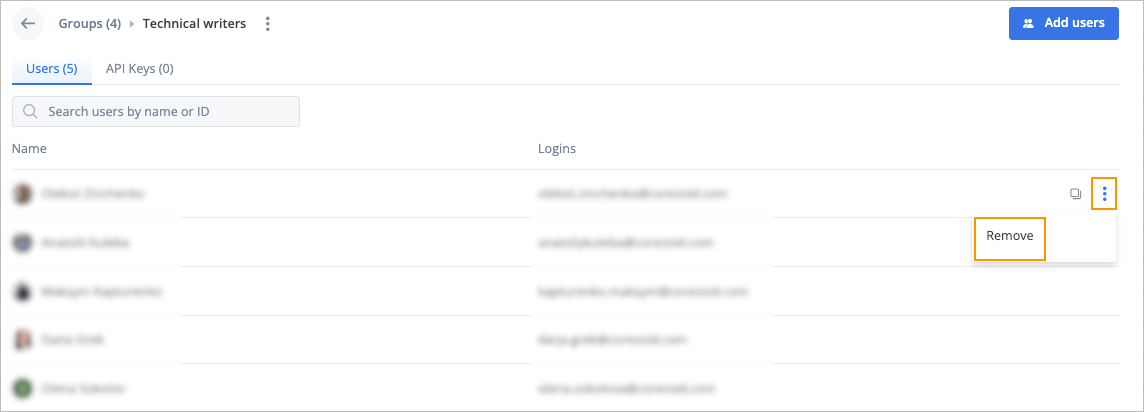
To remove a user from a group:
- On the Groups page, select the needed group.
- In the user list, hover over the needed user, click the options icon
 , and then click Remove.
 , and then click Remove.
The user is removed and doesn’t appear in the user list of the group.
Add or remove API key
To add an API key to a group:
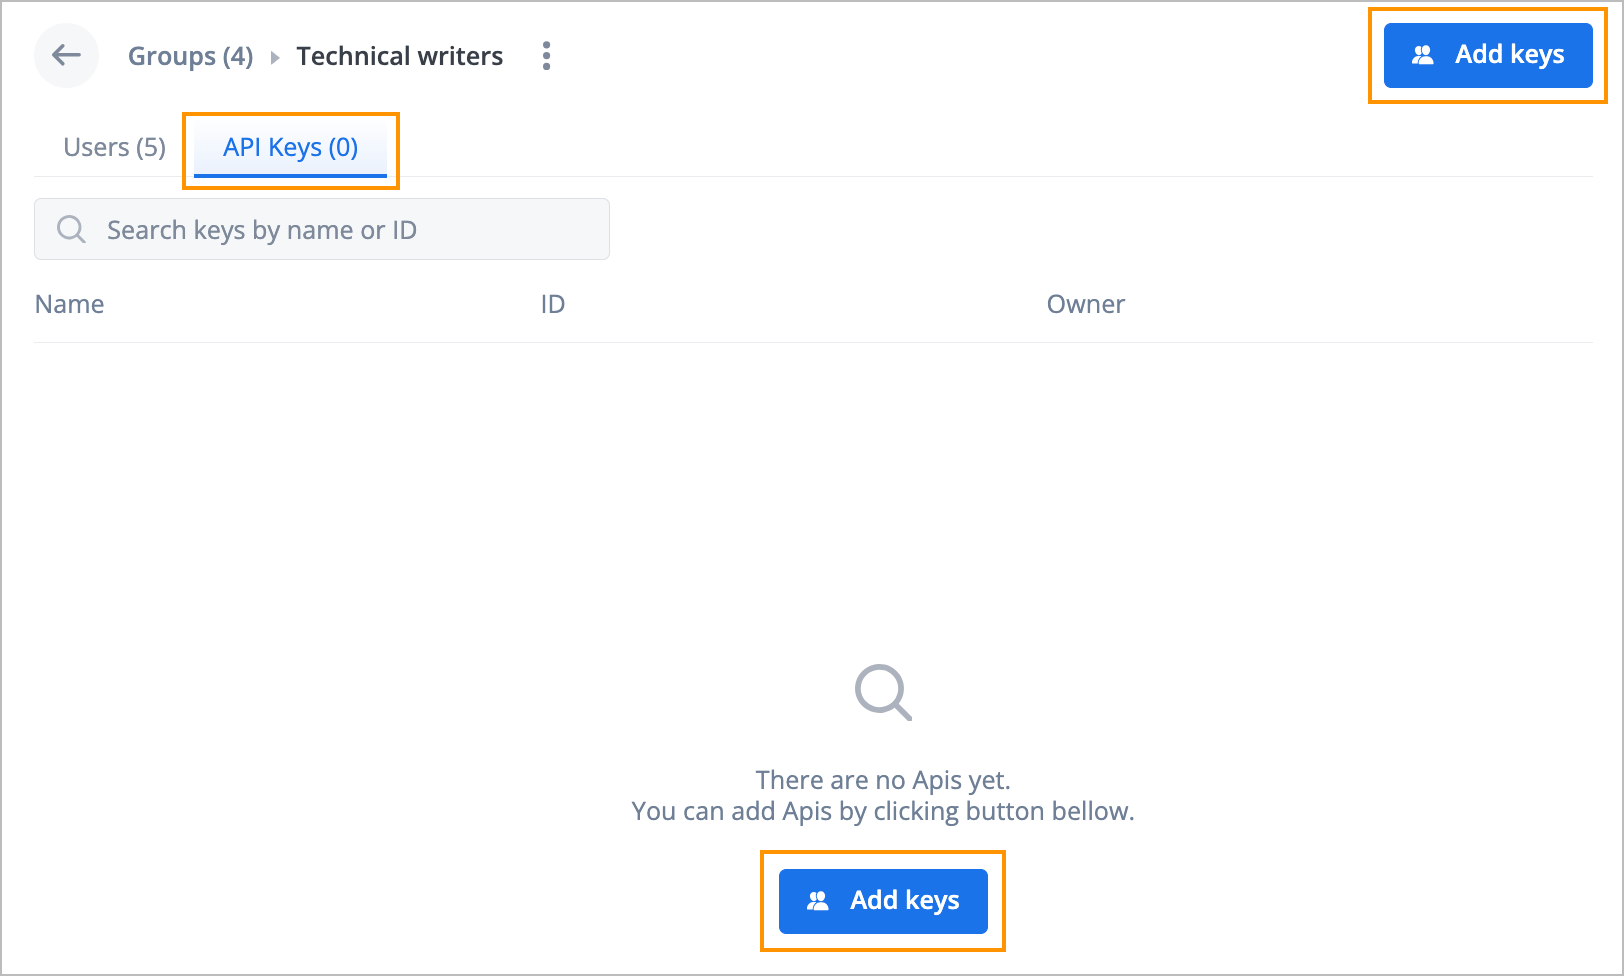
On the Groups page, select the needed group.
On the selected group page, click the API Keys tab, and then in the upper-right corner or in the middle, click Add keys.
In the Assign to group dialog, enter the needed API key and click Save.
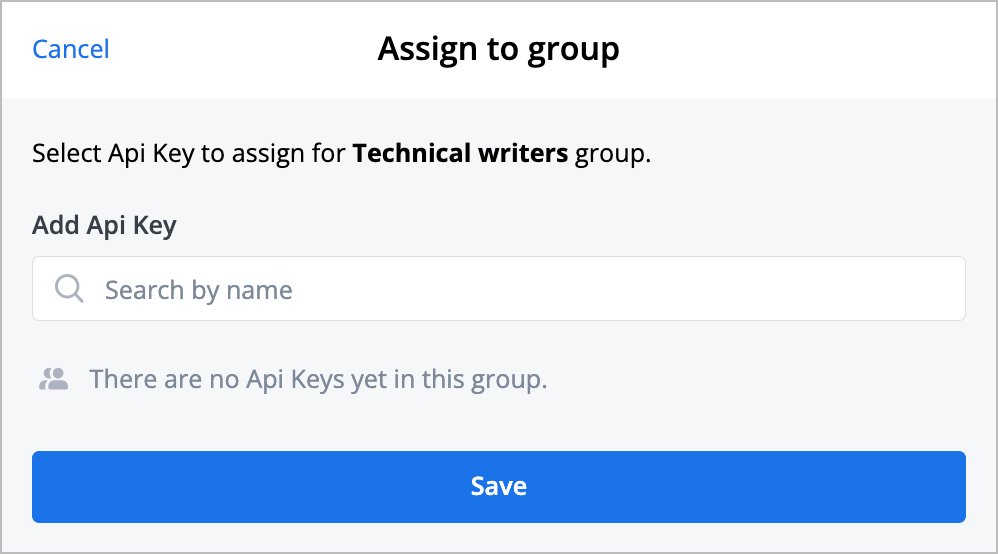


The new API key is added to the group and appears in the list of the API Keys tab.
To remove an API key from a group:
On the Groups page, select the needed group, and then on the selected group page, click the API Keys tab.
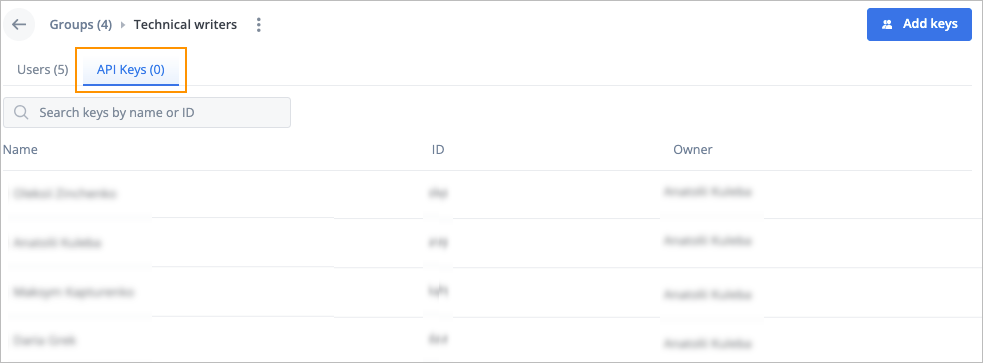
Hover over the needed API key, click the options icon
, and then click Remove.


The API key is removed and doesn’t appear in the API key list of the group.
Perform additional actions on group
On the Groups page, you can perform additional actions on a group:
Rename group
To rename a group:
Hover over the needed group and click the edit icon
 .
.
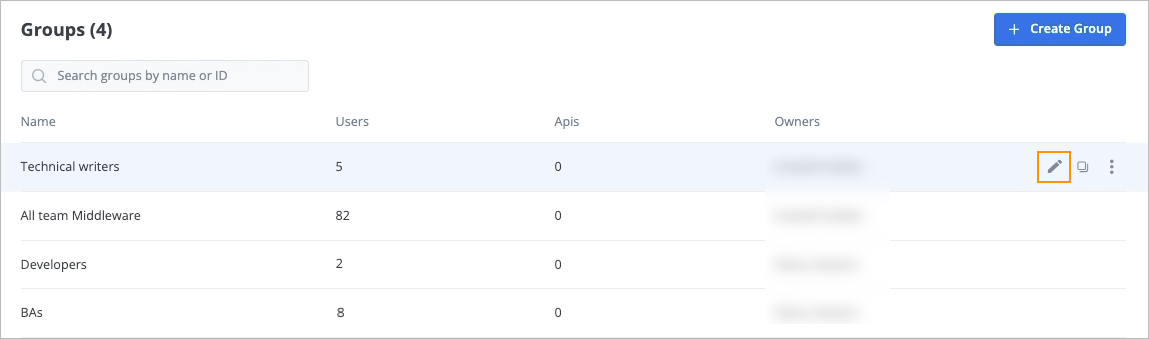
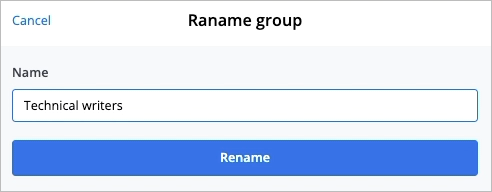
In the Rename group dialog, edit the current group name and click Rename.
 .
.

The group is renamed, and you can see it in the group list.
Copy group ID
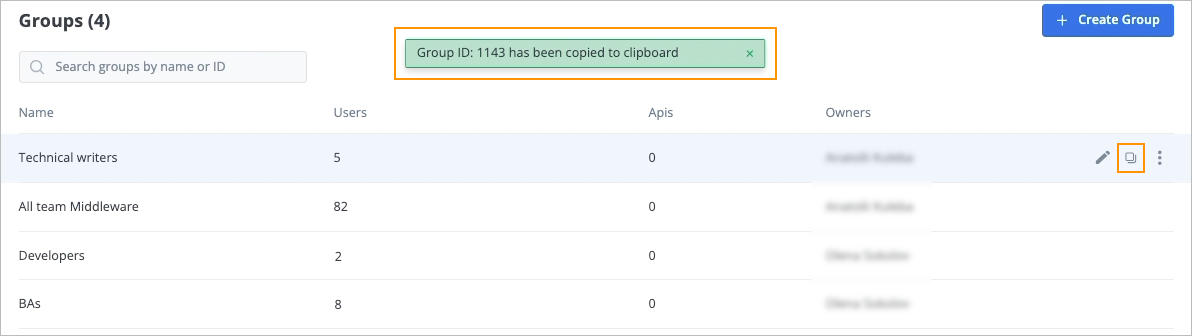
To copy a group ID, hover over the needed group and click the copy icon  . The group ID is copied, and the success message appears at the top of the Groups page.
Transfer group ownership
Note: This functionality is available only for the group owners.
To transfer group ownership:
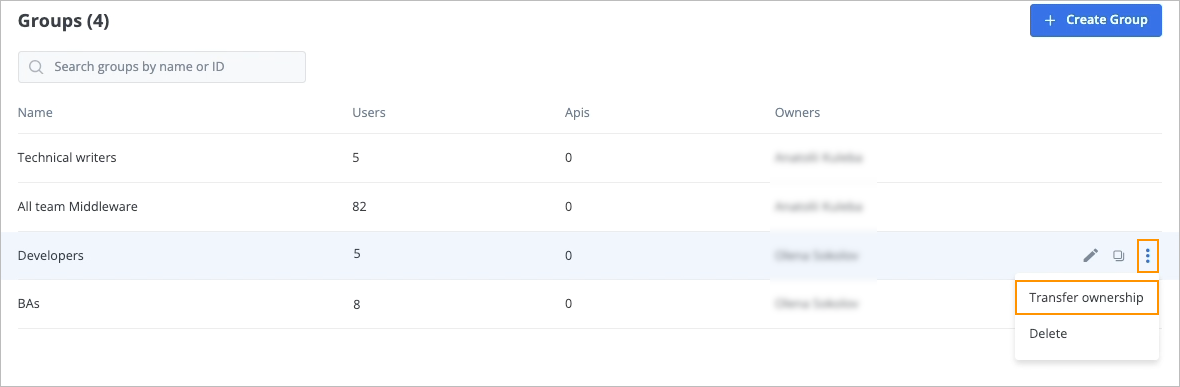
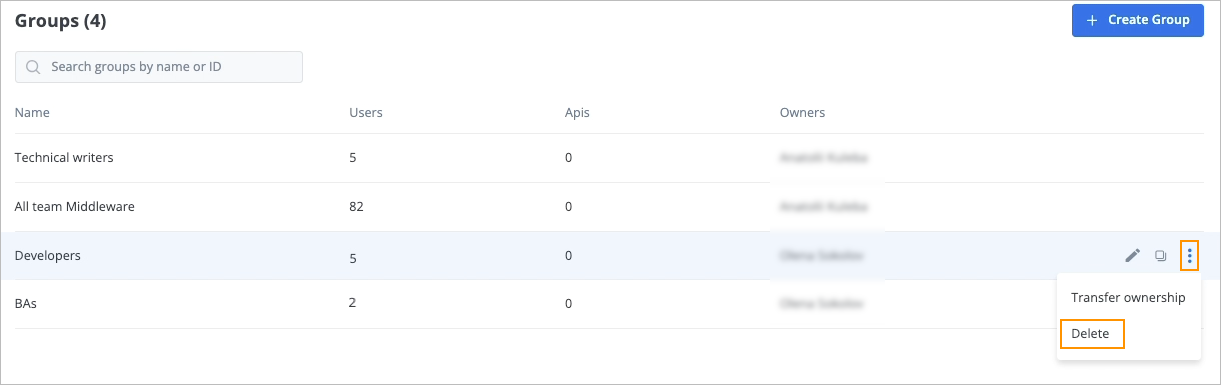
Hover over the needed group, click the options icon
, and in the dropdown list, select Transfer ownership.
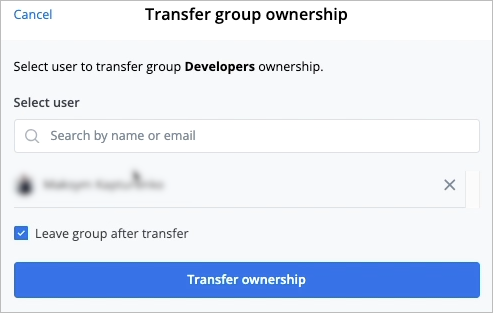
In the Transfer group ownership dialog, enter the needed user name or email and click Transfer ownership.


The specified user becomes the owner of the selected group, and you can see their role in the group list.
Delete group
To delete a group:
Hover over the needed group, click the options icon
, and in the dropdown list, select Delete.
In the confirmation Delete group dialog, click Delete.
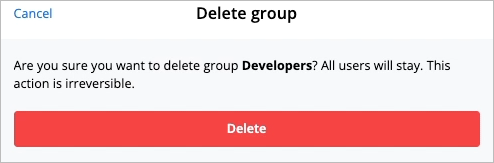


The group is deleted and doesn’t appear in the group list. The users of the deleted group are not removed from the Workspace.
Was this article helpful?