Edit event
- 06 May 2024
- 4 Minutes to read
- Contributors

- Print
- DarkLight
- PDF
Edit event
- Updated on 06 May 2024
- 4 Minutes to read
- Contributors
- Print
- DarkLight
- PDF
Article summary
Did you find this summary helpful?
Thank you for your feedback
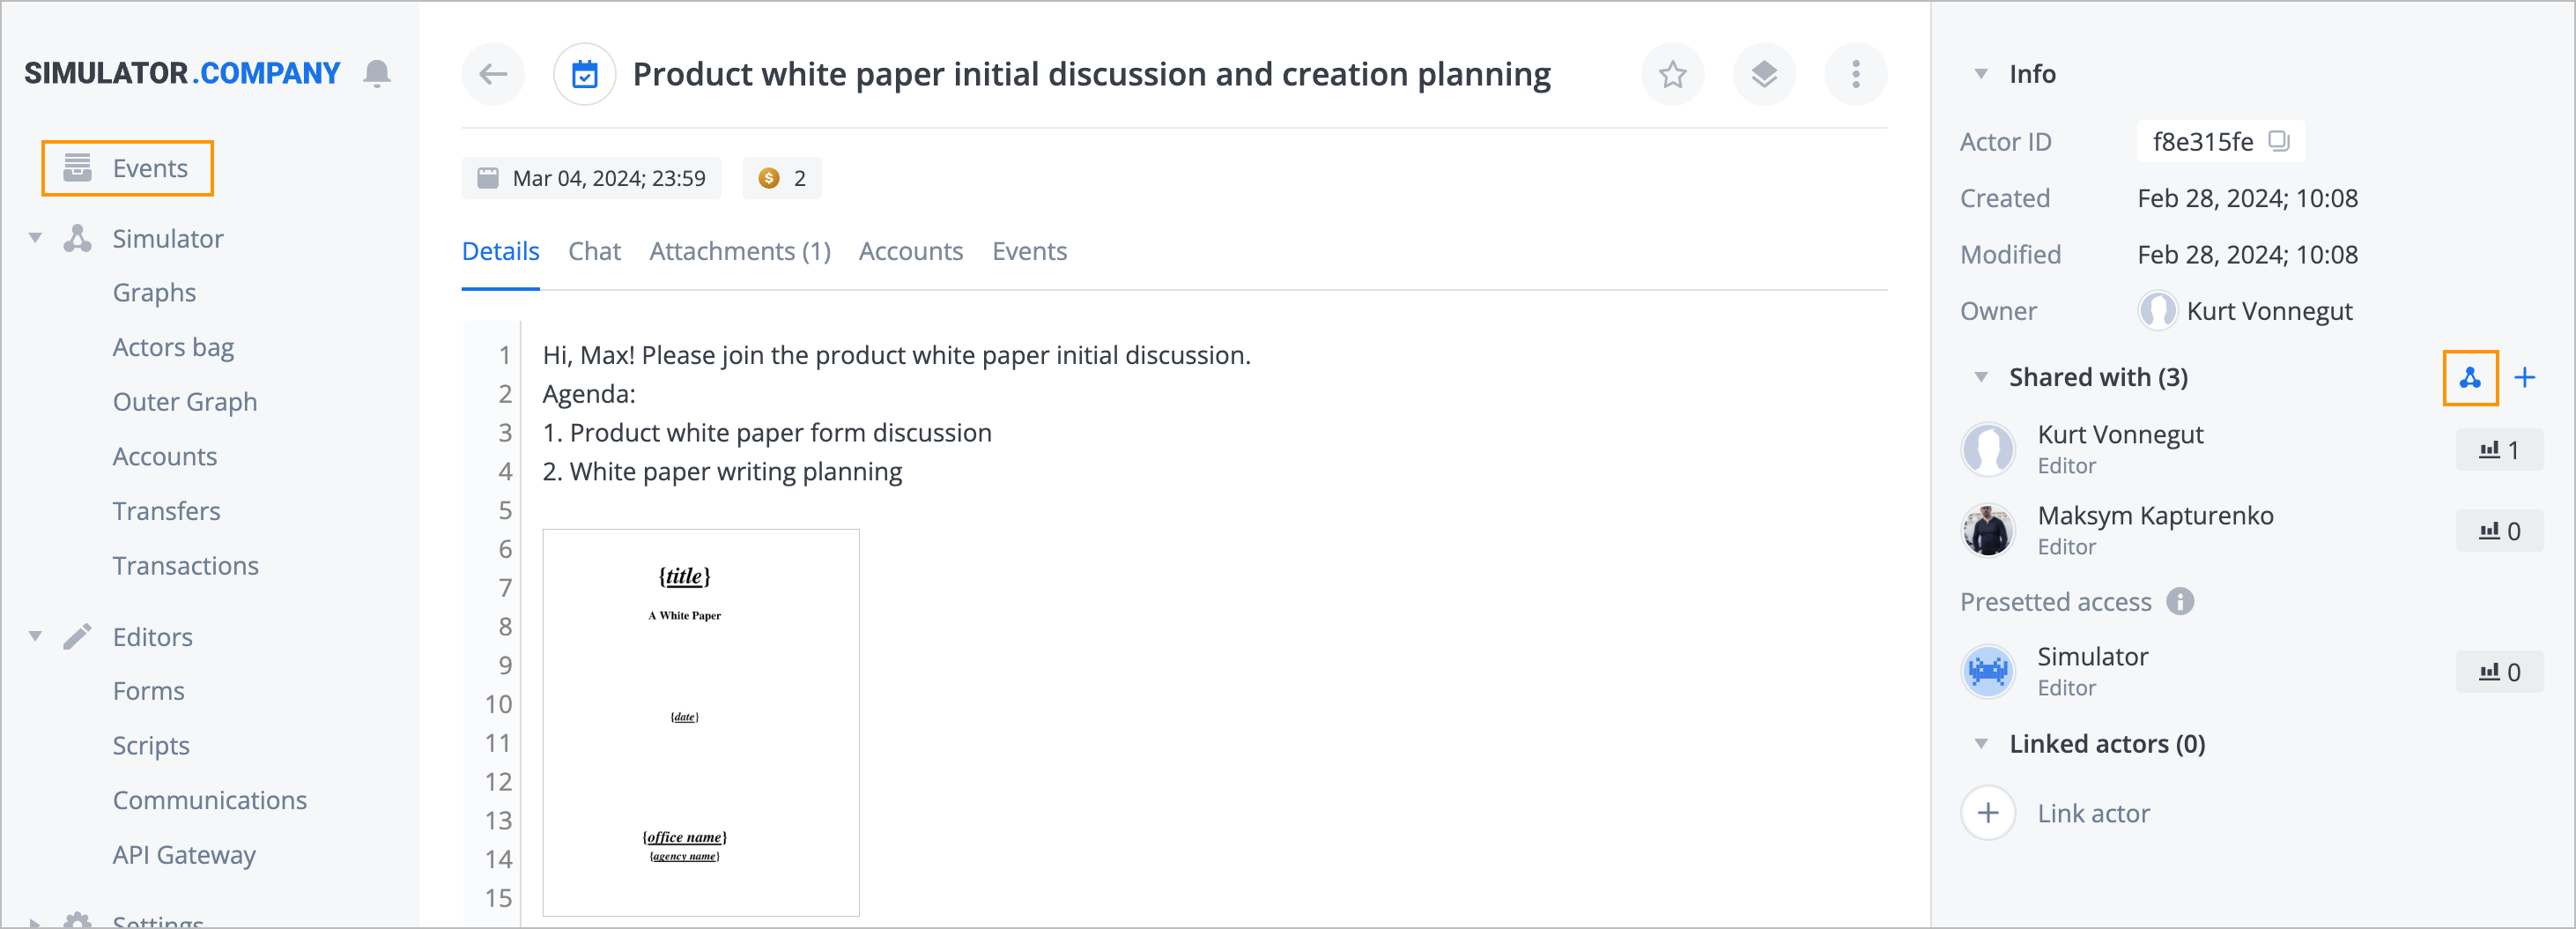
After clicking the event in the list, you can view and edit the event details. To edit an event:
On the Events page, click the needed event.
On the selected event page:
Edit the event name by clicking the edit icon
 next to the name.
Edit the date by clicking the existing date and changing it.
Perform additional actions.
Note: For more information, go to Perform additional actions.Edit the description on the Details tab by clicking the edit icon
next to it, editing the existing description, and clicking Save.Edit the Chat, Attachment, Accounts, Events tabs.
Note: An event opens on the Details tab by default. For more information, go to Edit tabs.Add a comment, a reaction, a file, or a script to an event.
Note: For more information, go to Add comment, reaction, file, and script.Copy the event ID by clicking the copy icon
 next to the ID.
Manage access rules. Link an actor by clicking Link actor and selecting the needed actor from the list.
Note: For more information, go to Manage event access rules.Link an actor by clicking Link actor and selecting the needed actor from the list.

 next to the name.
 next to the ID.
Perform additional actions
To perform additional actions on the event, on the selected event page:
Click the star icon to make the event your favorite.

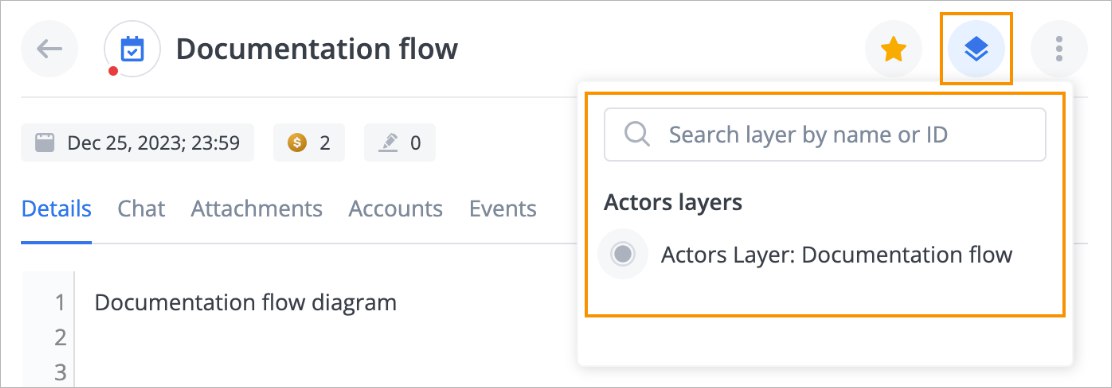
Click the layer icon to find the needed layer and to see the event on it.
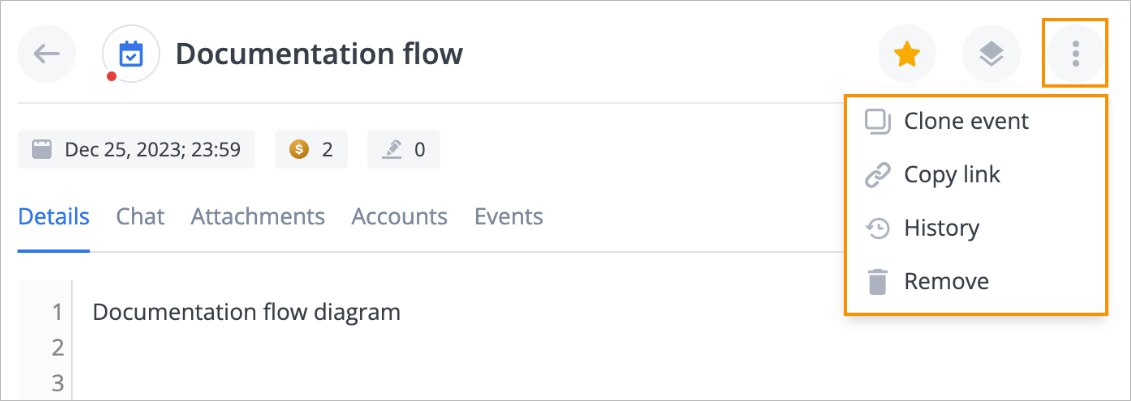
Click the options icon and select:
- Clone event to copy the event.
- Copy link to copy the link and share it with other users.
- History to see the history of the event creation.
- Remove to remove the event.


Edit tabs
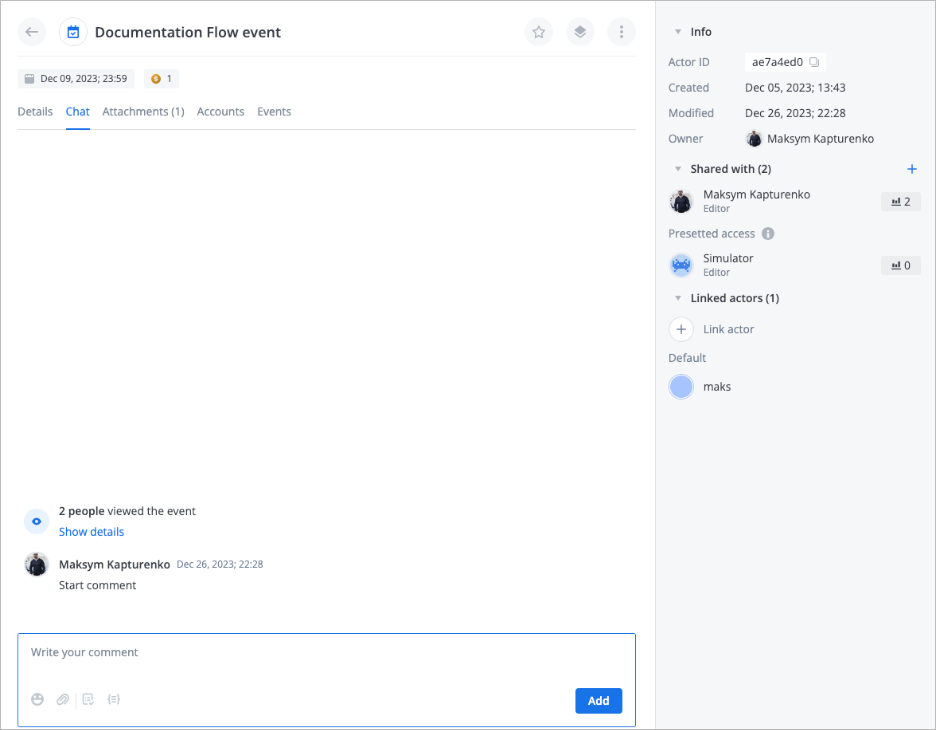
Chat tab
On the Chat tab, you can view event-related comments and reactions as well as edit and manage your comments and reactions. To add a comment, enter your comment in the Comment field and click Add.
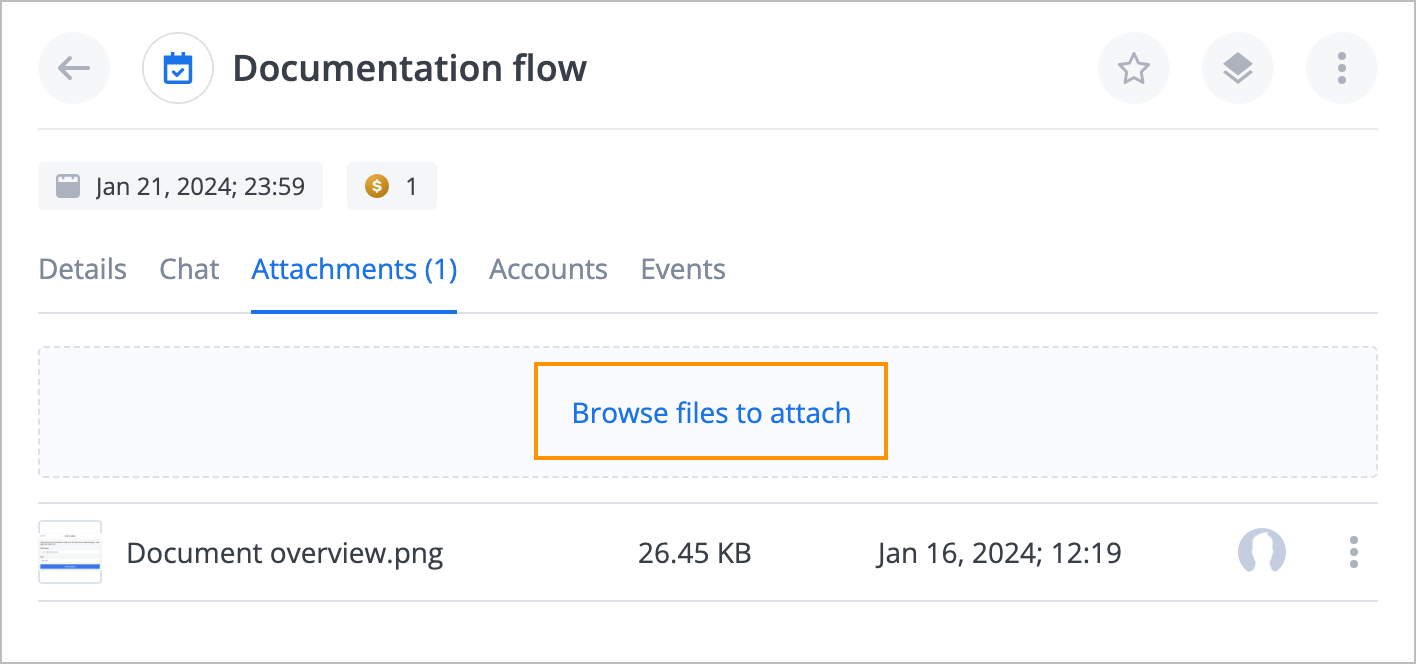
Attachments tab
On the Attachments tab, you can:
View attached files and attach new ones by clicking Browse files to attach and browsing to the file you want to attach.
Note: The number of attached files is displayed on the right side of the tab name.
Copy link, download and remove the attached files by clicking the options icon and selecting Copy link, Download, or Remove correspondingly.


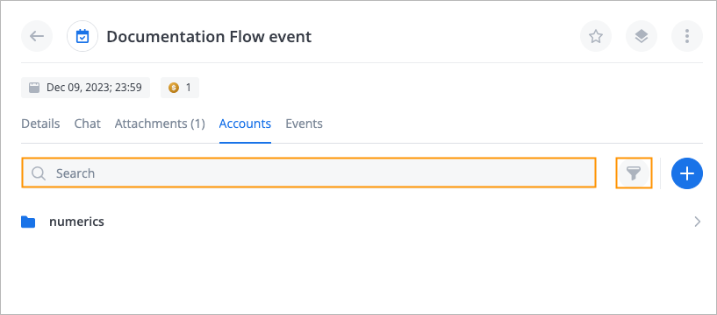
Accounts tab
On the Accounts tab, you can:
Find the needed accounts by using the Search field.
Filter accounts by clicking the filter icon

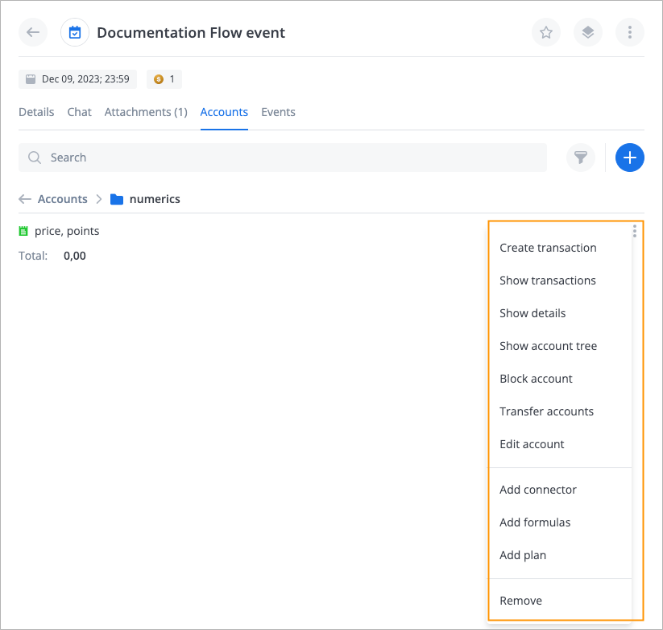
View account details and perform additional actions by selecting the needed account, and then clicking the options icon

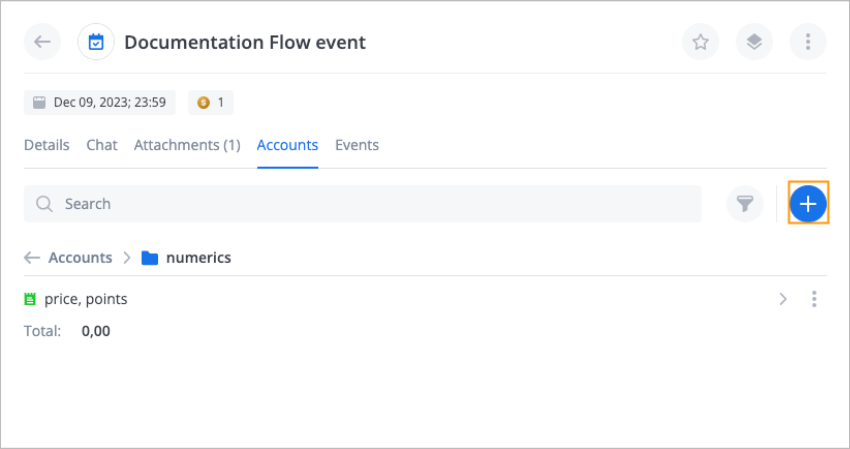
Create a new account:
a. Click the plus icon
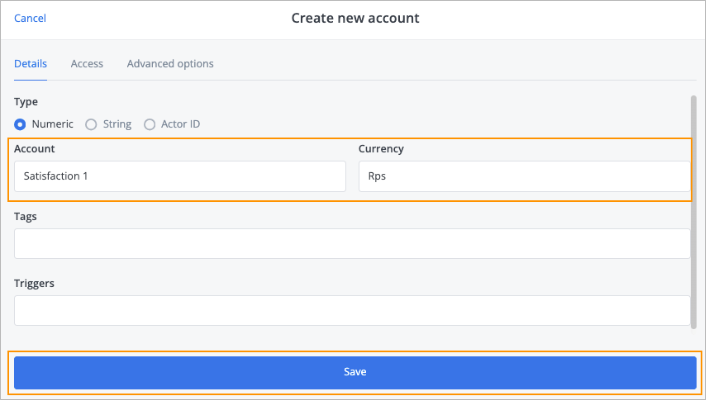
b. In the Create new account dialog that appears, enter an account and currency, and then click Save.


Events tab
On the Events tab, you can add a new event to the current one by clicking Add event and filling in the New event dialog. The newly added event appears below the Add event button, and you can edit it by clicking its title.
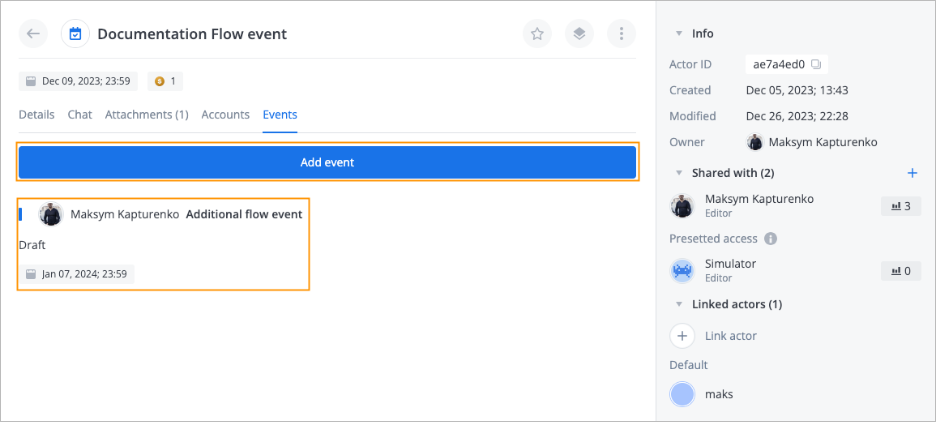
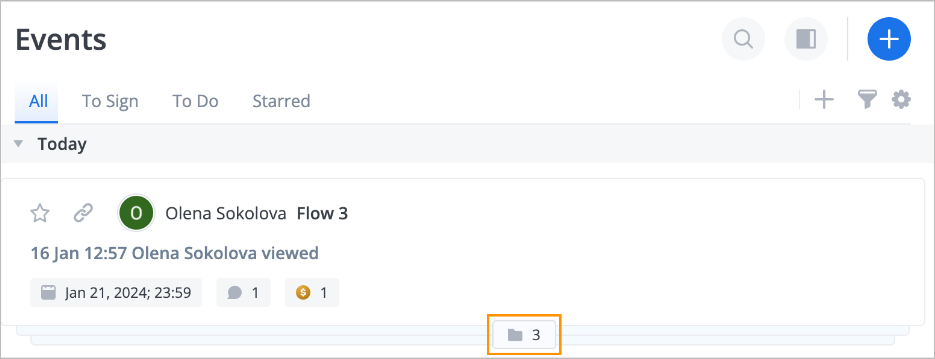
Note: When you have several events created in one event, the last one appears in the list with the folder icon that shows the number of related events. Click the folder icon to see the related event details.
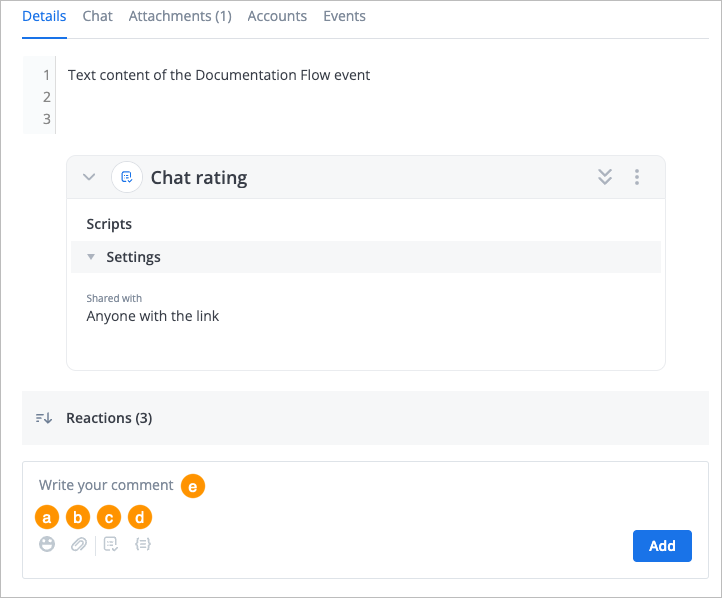
Add comment, reaction, file, and script
On the Details and Chat tabs, you can add comments, reactions, files, and scripts to an event:
In the Comment field:
- Click the emoji icon to open the emoji selection menu and add emojis.
- Click the clip icon to attach a file.
- Click the script icon to add a script.
- Click the snippet icon to open the snippet selection menu and add a snippet text.
- Enter your comment.
Click Add to save changes.
Manage event access rules
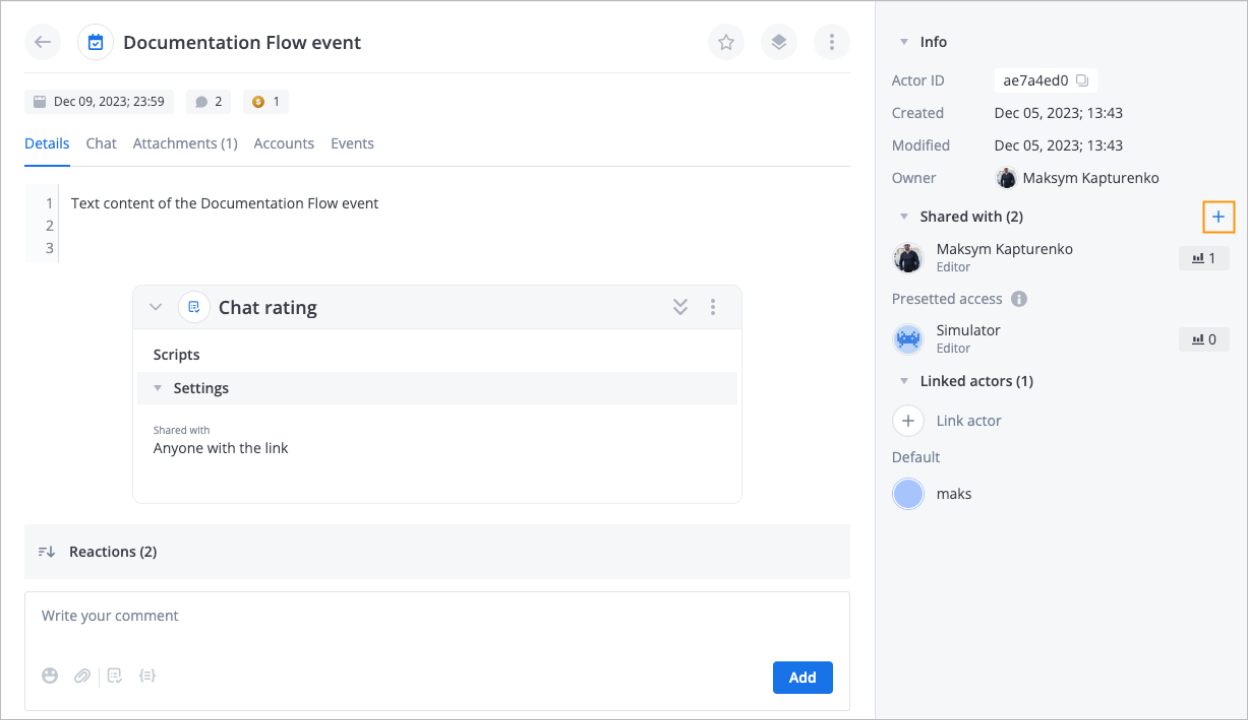
You can select users and API keys with which you want to share the event and configure access rules. To do so:
On the event details panel, click the manage access rules icon
 .
.
In the Search field of the Manage access rules dialog that opens:
a. Find the needed users or API keys, add them to a group if needed, and then click Add.
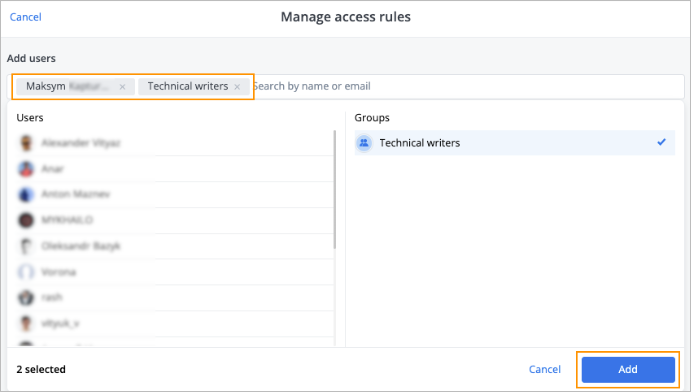
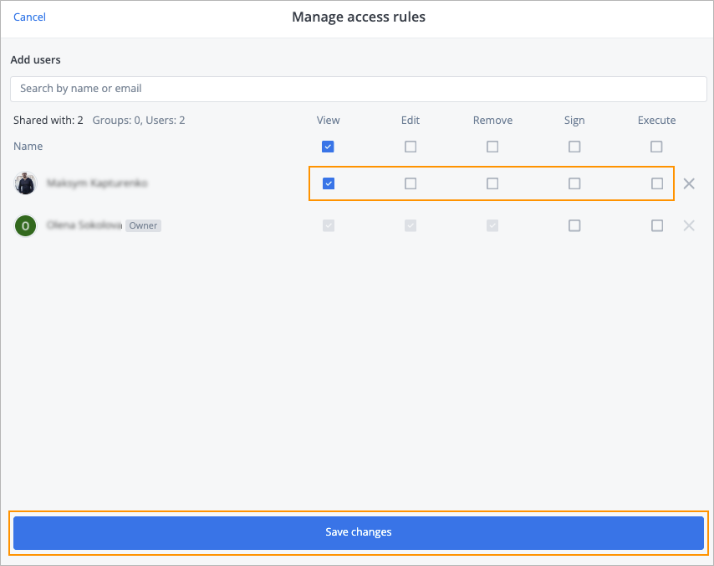
b. Select the needed checkboxes to grant corresponding permissions (View, Edit, Remove, Sign, and Execute), and then click Save changes.
Note: You can remove users from the list by clicking the cross icon .
.
 .
.

 .
.
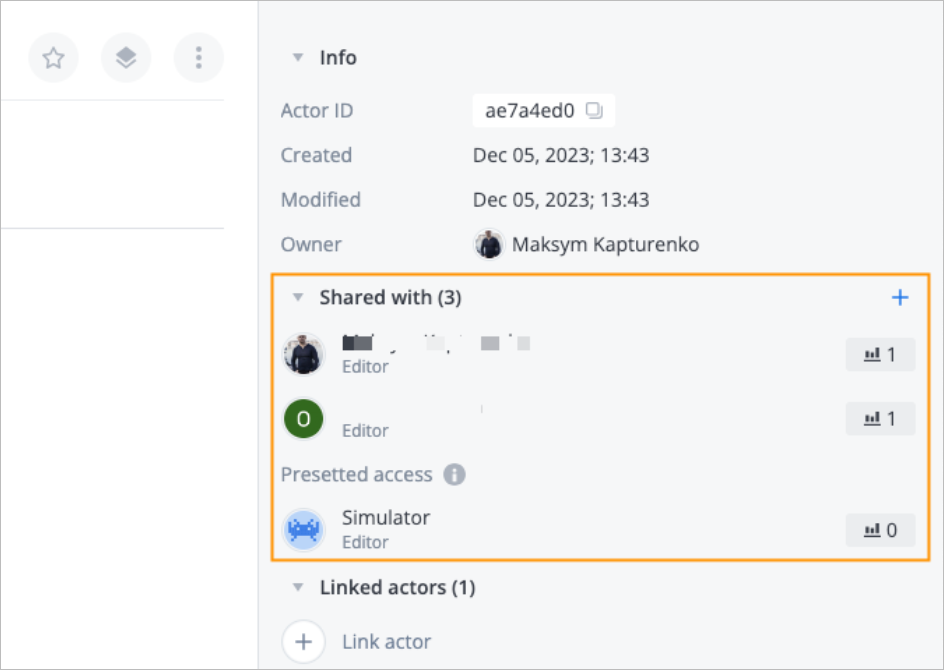
You can see the added users, API keys, and their access permissions in the Shared with section of the event details panel. The Simulator user with the Editor permission is added to the list by default to maintain system access to the event.
You can also view the event's current access scheme on a graph.
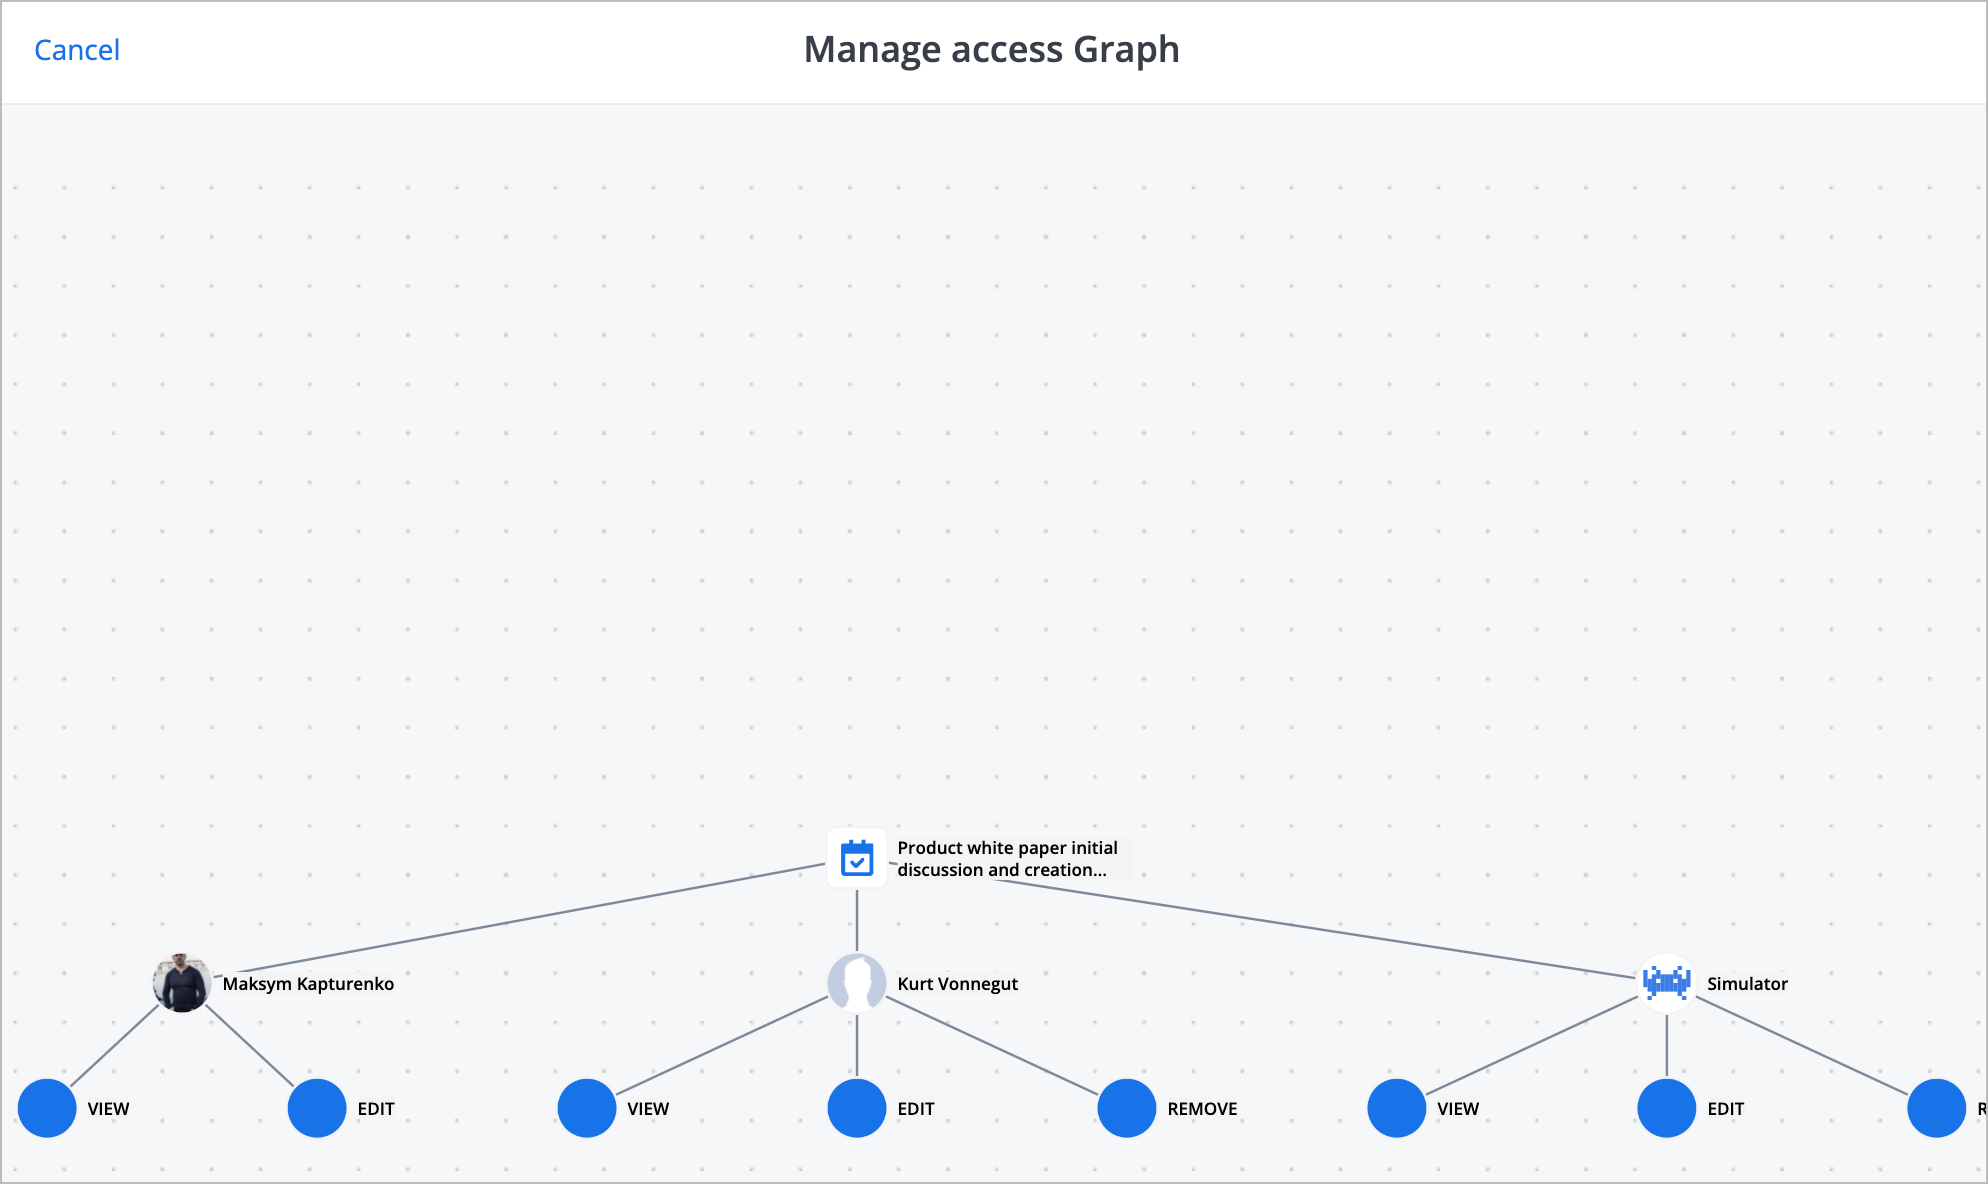
To view the access scheme for an event on the Events page, on the event details panel, click the access graph icon  .
.
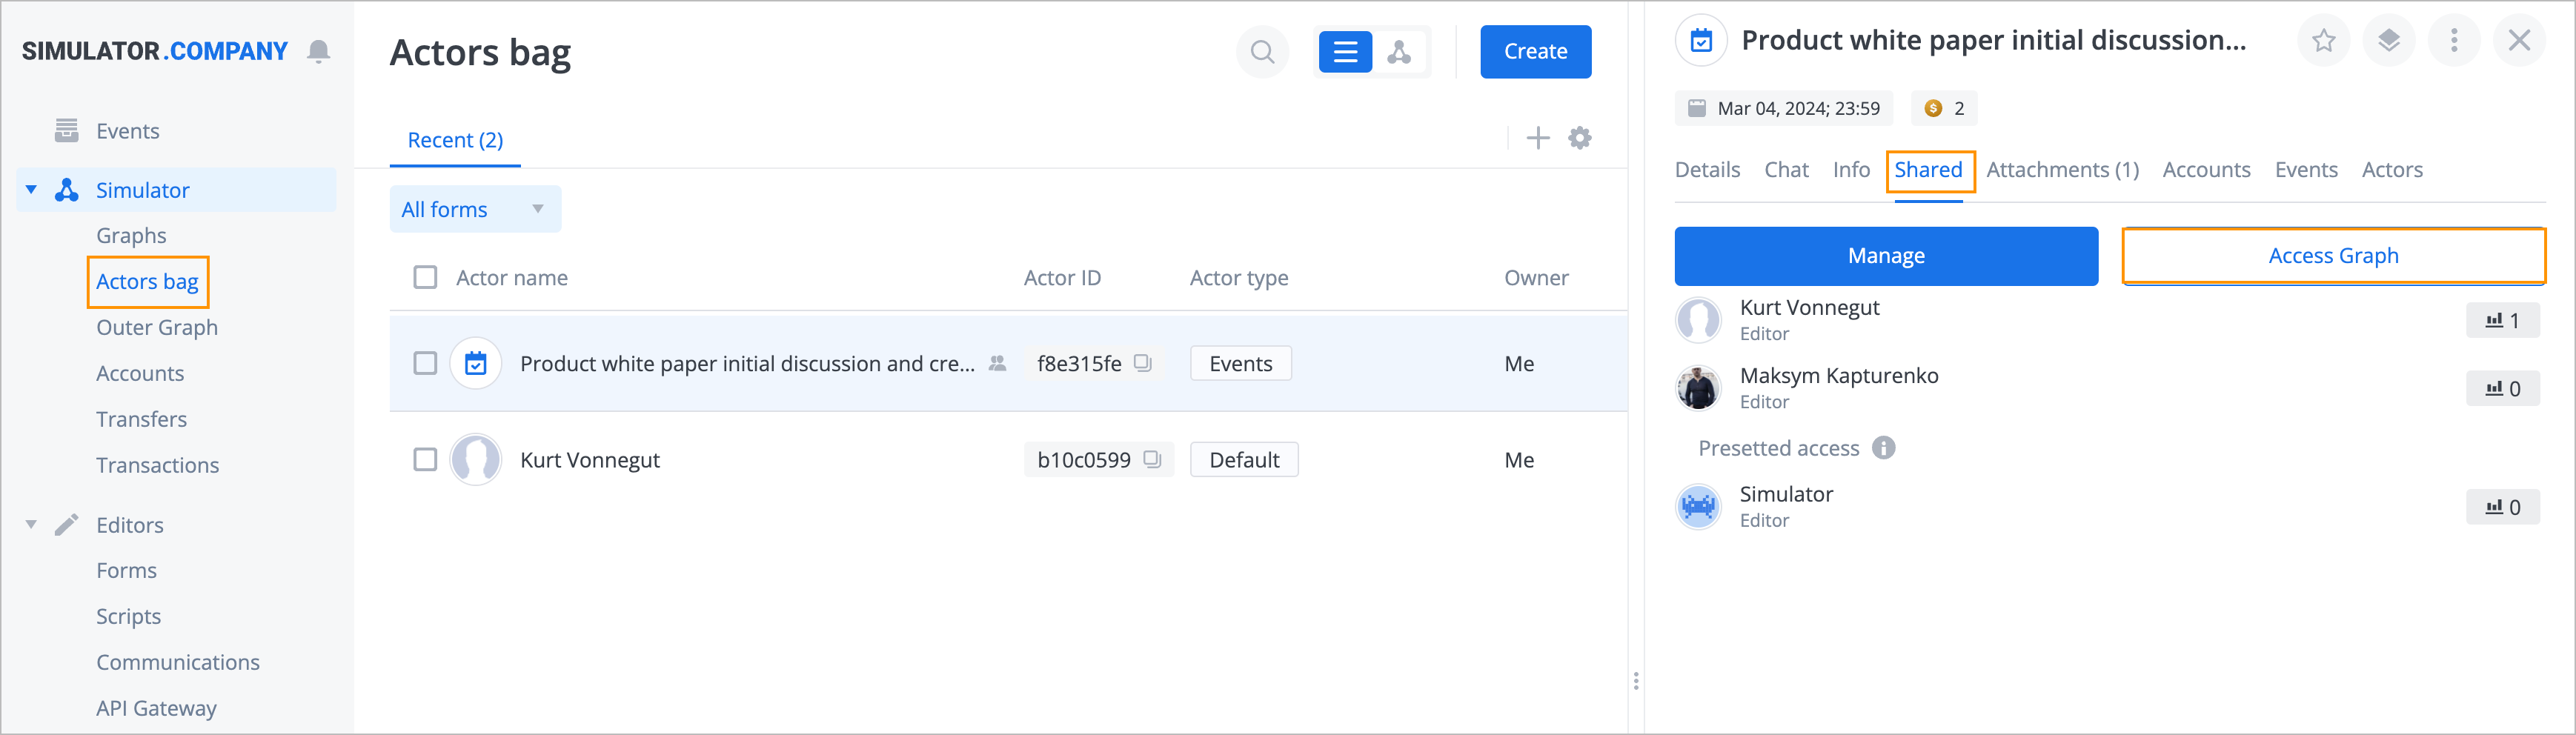
To view the access scheme for an event on the Actors bag page:
- Click the needed event in the list
- On the actor side panel, open the Shared tab
- Click Access Graph
Was this article helpful?