Create event
- 06 May 2024
- 1 Minute to read
- Contributors

- Print
- DarkLight
- PDF
Create event
- Updated on 06 May 2024
- 1 Minute to read
- Contributors
- Print
- DarkLight
- PDF
Article summary
Did you find this summary helpful?
Thank you for your feedback
To create a new event:
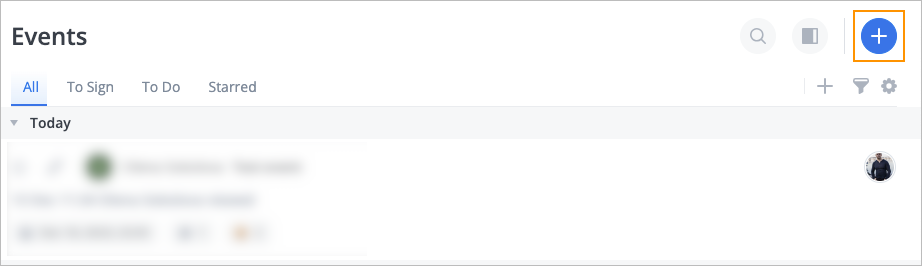
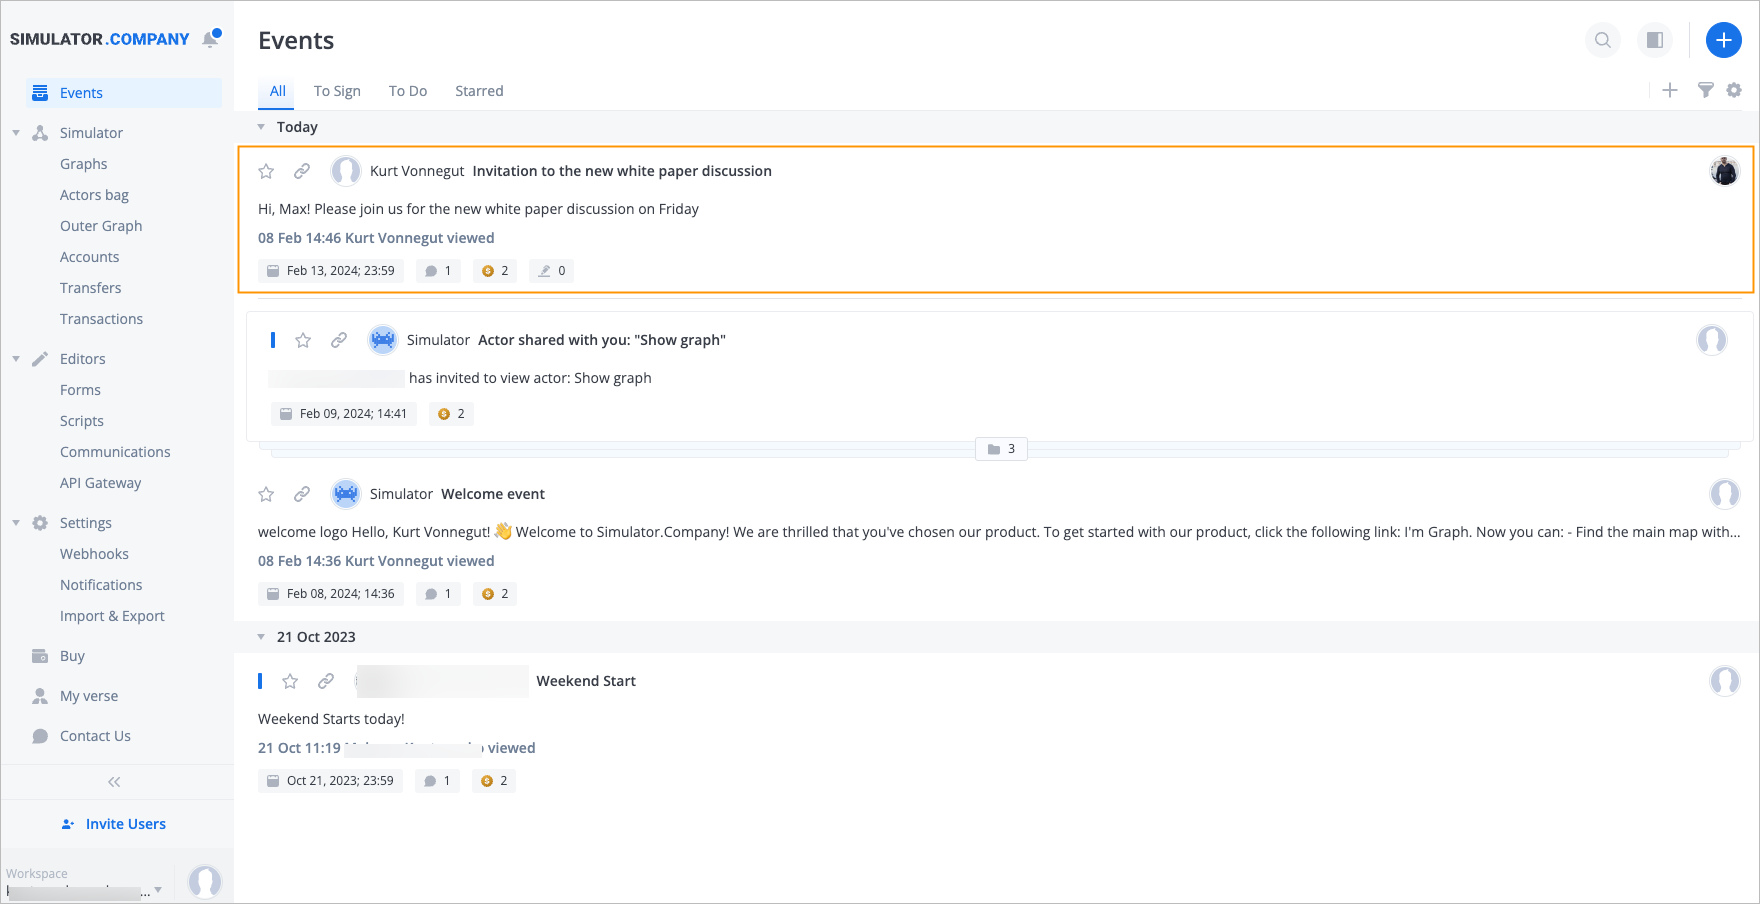
In the upper-right corner of the Events page, click the plus button.
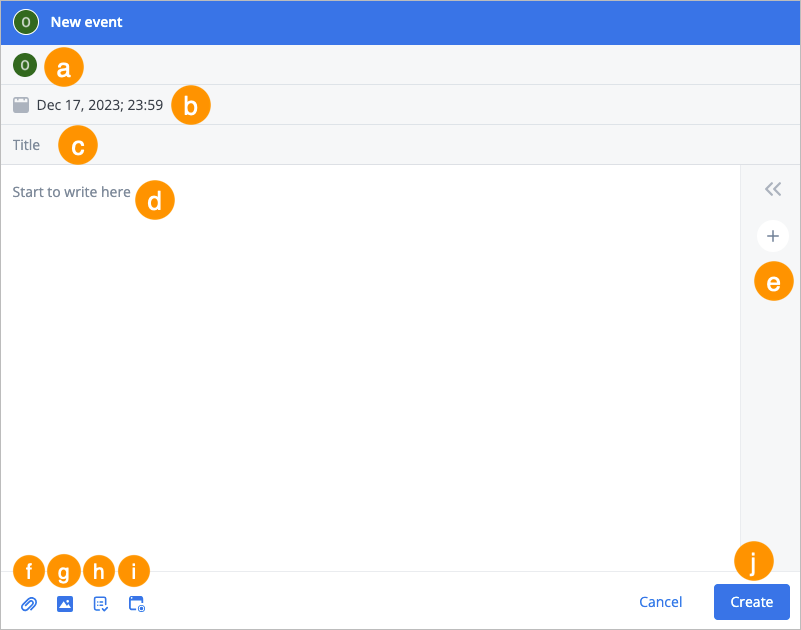
In the Workflow event dialog that opens:
Enter the needed user names or emails, set the needed sharing permission checkboxes (View, Edit, Remove, Sign, and Execute), and then click Done.

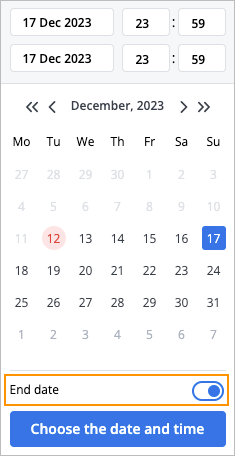
Set the date, (optional) set the end date by switching the End date toggle on, and then click Choose the date and time.
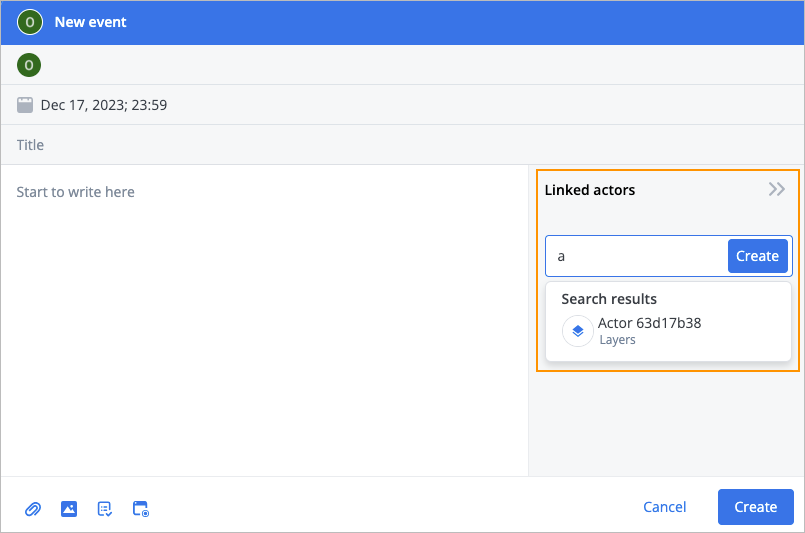
Enter the event title.
(Optional) Enter the event description.
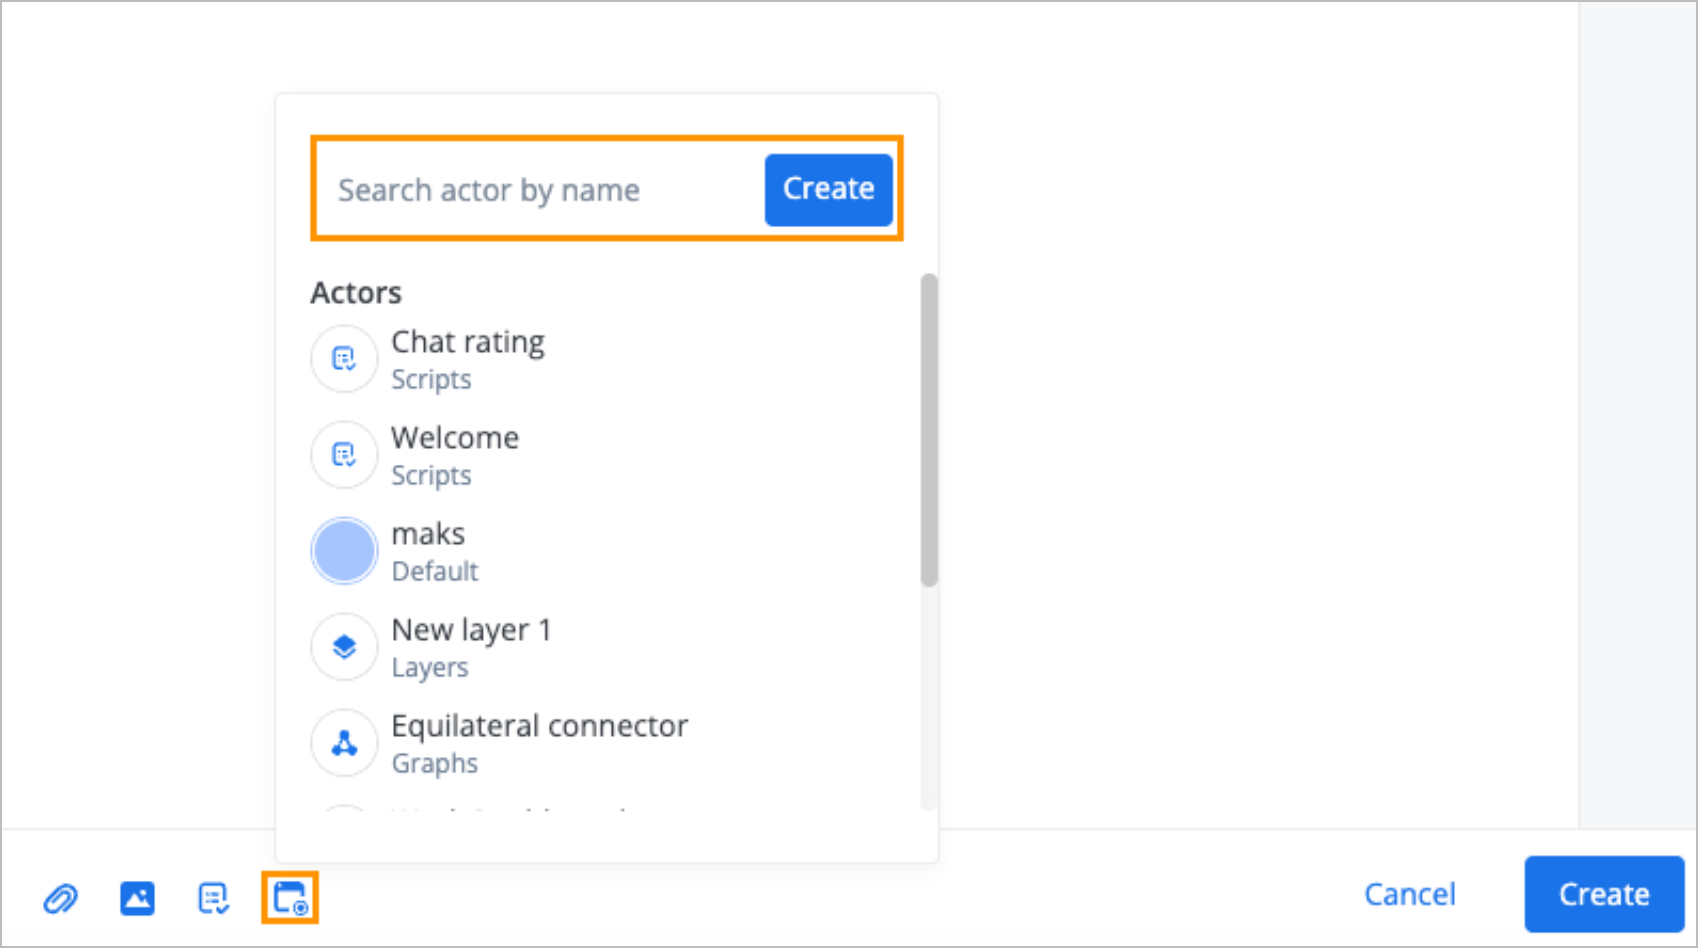
(Optional) Link the needed actor(s): Click the expand icon
 and enter the needed actor name or click Create to create a new actor and link it.
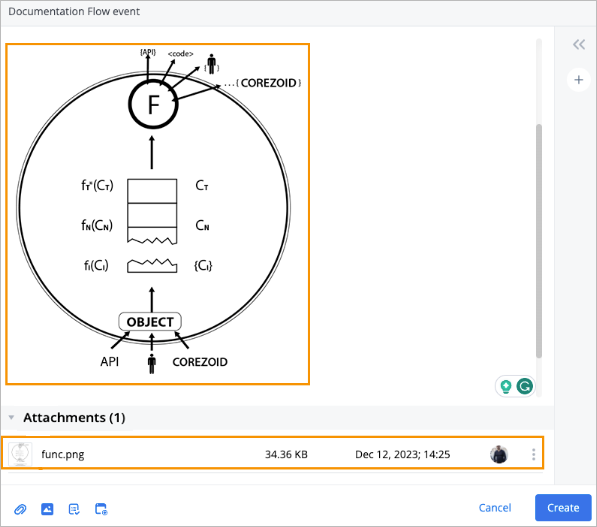
(Optional) Attach a file.
Note: After attaching a file, you can copy the file link, download or remove the file by clicking the options icon
(Optional) Add an image.
Note: After adding an image, it will be displayed as an image and as an attached file.
(Optional) Add a script: Click the script icon
 , enter a script name, user names, or emails, set the needed settings (turn the Autorun and Expiration Date toggles on, and set the expiration date if needed), and then click Add script.
(Optional) Add an actor: Click the actor icon
 , and enter the needed actor name.
Click Create.
Note: If you click Cancel, the event will not be created, and the data you’ve entered will not be saved.


 and enter the needed actor name or click Create to create a new actor and link it.


 , enter a script name, user names, or emails, set the needed settings (turn the Autorun and Expiration Date toggles on, and set the expiration date if needed), and then click Add script.
 , and enter the needed actor name.

The new event has been created, and you can see it as the first one in the event list.
Was this article helpful?