Users
- 28 Feb 2024
- 3 Minutes to read
- Contributors

- Print
- DarkLight
- PDF
Users
- Updated on 28 Feb 2024
- 3 Minutes to read
- Contributors
- Print
- DarkLight
- PDF
Article summary
Did you find this summary helpful?
Thank you for your feedback
On the Users page, you can:
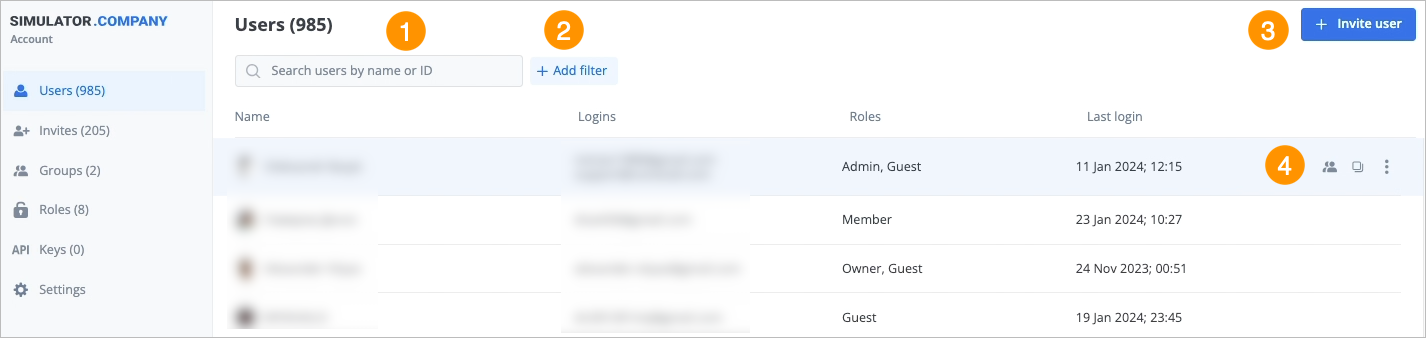
Find user
To find the needed user, in the Search field of the Users page, enter the needed user name or ID, and in the list that appears, select the user you are looking for.

Filter users
To filter users by their roles:
On the right side of the Search field of the Users page, click + Add filter.

In the filter list, select the needed roles checkboxes and click Apply.
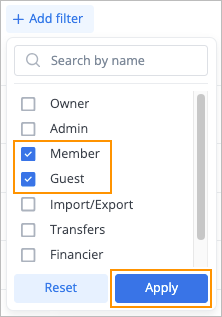


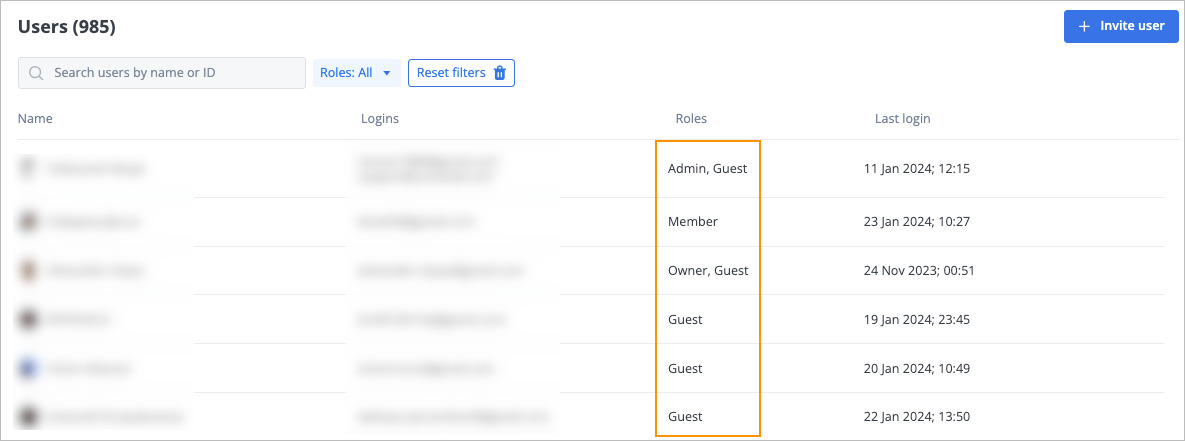
The list of users with the selected roles appears on the page.
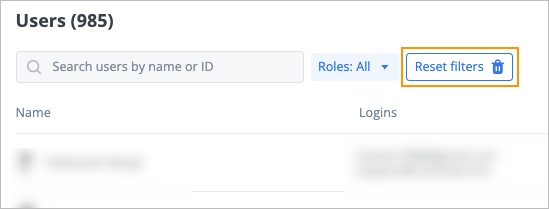
Note: To cancel selected filters, click Reset filters.
Invite user
To invite a user to a Workspace:
In the upper-right corner of the Users page, click + Invite user.

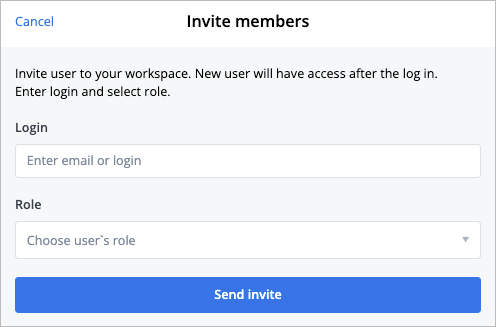
In the Invite members dialog:
- Enter the needed email or login to the Login field.
- Select the needed role in the Role dropdown list.
- Click Send invite.


The invitation appears with the Pending status on the Invites page until the user has confirmed it.
Note: To accept the invitation and see the Workspace with available pages according to the granted role, the invited user needs to log in to Simulator.Company by clicking the link in the confirmation mail letter sent to the specified email.
Perform additional actions on user
On the Users page, you can perform additional actions on a user:
Add user to group
To add a user to a group:
Hover over the needed user and click the share icon
 .
.In the Manage groups dialog:
- (Optional) Enter the needed group name(s) in the Add group field to add the user to the group(s).
- (Optional) Click the close icon
 next to the current group to remove the user from the current group.
 - Click Save.

 .
. next to the current group to remove the user from the current group.
The user joins the new group(s) and is excluded from the group he/she was added to before, and you can see them on the Groups page in the corresponding group list.
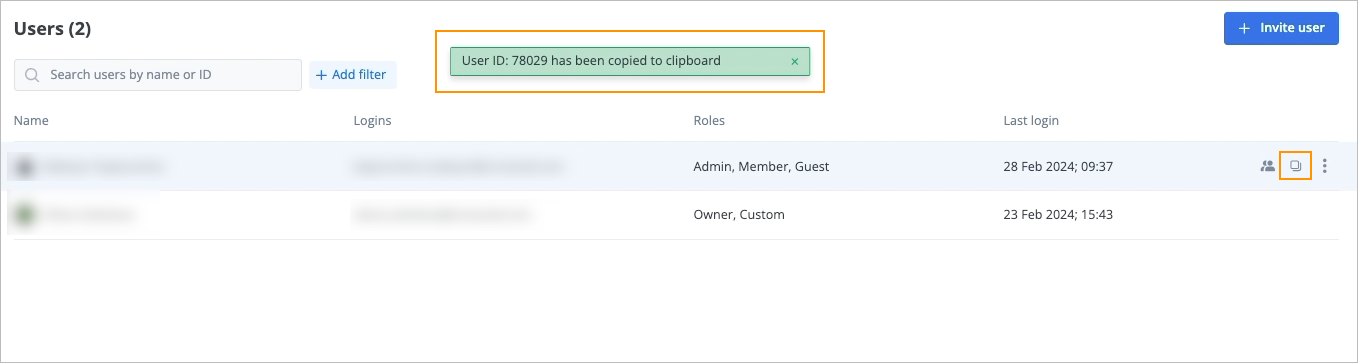
Copy user ID
To copy a user ID, hover over the needed user and click the copy icon  . The ID is copied and the success message appears at the top of the page.
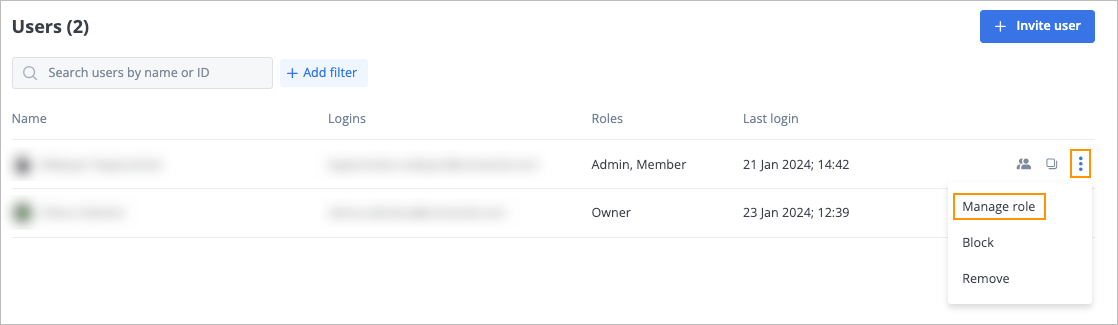
Add or remove user role
To add, change, or remove a user role:
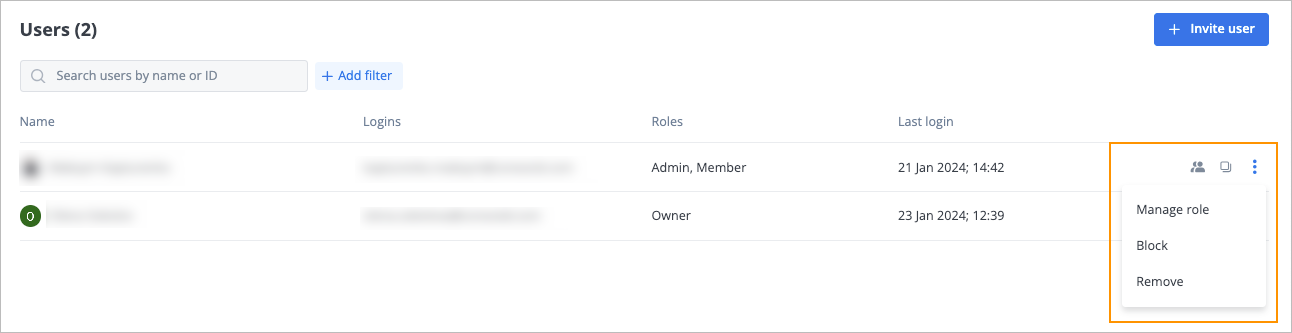
Hover over the needed user, click the options icon
 and in the dropdown list, select Manage role.
In the Manage roles dialog:
- (Optional) Enter the needed role name(s) in the Add role field to assign the user to the role(s).
- (Optional) Click the close icon next to the current role to remove the current role for the user.
- Click Save.
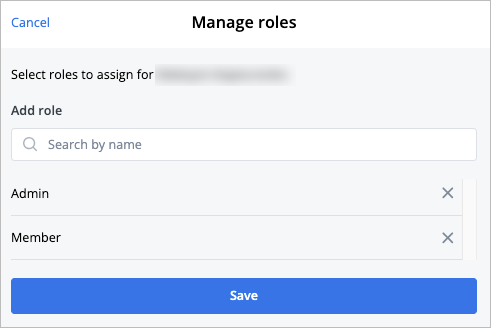


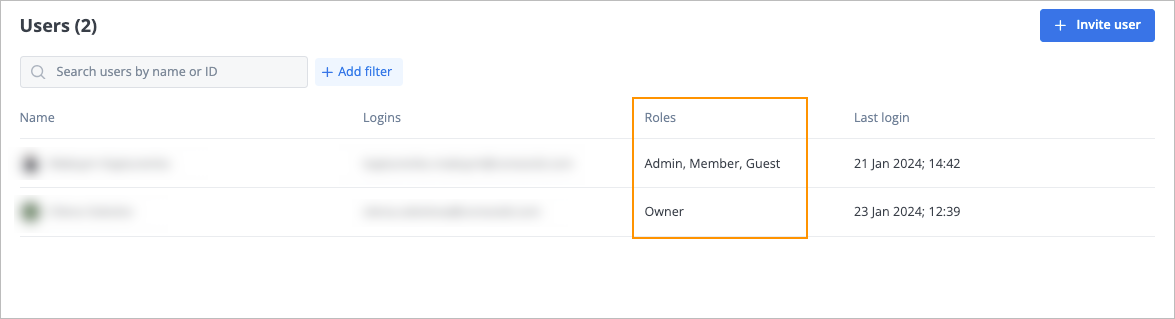
The user gets the assigned roles, and you can see them in the Roles column of the Users table.
Block or unblock user
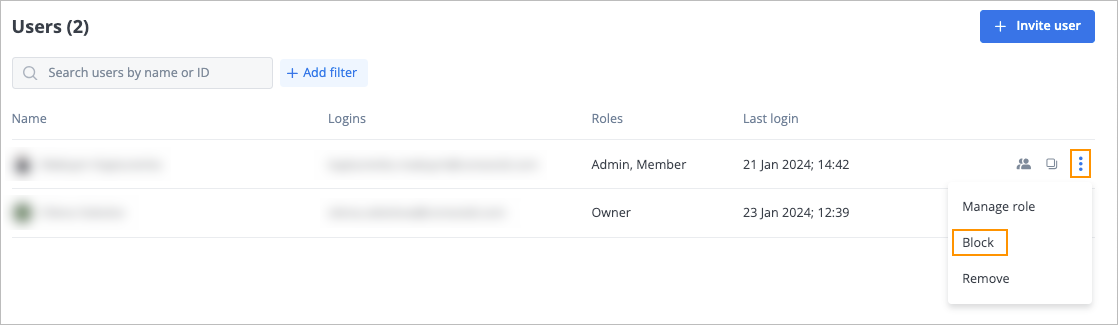
To block a user:
Hover over the needed user, click the options icon
and in the dropdown list, select Block.
In the Block User confirmation dialog, click Block.
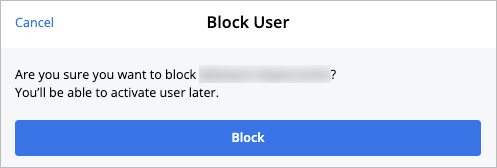


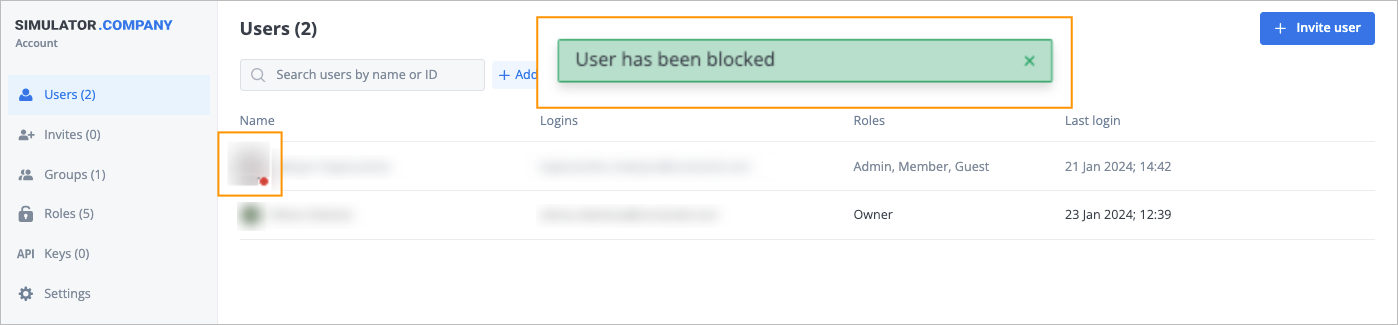
The user is blocked, their avatar is marked with a red dot, and the success message appears at the top of the Users page.
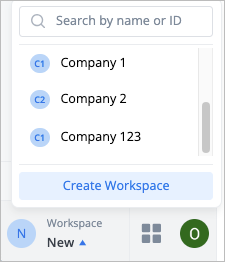
The blocked user no longer has access to the Workspace, and the Workspace will not be displayed to the user in the Workspace dropdown list in the lower-left corner of the page.
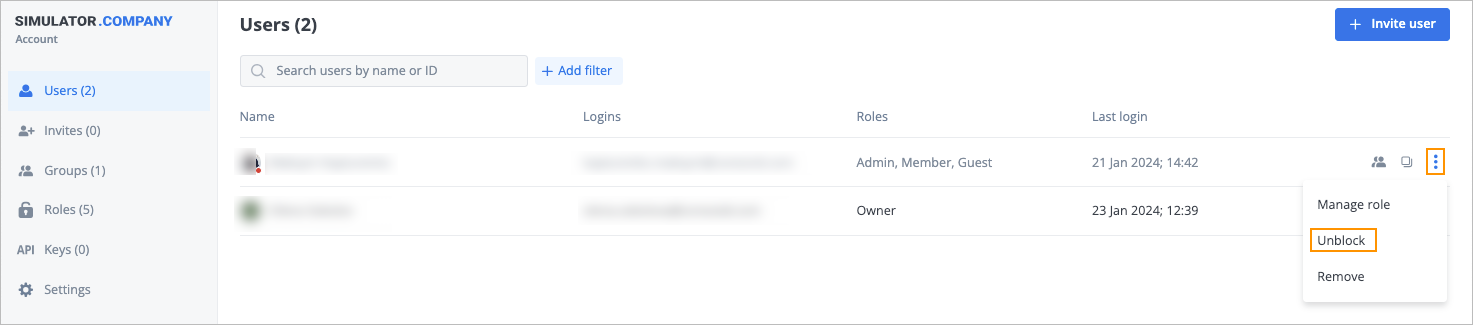
To unblock a user, hover over the needed blocked user, click the options icon  and in the dropdown list, select Unblock.
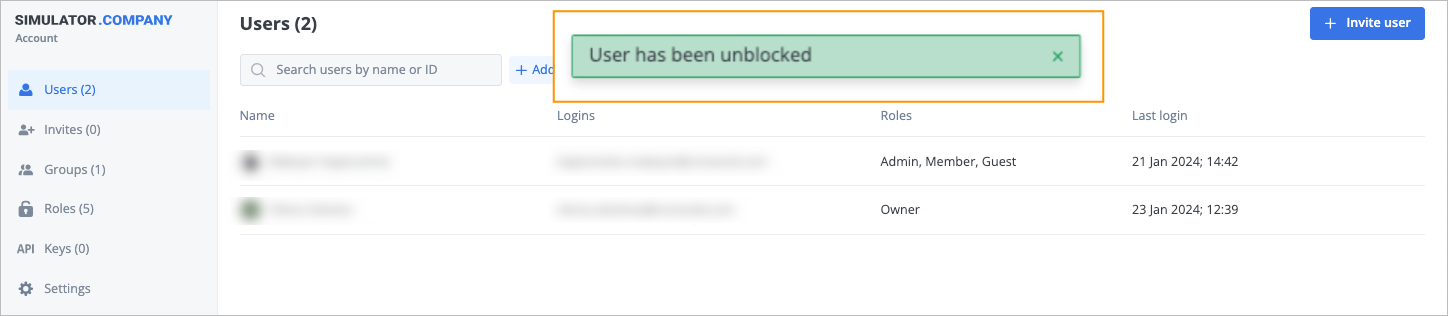
The user is unblocked, their avatar no longer has a red dot, and the success message appears. at the top of the Users page.
The user regains access to the Workspace based on their roles and can select the Workspace in the Workspace dropdown list in the lower-left corner of the page.
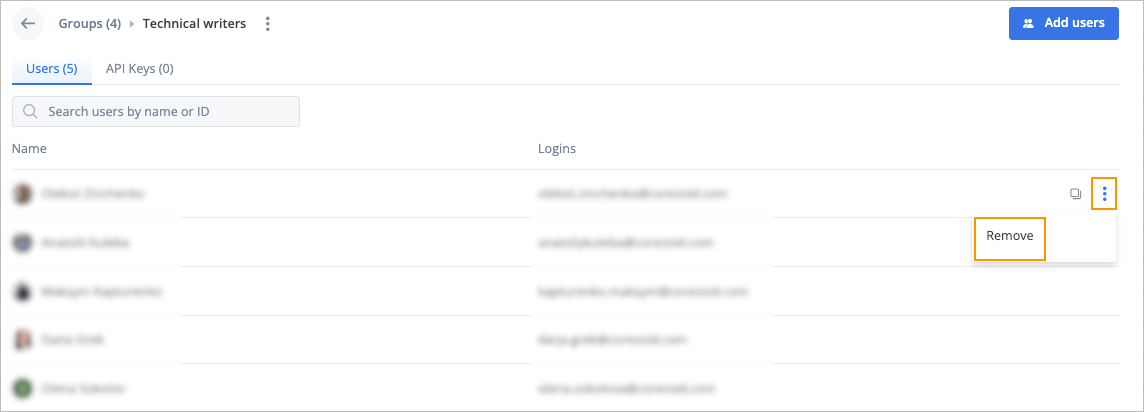
Remove user
To remove a user:
Hover over the needed user, click the options icon
and in the dropdown list, select Remove.
In the Remove from workspace confirmation dialog, enter the user name or email to whom you are going to transfer access rights and click Remove.
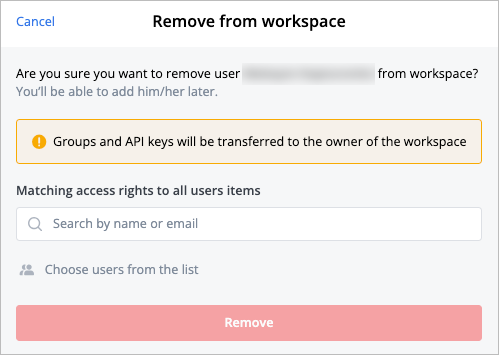


The user is removed from the Workspace and no longer has access to it.
Removing all roles for a user equals the removal of the user from a Workspace. A user must have at least one role in a Workspace to perform any actions in the Workspace.
Was this article helpful?