- Print
- DarkLight
- PDF
Snippets are text actors that you can reuse in comments by entering their names or selecting them in the hover menu. They are commonly used by support services, which need to use standard phrases and answers.
You can:
Any user can create a Snippet in a Workspace. A Snippet is visible and accessible to all users with View or higher Snippet actor permissions. You can edit a Snippet if you have the Modify snippet actor permission.
Find Snippet
To find the needed Snippet:
On the Actors bag page, click the All forms.

In the Search field of the All forms dropdown list, enter Snippet and select the Snippet category that appears.
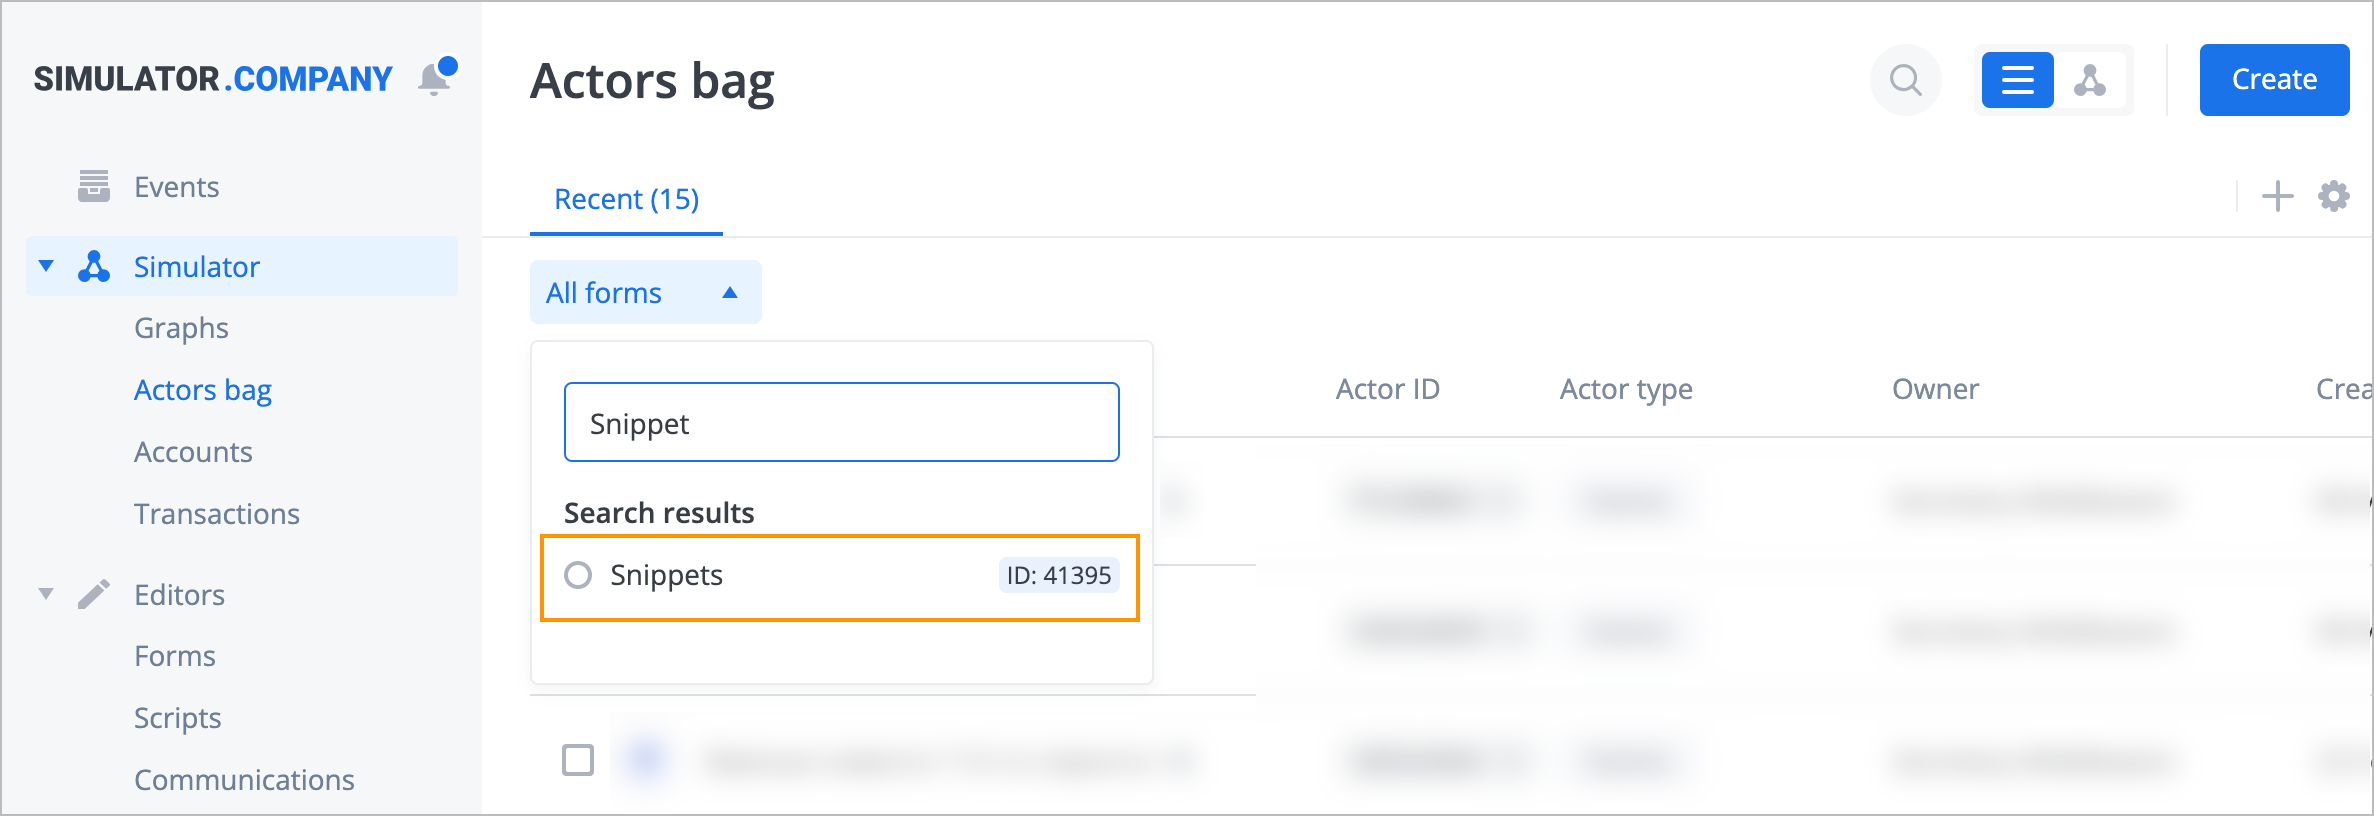
The list of Snippets appears, and you can select the needed one.

Create Snippet
To create a Snippet:
On the Actors bag page, click the All forms.

In the Search field of the All forms dropdown list, enter Snippet and select the Snippet category that appears.

In the upper-right corner, click Create.

In the Actor: New actor dialog:
- (Optional) Upload an image or set a color by clicking Add image or color.
- Enter the Snippet name in the Actor name field.
- Enter the Snippet description in the Description field.
Note: When adding a snippet in an event, you can add the description for details. If the Description field is empty, the Snippet name is used. - Enter a category in the Category field of the Fields and sections tab.
- (Optional) Fill in all the needed fields on the Actors Card tab.
- (Optional) Move the actor to the needed place on the Actors Map tab.
- Click Save.
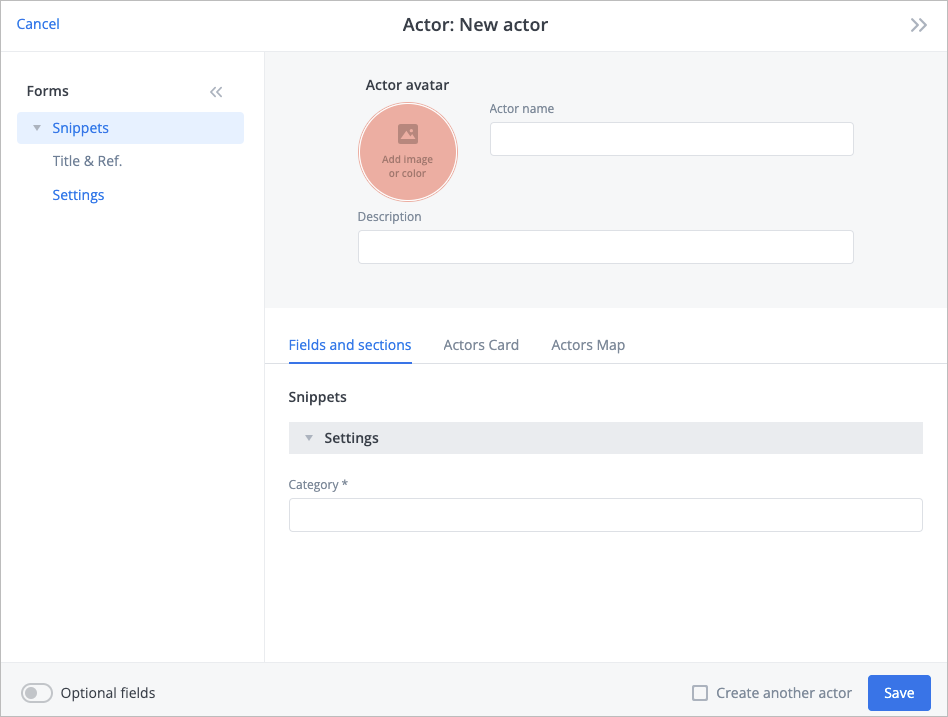
Note: Turn the Optional fields toggle on to fill in the Reference ID field. It is convenient when you work with Snippets by using APIs and build logic based on the link ID.

The newly created Snippet appears in the Snippets list on the Actors bag page.
Edit Snippet
To edit a Snippet:
Find the needed Snippet on the Actors bag page.
Note: For more information, go to Find Snippet.Click the Snippet and on the details panel, click the edit icon.
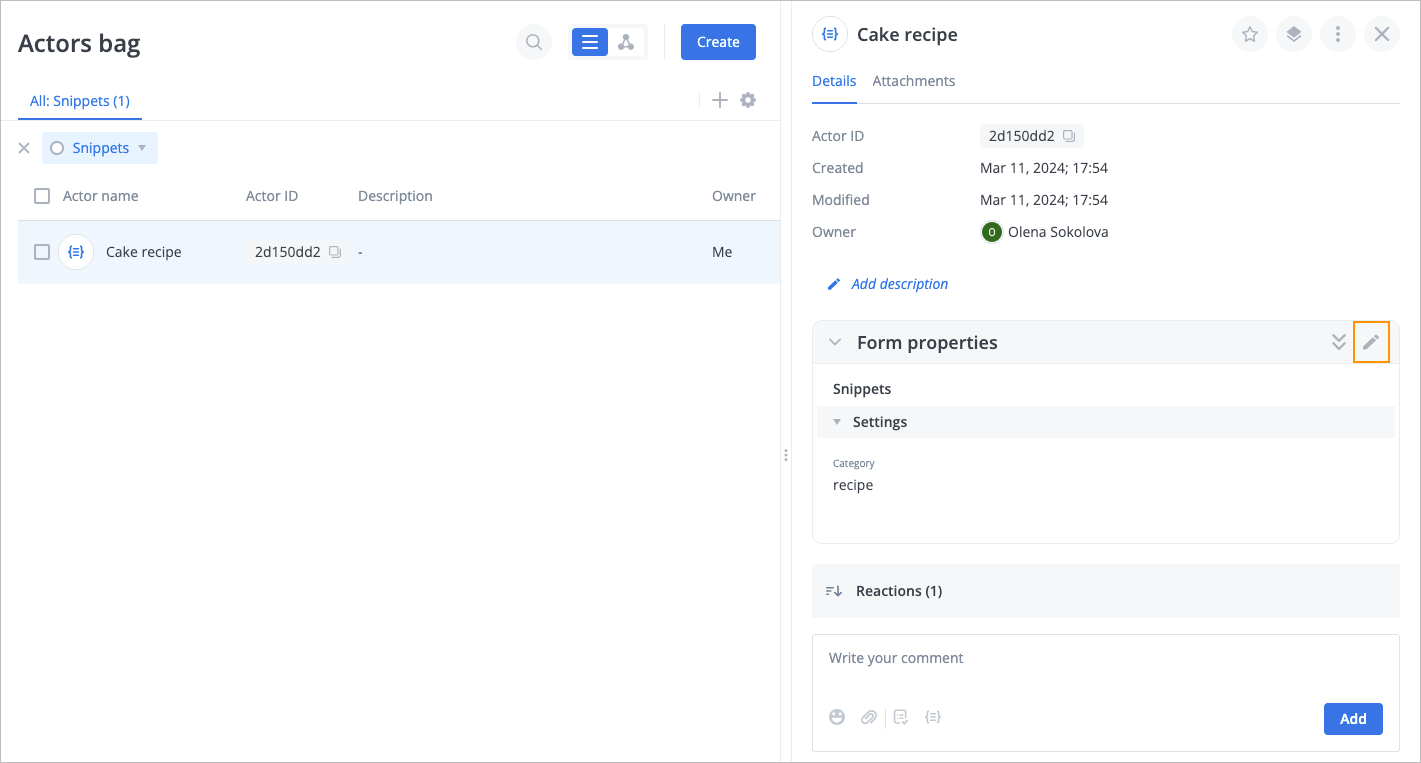
In the snippet dialog, edit the needed fields and click Save.
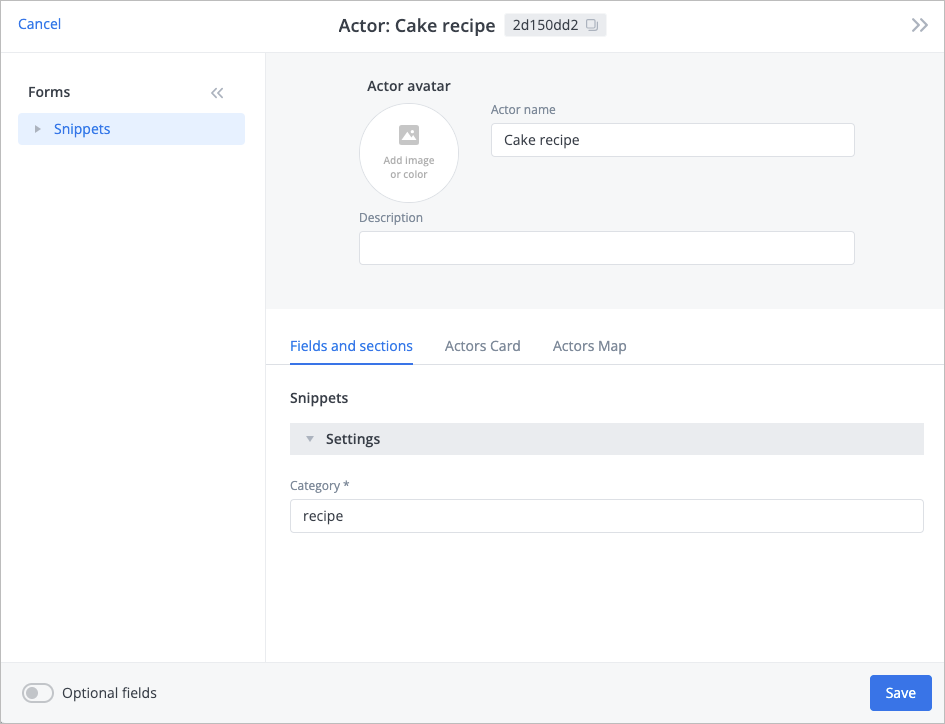
The Snippet has been edited, and you can see the details on the details panel.
Add Snippet
You can add a Snippet in the Description or Comment fields of an event in different ways.
Adding Snippet by entering the name
In the Comment field:
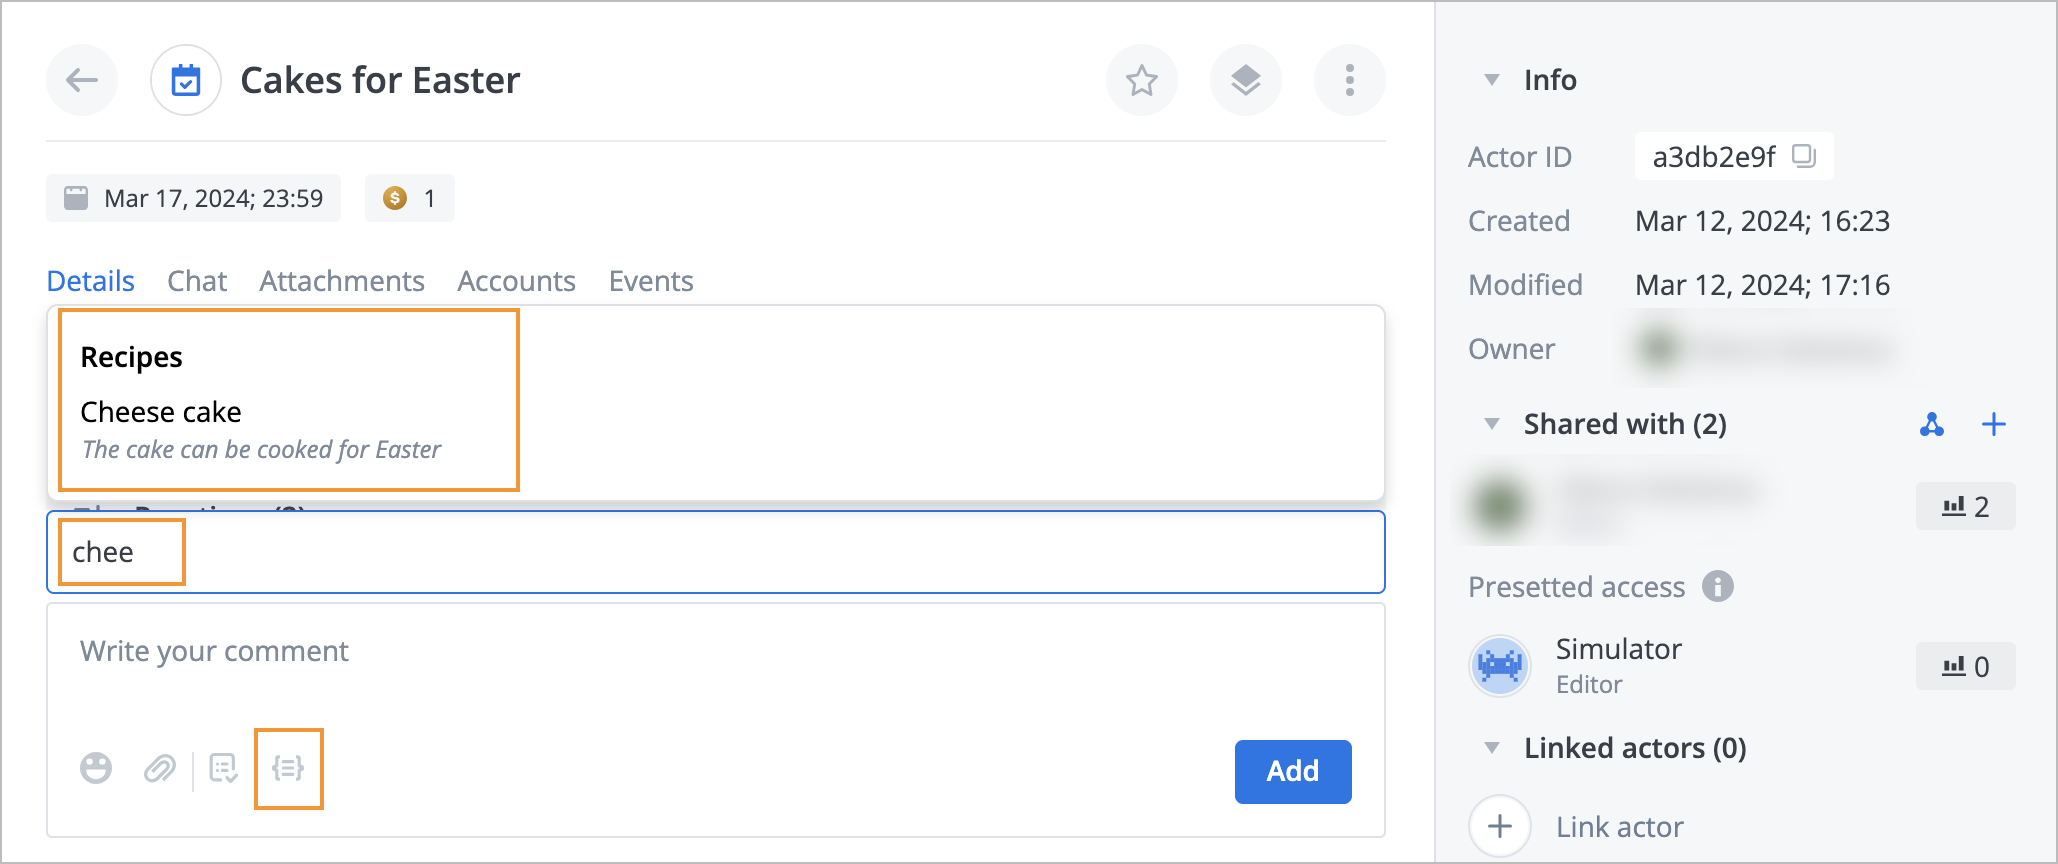
Start entering a snippet name and click the needed Snippet that appears above.
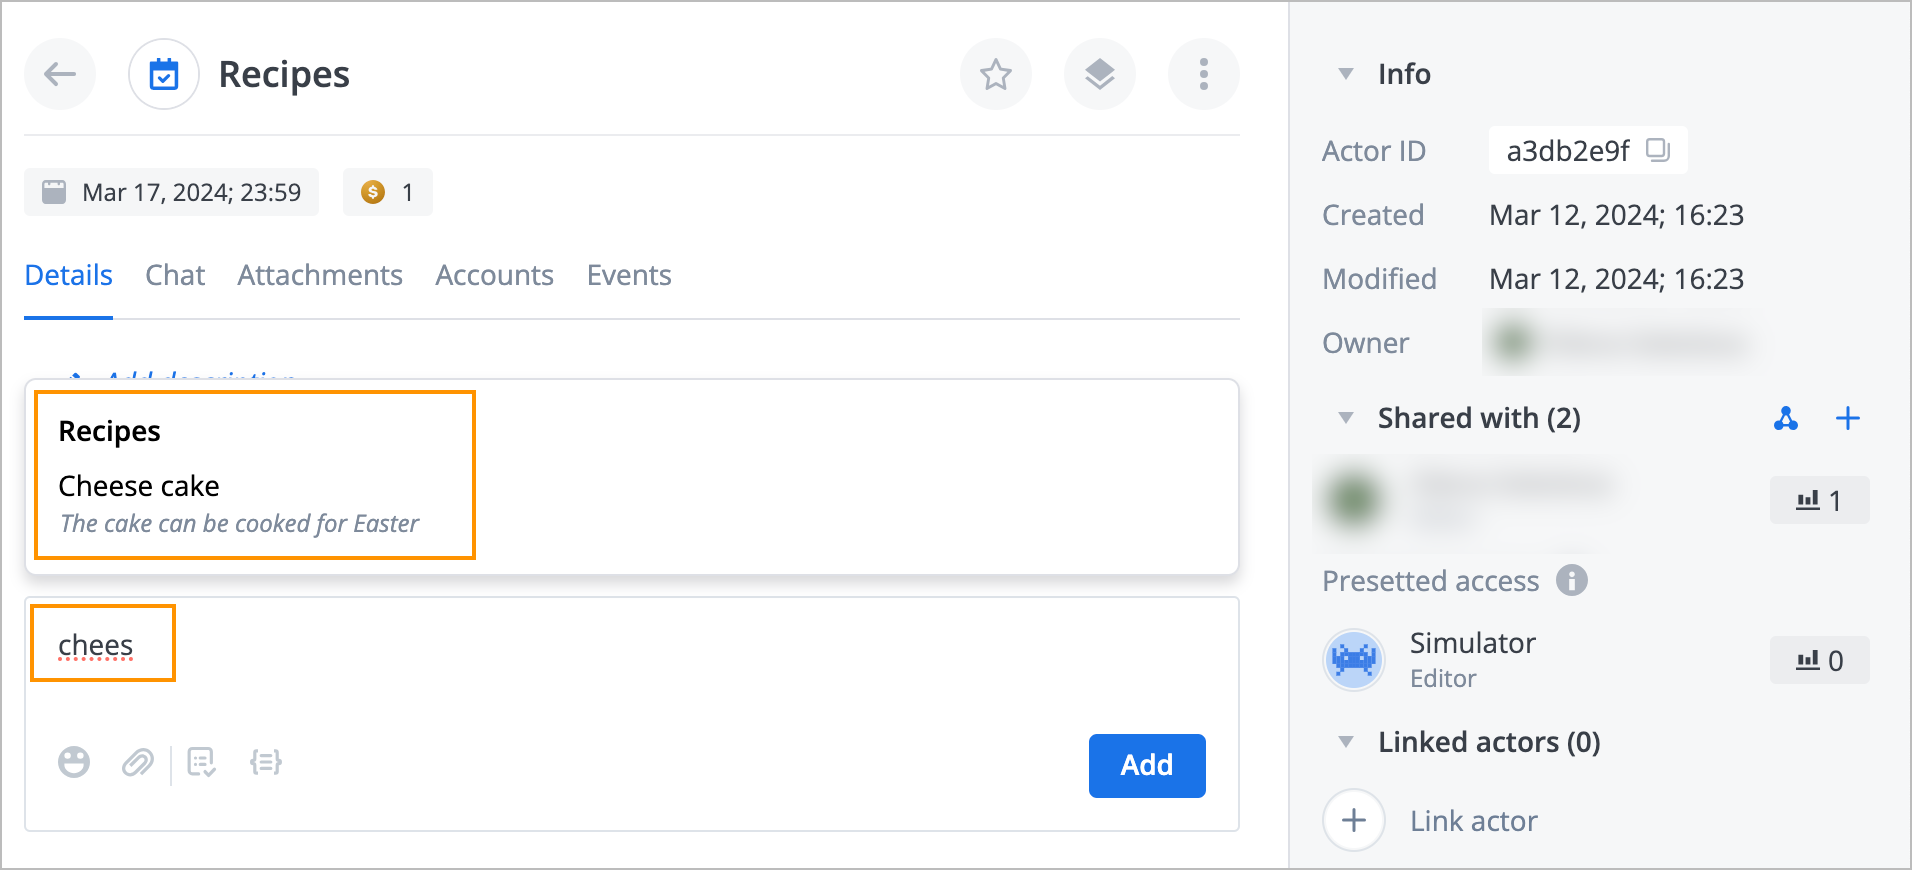
Click the snippet icon, start entering a Snippet name, and then select the needed one from the list that appears.
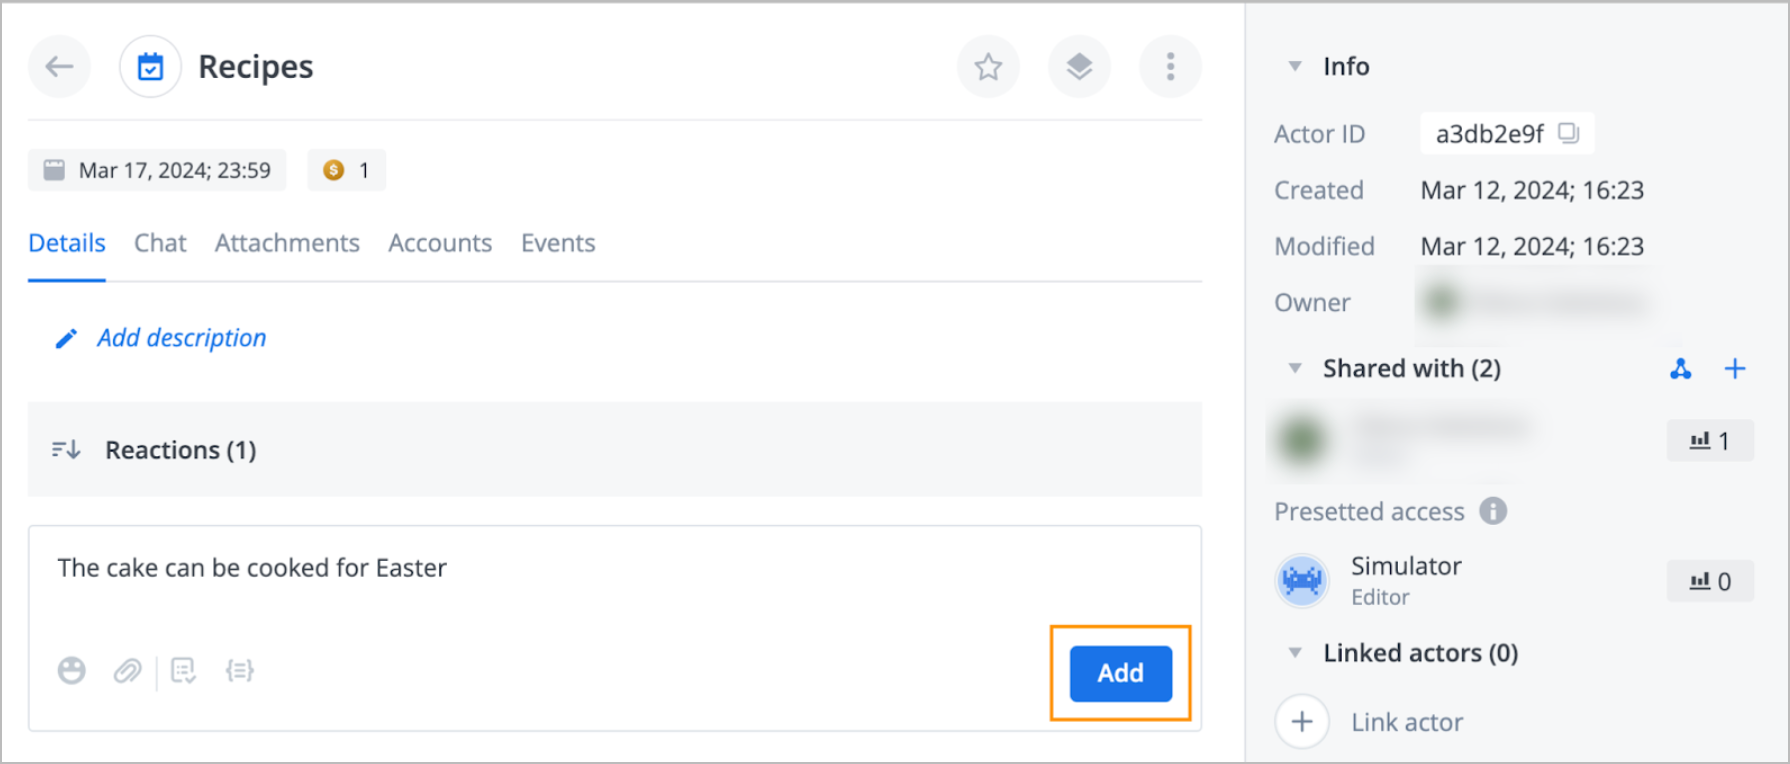
In the lower-right corner of the Comment field, click Add.
The Snippet description has been added to the event, and you can see it below the Comment field or on the Chat tab.
See the short video on adding a Snippet description to an event.
When adding a snippet to an event commentary, all the snippet attachments, including images, are automatically attached to the commentary.
| Snippet preview | Snippet added |
|---|---|
 |  |
Note: You can add a Snippet after an existing text in the Description field the same way: start entering a Snippet name after a text and click the needed Snippet that appears above. See the short video.
Adding Snippet to newly created event
When creating a new event, in the Description field of an event, click the Snippet icon, start entering a Snippet name, and then select the needed one from the list that appears.
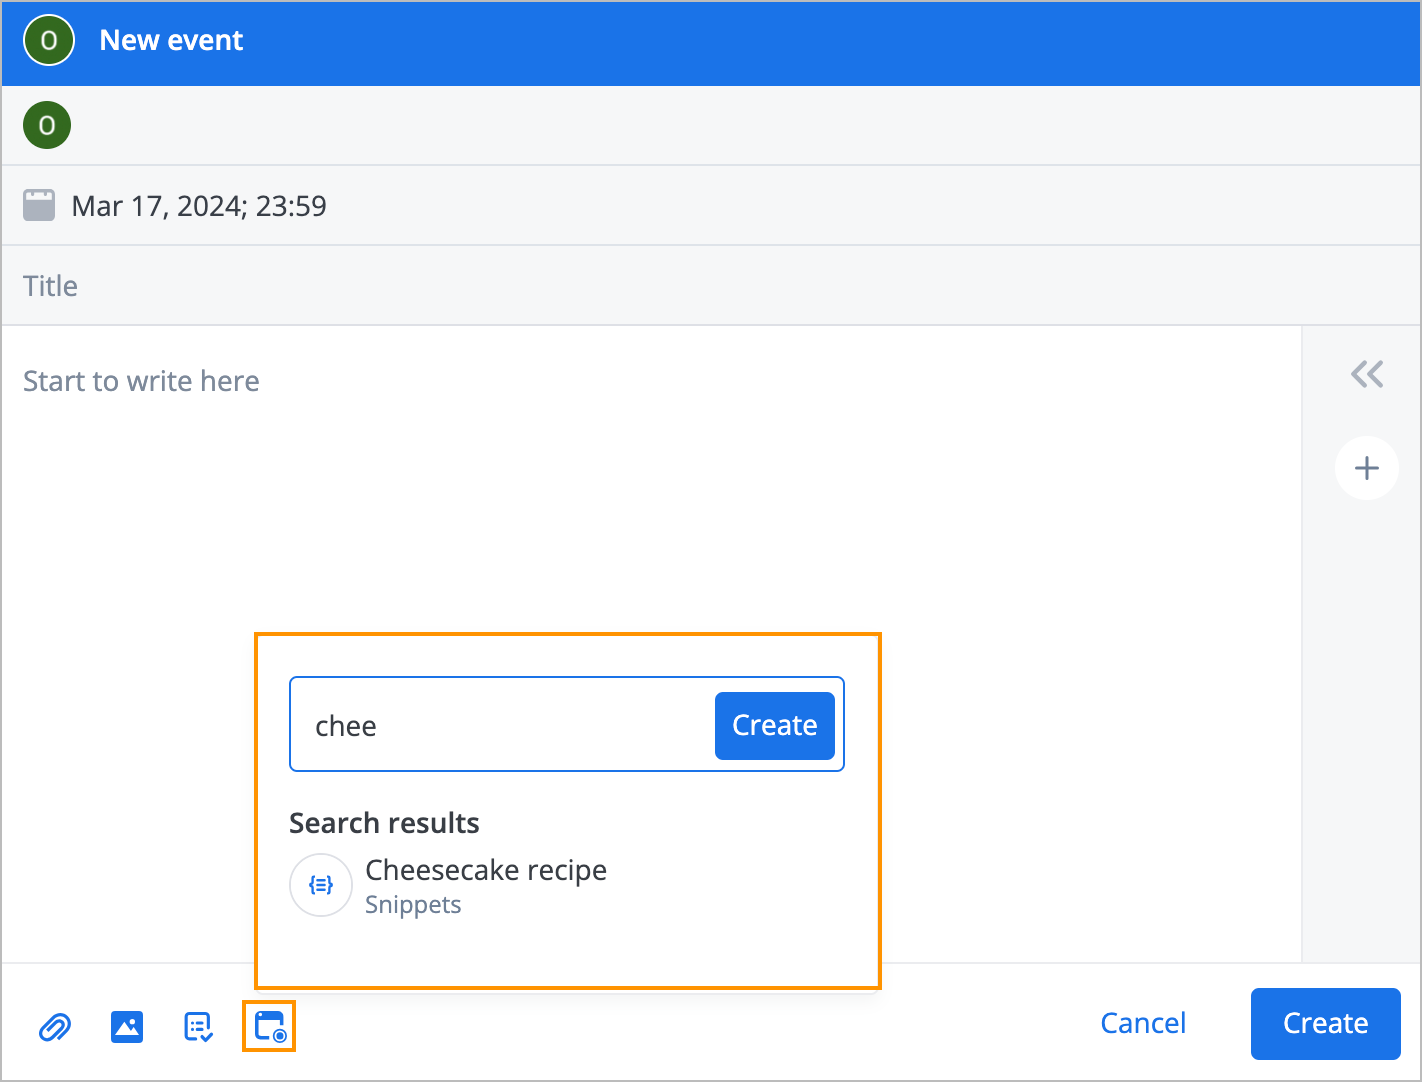
After the Snippet appears as an attachment, click Create.
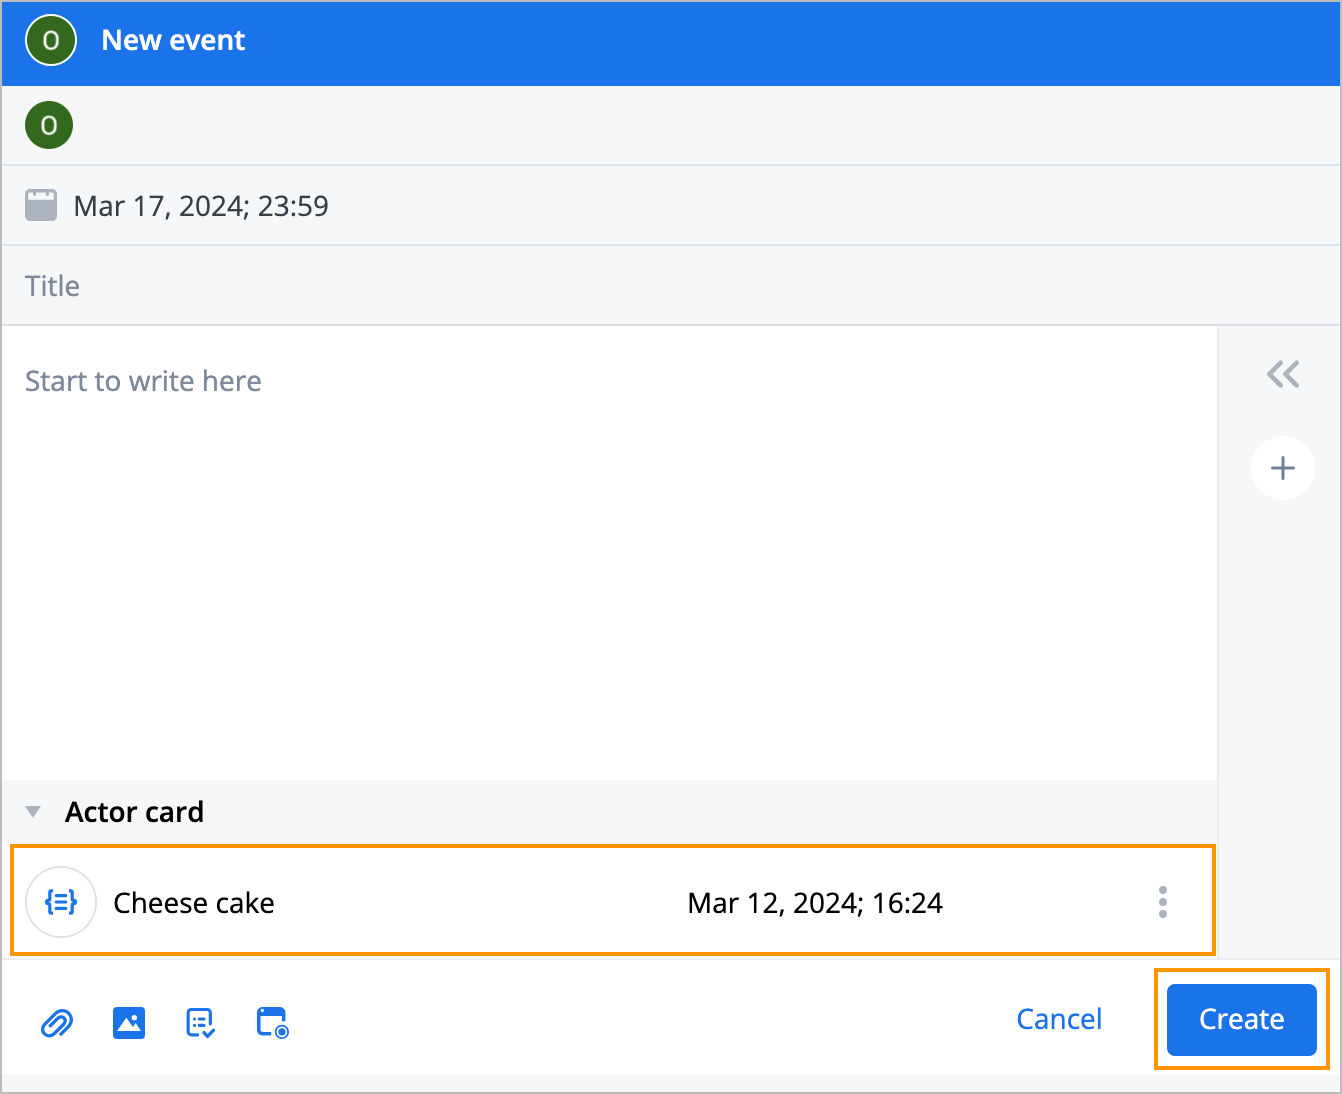
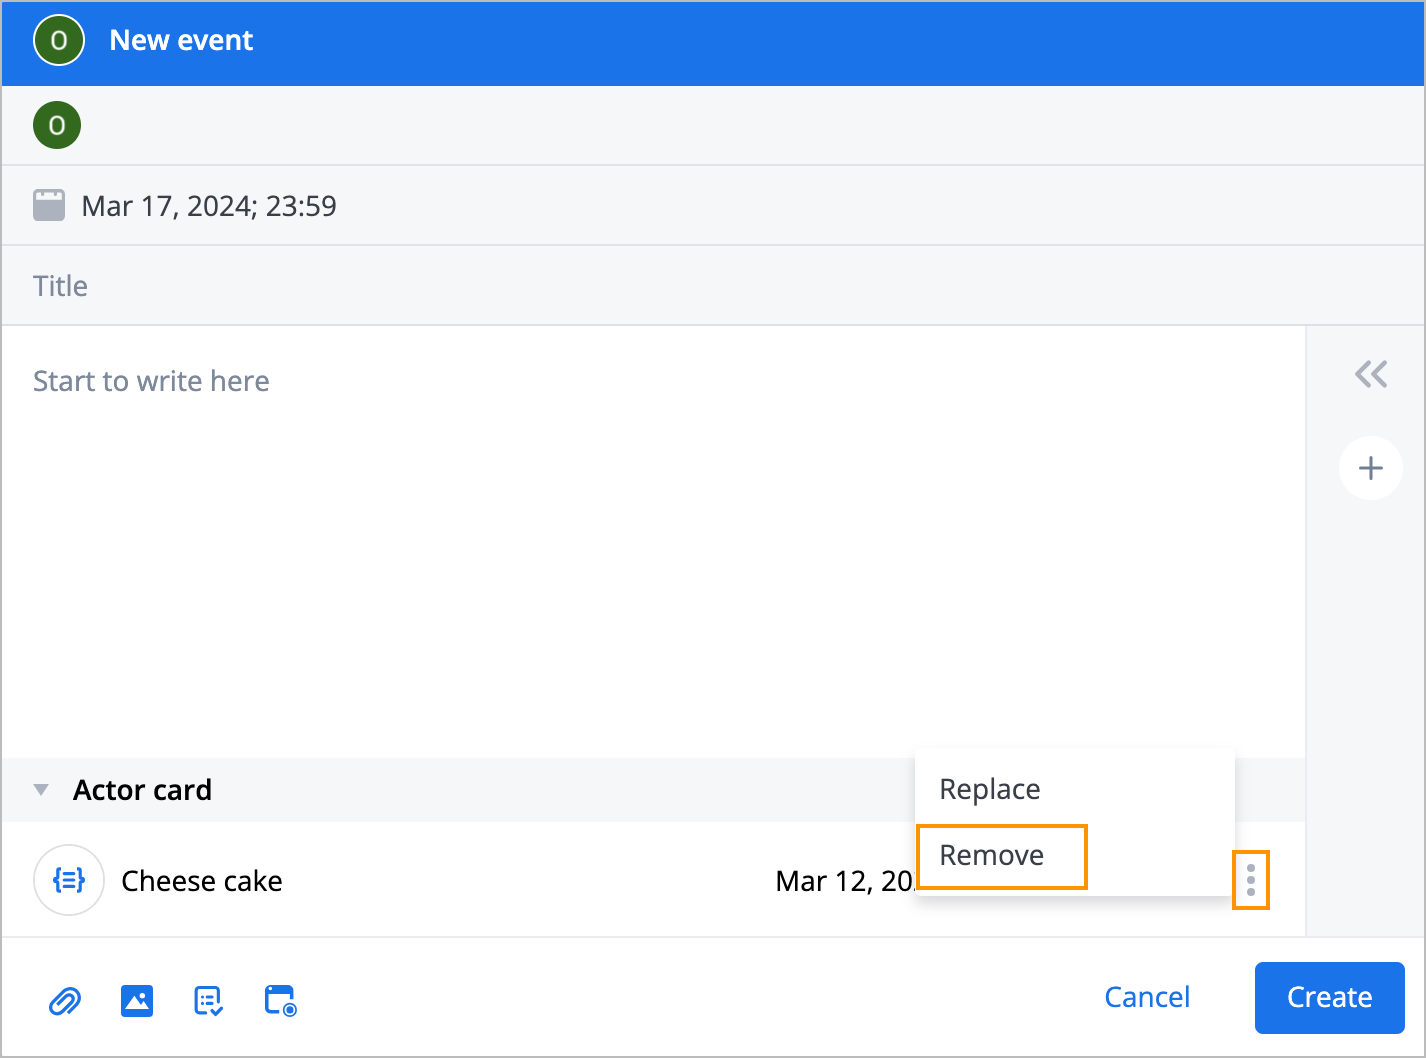
Note: To remove the added Snippet, in the lower-right corner of the event dialog, click the options icon, and in the dropdown list, select Remove.
The Shippet appears on the event Details tab.

Note: The search for Snippets by text matches is performed only after you start entering text, but not after entering any text in the Comment field.
Perform additional actions on Snippet
On the Actors bag page, you can perform additional actions on a Snippet:
Make copy
To make a copy of a Snippet, on the right side of the needed Snippet, click the options icon and select Make copy. The copy is made and the success message appears at the top of the page.

Make multiple copies
To make multiple copies of a Snippet:
On the right side of the needed Snippet, click the options icon and select Make multiple copies.

In the Make multiple copies dialog, enter the number of copies and click Create actor copies.
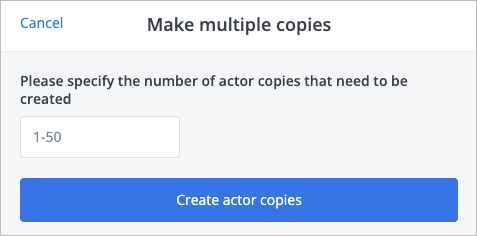
The specified number of copies is created, and the success message appears at the top of the page.

Remove
To remove a Snippet:
On the right side of the needed Snippet, click the options icon and select Remove.

In the Delete actor confirmation dialog, click Permanently delete.

The snippet has been removed and doesn’t appear in the Snippet list on the Actors bag page.


