Simulator folder
- 11 Jun 2024
- 8 Minutes to read
- Contributors

- Print
- DarkLight
- PDF
Simulator folder
- Updated on 11 Jun 2024
- 8 Minutes to read
- Contributors
- Print
- DarkLight
- PDF
Article summary
Did you find this summary helpful?
Thank you for your feedback
Overview
The Simulator folder path:
Stages → Stage name → Communications Orchestrator → Messengers → Simulator folder.

A solution for organizing live chat between a client and a human operator is built on the Simulator within the Communications Orchestrator. The Simulator folder stores:
Processes for the operator's workspace to handle dialogs
Chat history, client profiles, analytics, and dashboards
BP: business processes that you can reconfigure:
- bp > chats > freeze chat: The process that handles the freeze event in dialogs = dialog closure. In this process, transactions against customer and operator accounts are made for analytics collection and the change of dialog connections with streams.
- bp > chats > create employee > create dashboards: The process starts with the Creation of the new employees actor event and creation of new dashboards for a new operator.
- bp > chats > send file from operator to client: In this process, sending of files from an operator to a customer is performed.
- bp > chats > update agent status: If the Status field is altered, the process starts when the Update actor employees event occurs. In this process, transactions against operator accounts are made to track the time the operator was in each status.
- bp > chats > done chat: In this process, the Done reaction in the operator chat is handled.
- bp > chats > get available chatId: The process retrieves a free new chatId from a queue.
Scripts: Stores the processes for each script, which handles all requests from the scripts.
Widget: Widget Processes.
Generator chatId: Processes for generating a unique chatId.
Setup Simulator Cache: The process starts automatically when the Communications Orchestrator is created. It goes through all the entities created in Simulator and unites them into a single cache object. This object is stored in the Simulator Cache State Diagram and is used in most processes for quick access to Simulator objects.
Simulator entities in folder
After creating a Communications Orchestrator in Corezoid, a set of necessary forms, actors, and accounts for orchestrating messages between the client and the operator, as well as for collecting analytics, is imported into your workspace in Simulator:
Forms
To access forms, go to Editors → Forms → Custom Forms.

With forms, you can describe the data structure for uniform objects (actors). Forms are very flexible, and their model can be changed or extended as needed. Any attributes described in the form can be used to build filters or selections of actors. The following form types were created:
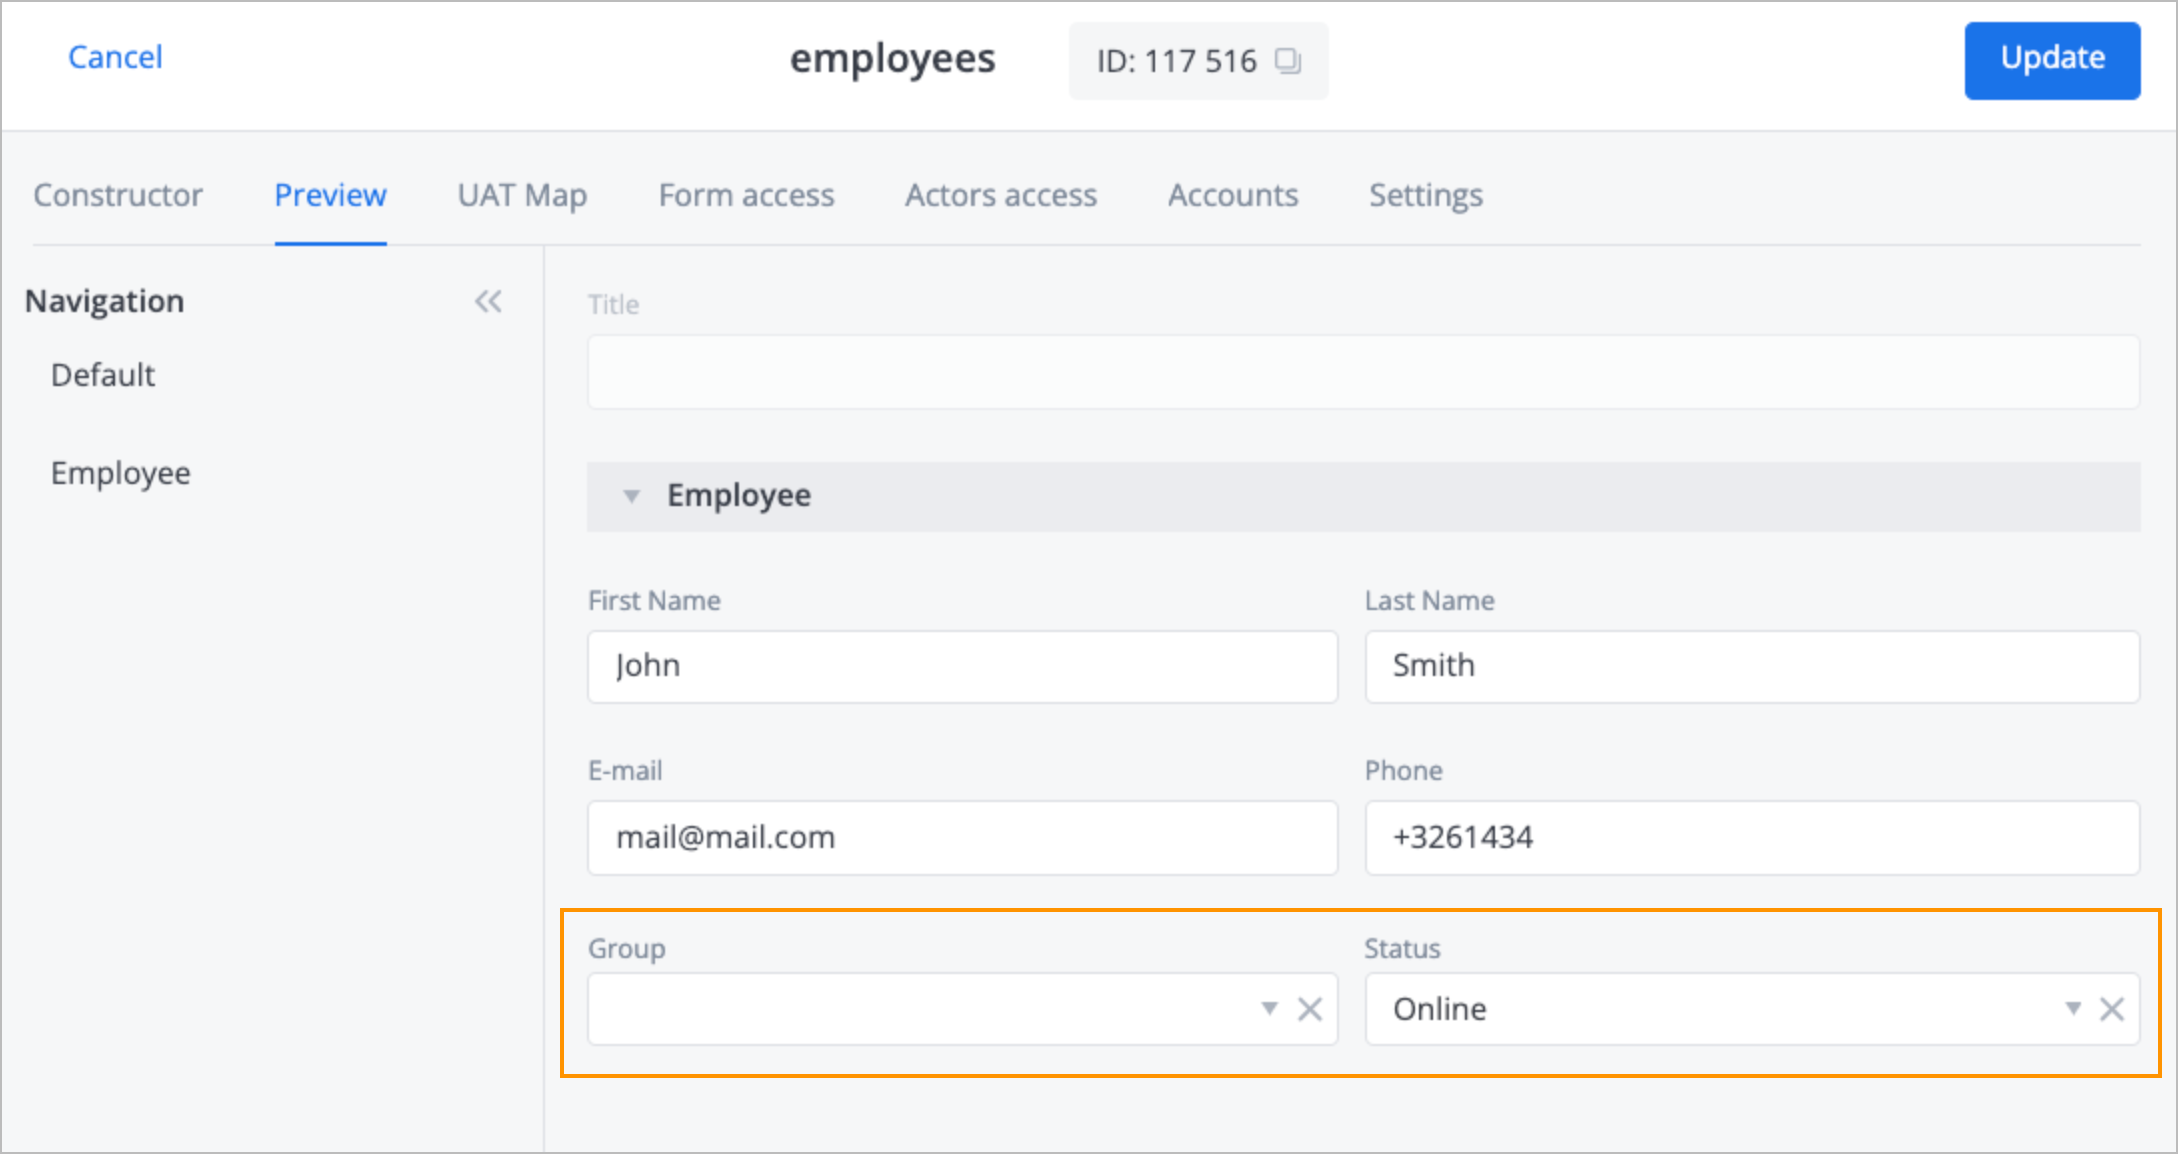
employees: Describes the data structure of employees (operators, supervisors, and so on):
The Group field refers to the filter for all actor groups and describes the structure of groups. Groups can be used to combine several employees and apply any mass actions to the group.
Note: Groups are added as an example and are not used by default in the logic of Communications Orchestrator.The Status field refers to the filter for all operator statuses.
users: Describes the structure of clients’ data from various channels.

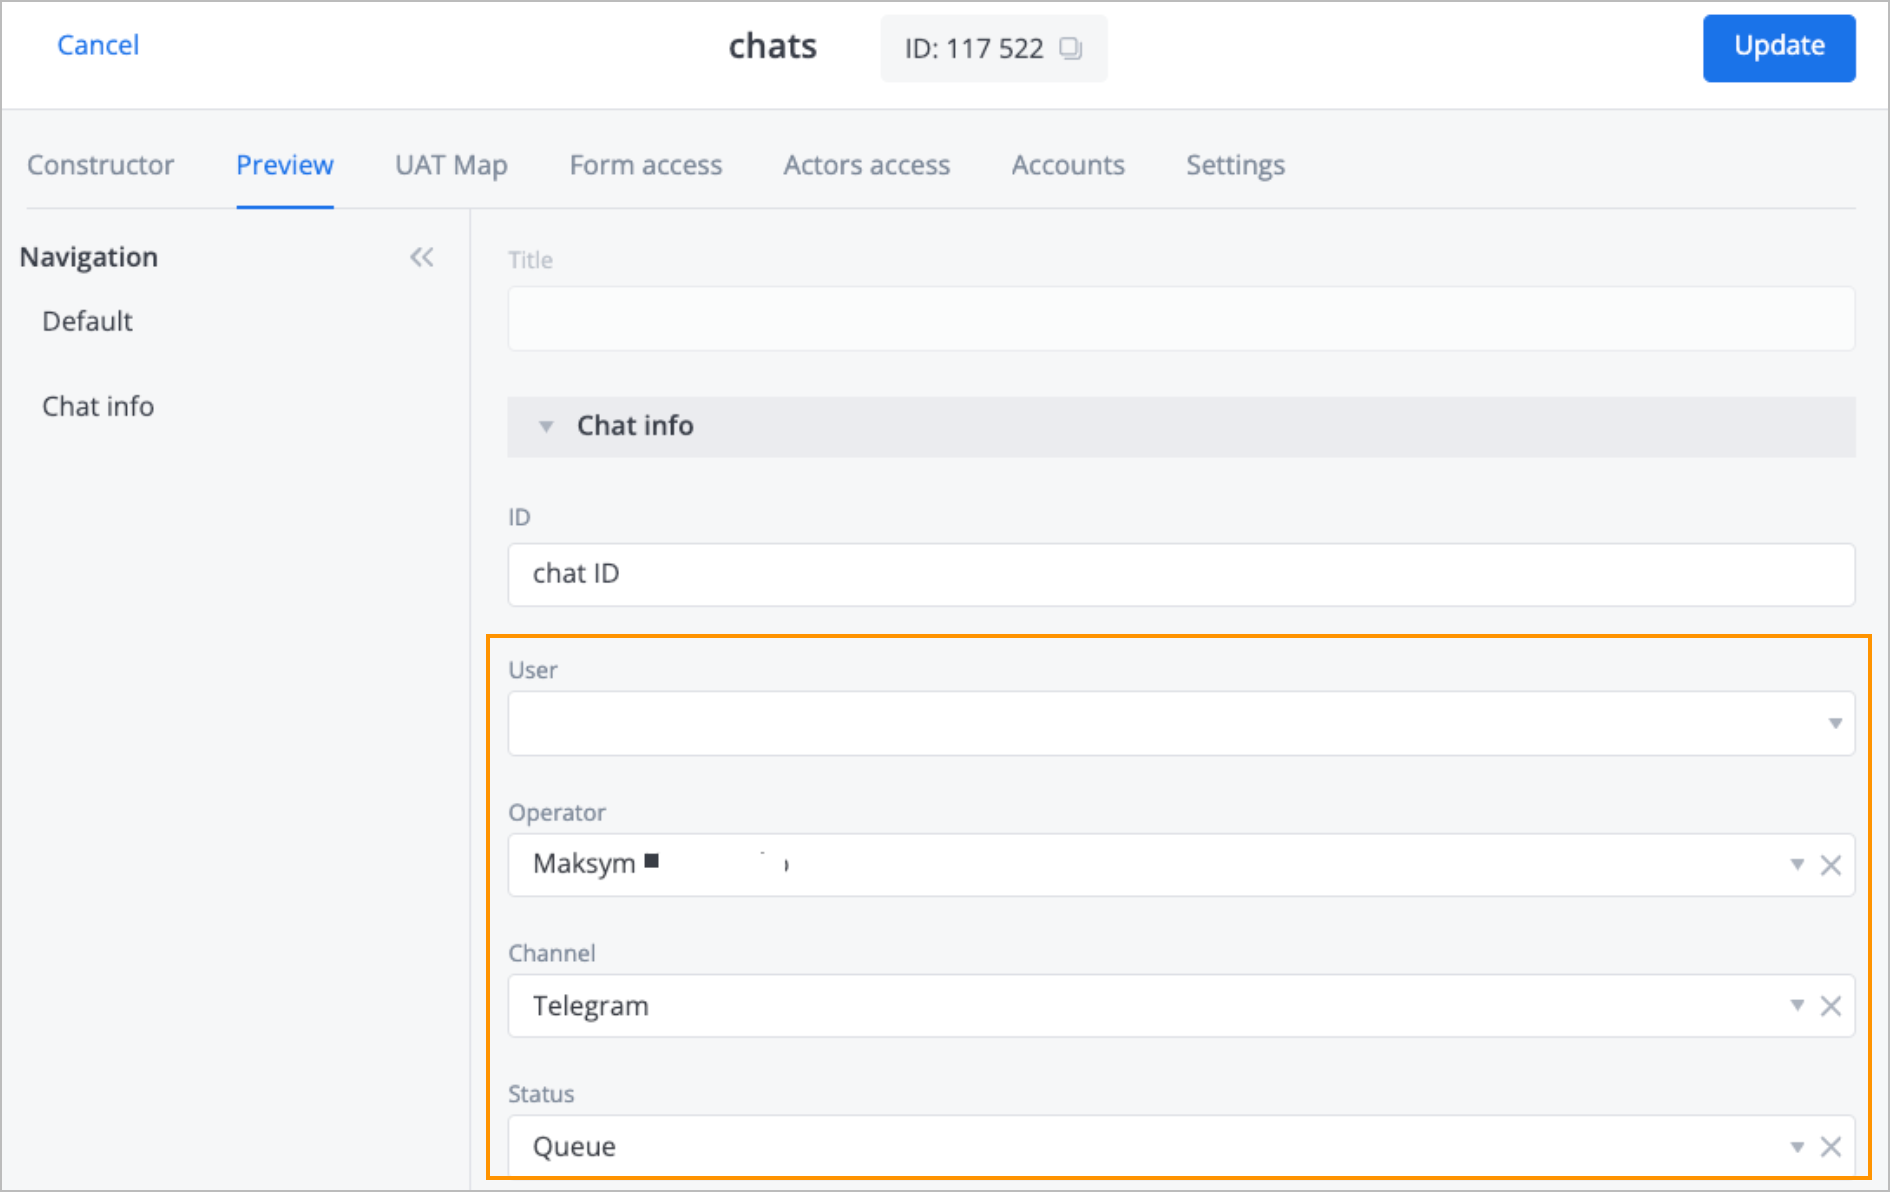
chats: Describes the structure of chats data:
- The User field refers to the filter by all user actors.
- The Operator field refers to the filter by all employee actors.
- The Channel field refers to the filter by all channel actors.
- The Status field refers to the filter by all chatStatuses actors.
The channels, chatStatuses, and operatorStatuses forms serve as dictionaries. You can create as many dictionaries as needed and use them in your processes.


Actors
To access actors, go to Simulator → Actors bag.

Actors bag is a place where we work with the actual actors. An actor can be a specific operator, a specific client, a specific chat, and so on.
On the Actors bag page, you can do the following:
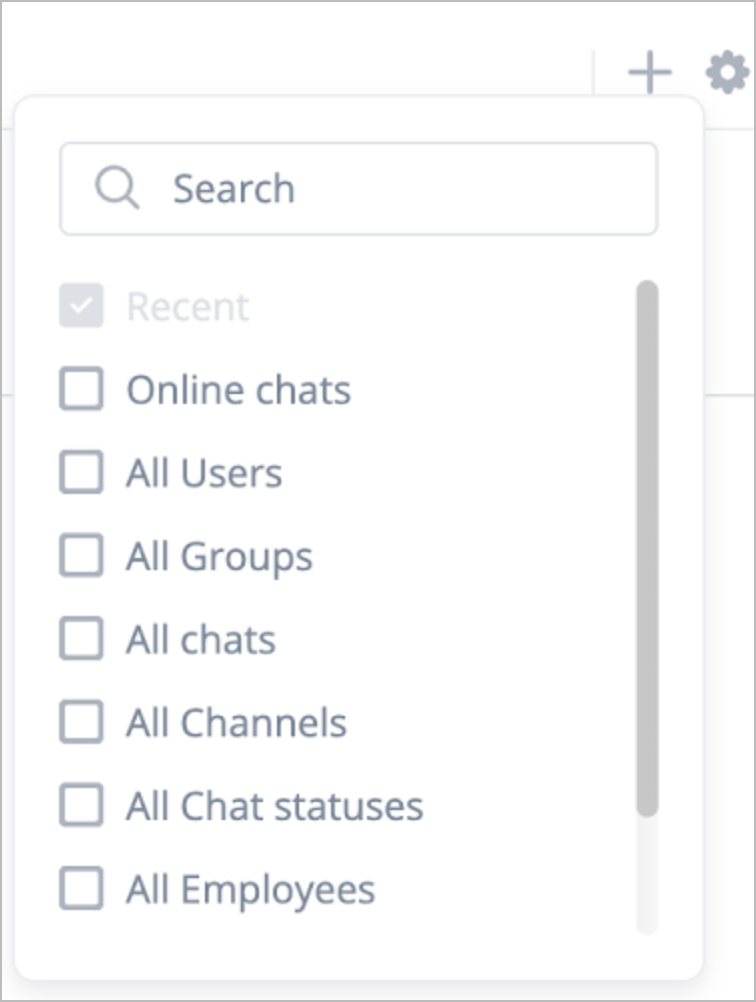
Apply filters or configure the needed ones.
Create new actors, view actor details, edit an actor, and so on.
Note: To create an actor of the employee type in the form, turn the Optional fields toggle on and choose the corresponding user in the Single account user field, who is registered in the system. Doing this establishes a connection between the actor and the actual user in the system. A user can only be associated with one actor in the workspace at a time. This action is necessary for the logic of distributing dialogs between operators, which you can configure in the /startChat process. When creating a Communications Orchestrator, one employee actor is created per the user who created the Communications Orchestrator.View actor’s accounts. Accounts can be used to track any action, event, or other changes. After creating Communications Orchestrator, several accounts were created for clients and operators, where the following are accounted for:
- The number of chats per operator (active / total)
- Ratings given by clients to the operator
- The time that the operator spent in different statuses.

Correspondingly, in Corezoid, processes are built that respond to triggers to create transactions and update account balances. Account balances can also be used in business logic. For example, the activeChats account on actor-employees is involved in the logic of distributing dialogs between operators. If you need to start keeping track of anything else, simply open an account for the corresponding type of actors, specify the currency - what to track, and build processes to create transactions. For more information, go to the /startChat process.
Events
To access events, go to Simulator → Events.

The Events page is the main working space for agents handling dialogs.
There are two modes for viewing the list of events: Regular and Split. For working with multiple dialogs simultaneously, we recommend using the Split mode. It allows you to switch between conversations with one click while seeing the full picture of your dialogs: the appearance of new dialogs, new reactions in current dialogs, and so on.
You can distribute events (dialogs) to different stream tabs. Adding an event to a stream tab equals creating a connection (edge) between event actors and stream actors. There are three system stream tabs: To Do, To Sign, and Starred.
To stop displaying system stream tabs and enable the display of the ones you need, click the settings icon and select the checkboxes for the stream tabs you want to display.
After creating the Communications Orchestrator, two new stream tabs are added:
- Active chats: New dialogs get listed in this stream and remain there until they are closed. The logic for adding a new dialog to this stream is configured in the /startChat Corezoid process.
- Closed chats: These are dialogs moved from the Active chats stream tab immediately after the chat status changes to Closed.

The same dialog can be maintained in multiple stream tabs simultaneously. You can create new stream tabs and configure the needed logic for adding dialogs to them, for example:
- Streams based on the themes of inquiries or based on the channels of inquiries
- Streams based on the duration of the dialog
Dialog components
The dialog has the following components:
Dialog name: A dialog can have any name and has the following dynamic structure:
{channel} - {chatId} - {userName}
Where:- channel: The channel of the inquiry.
- chatId: A unique chat ID generated in the chatId generator process. The algorithm can be modified.
- userName: Username retrieved from a user actor.
Card of an actor: A card of a chats actor, which characterizes the dialog itself, is added to the dialog.
Shared with: indicates who has been added to the dialog and with what roles. The operator can manually share the dialog with another operator or a group.
Linked actors: A list of actors associated with the dialog. Linking the dialog to actors is necessary for displaying the selected dialog in the history of events for these actors. Currently, history is linked to actors in:
- Stream tabs: activeChats and closedChats.
- Employees: The actor of the operator who is handling the dialog.
- Users: The actor of the client who contacted support.
Done: The action is linked to the logic of completing the dialog from the operator's side. The Simulator Receiver Corezoid process tracks the dialog completion event and triggers the /NPS process.
Note: You can modify this logic.Scripts: Are run within the dialog with the option to specify the recipients.
Snippets: Allow the fast use of predefined phrases.
Dashboards
To access dashboards, go to Graphs → Dashboards.

Using analytics with dialogs
When account balances are tracked for actors such as operators or users, on the dashboards, you can visualize the balances or transaction dynamics.
Configure Dashboards
The architecture of Communications Orchestrator inherently includes the logic for automatically creating four dashboards as soon as an employee actor is created. A separate layer is created for each employee with metrics specific to them. This logic is built in the bp → chats → create employee → create dashboards process and can be changed or expanded.
To switch between the layers, use the bottom panel.

Widgets
To access widgets, go to Editors → Communications → Widgets or Comments Widgets.

After the Communications Orchestrator has been created, a widget actor is created, which you can access on the Communications page. Click the widget, and on the Embed code tab, you can obtain the embed code for the widget and add it to your website or any test environment.

Scripts
To access scripts, go to Editors → Scripts.

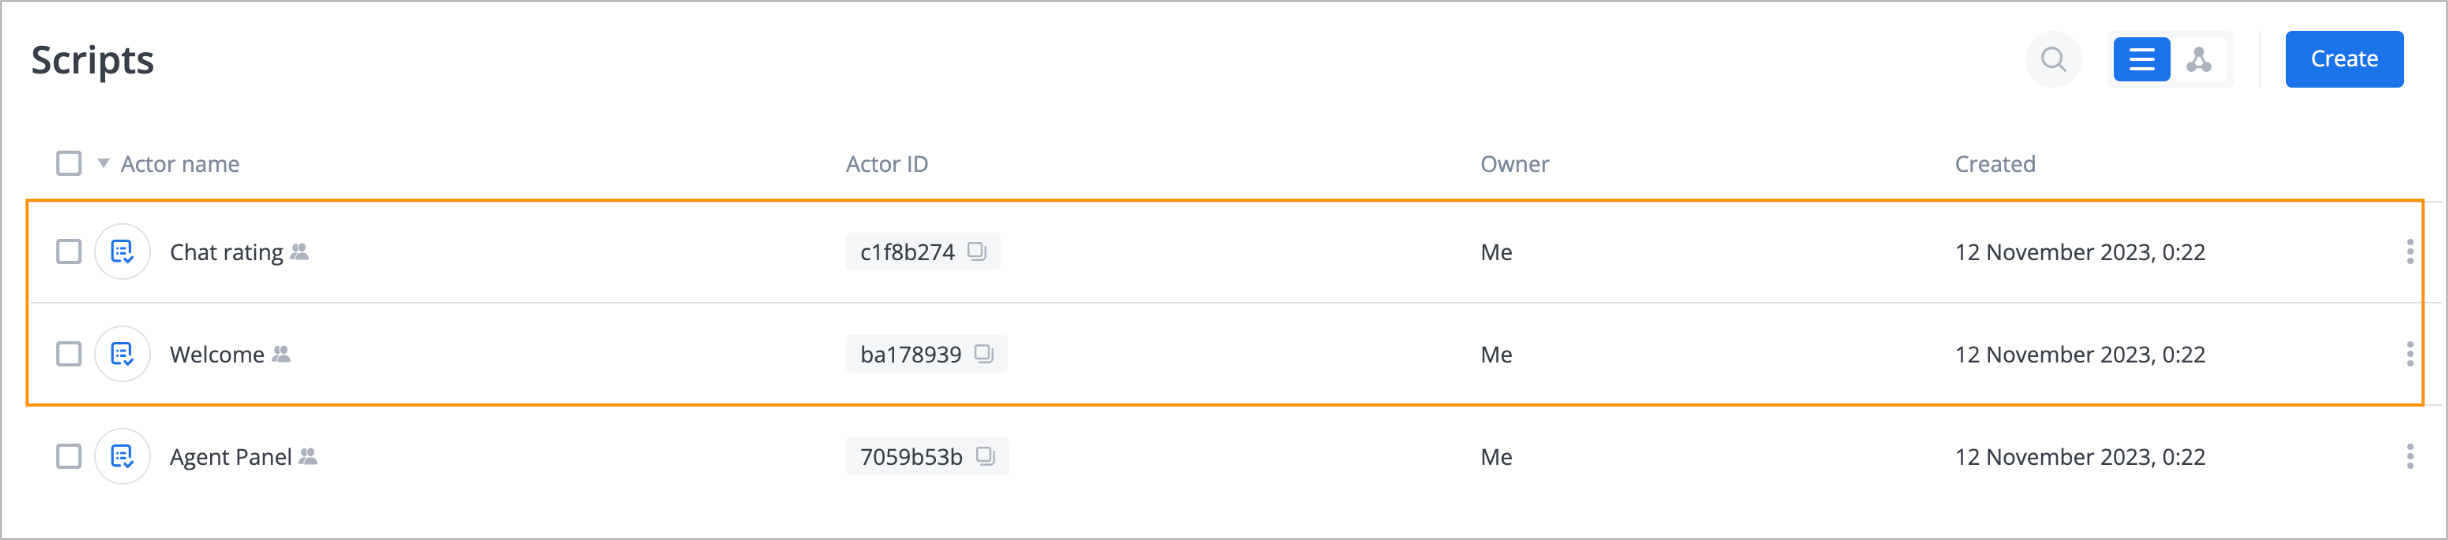
The widget has the following scripts:
Together with the widget, the Welcome and Chat rating scripts were created.
Start Script: Executes when the widget is launched.
Final Script: Executes when the user clicks the close button (X) in the widget.

- The configuration of the scripts and their execution logic can be modified.
- In Corezoid, processes for interacting with scripts are located in the Communications Orchestrator → Messengers → Simulator → Scripts folder.
To use scripts:
- After creating Orchestrator, replace Corezoid credentials in the script settings with your own.
- Create an API Key in Corezoid and grant Task management access to this API Key for each main receiver script (Process “script - {scriptName} - main receiver”).
- Fill in the corresponding parameters in the settings of each script: API login, API secret, Company ID, Dev process ID, and Prod process ID.
Note: You can specify the same Dev and Prod processes if needed.
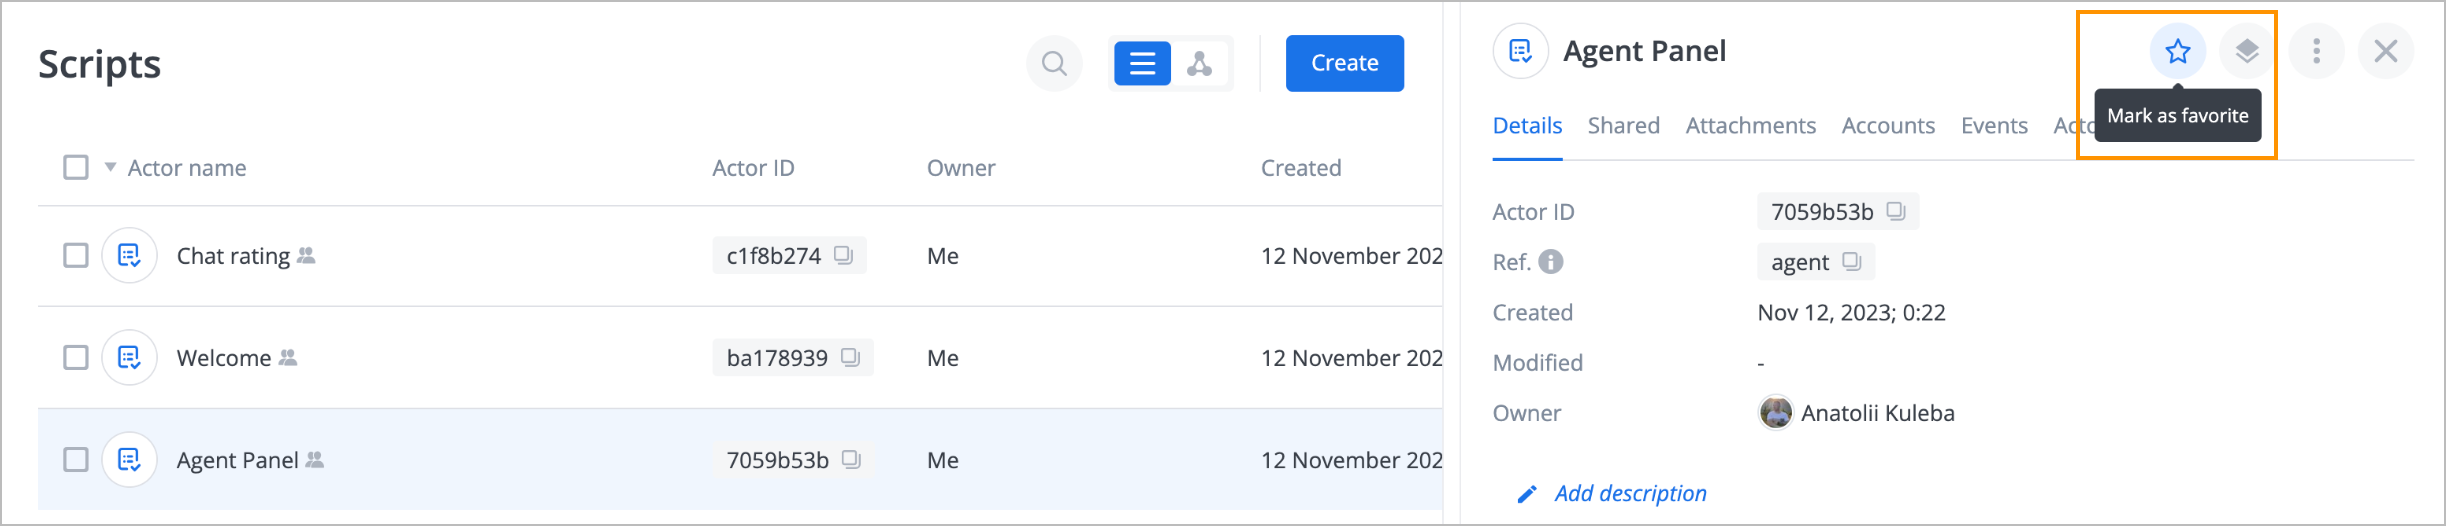
Agent panel script
Is used for changing the operator's status to avoid giving operators direct access to actors-employees.
You can add the script to favorites to add it to the side panel (it appears on the panel after refreshing the page).
Every change in the operator's status is logged on the respective accounts and displayed on dashboards.
The logic is configured in the process bp → chats → update agent status.
When adding new statuses, modify this process accordingly.

Was this article helpful?