Set up Messages for Business Accounts
- 11 Jun 2024
- 2 Minutes to read
- Contributors

- Print
- DarkLight
- PDF
Set up Messages for Business Accounts
- Updated on 11 Jun 2024
- 2 Minutes to read
- Contributors
- Print
- DarkLight
- PDF
Article summary
Did you find this summary helpful?
Thank you for your feedback
To setup a Messages for Business Accounts:
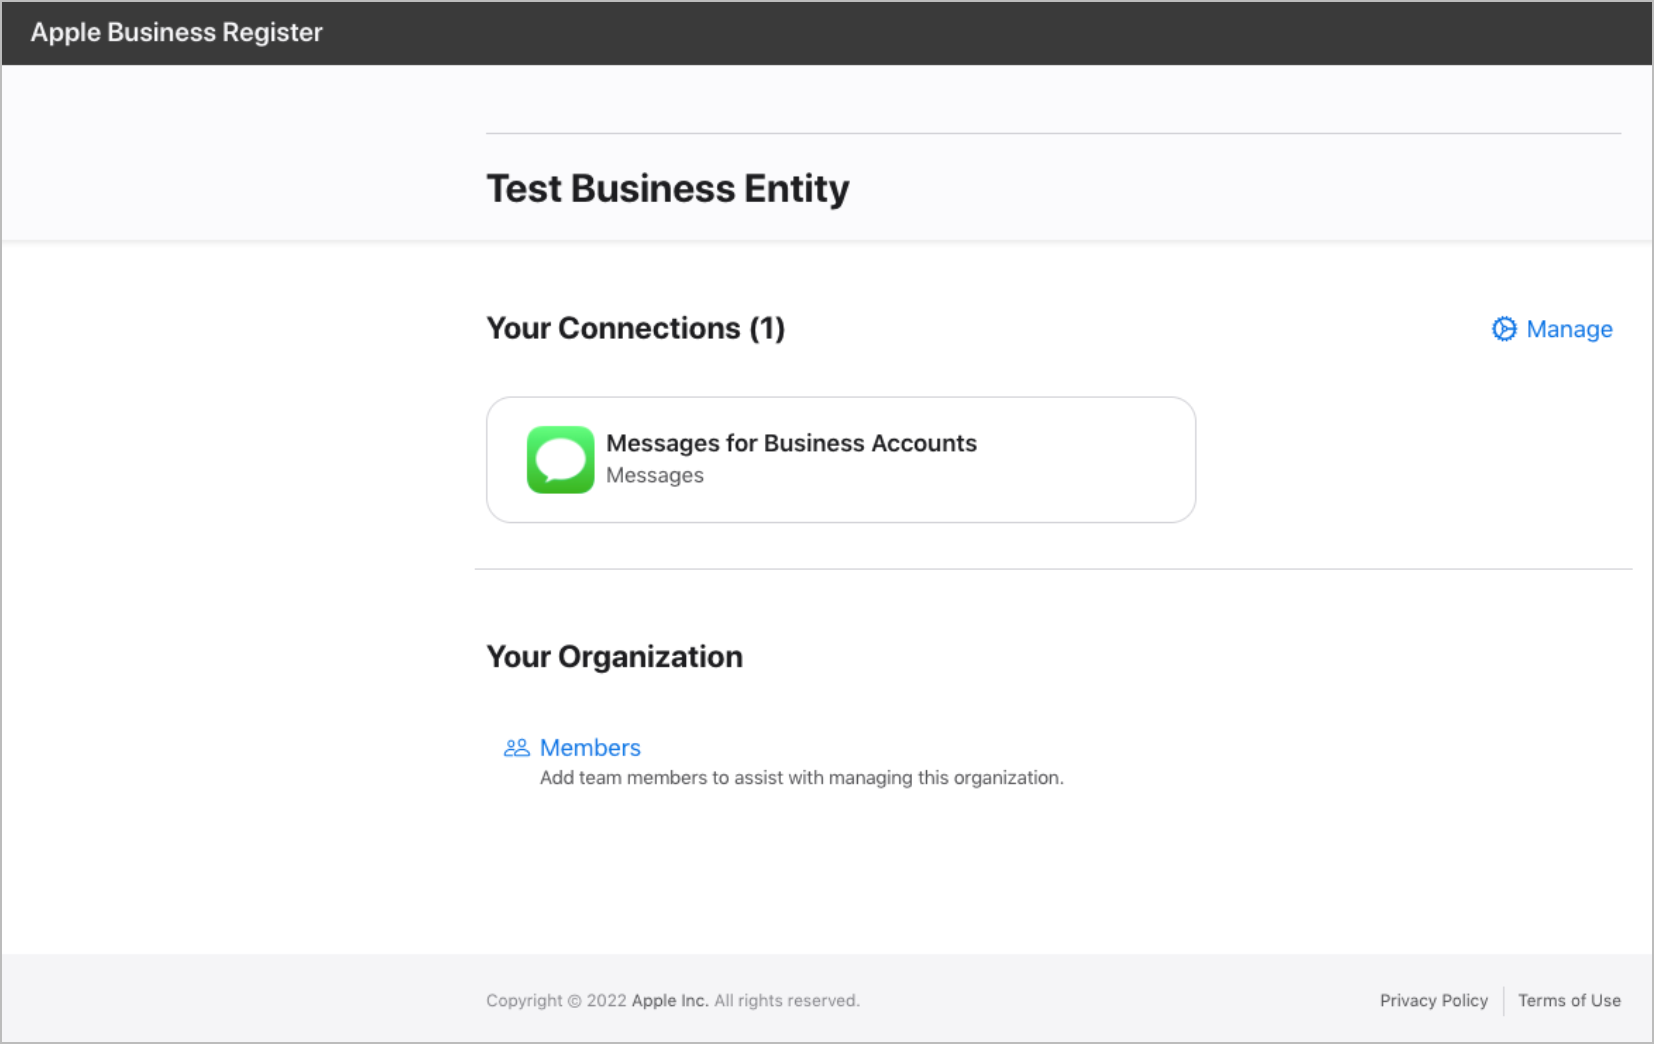
Sign up on register.apple.com.
Click Messages for Business Accounts.
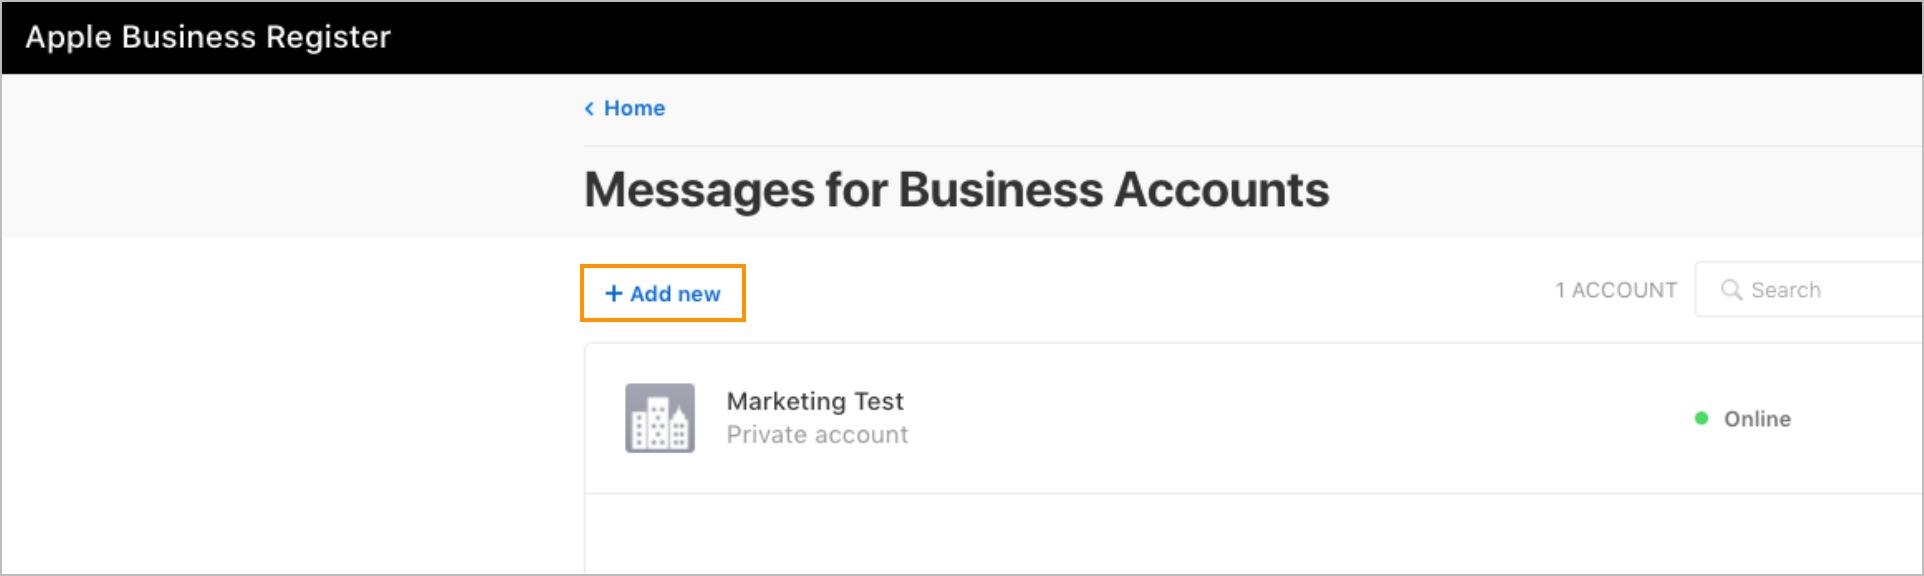
Click Add new.
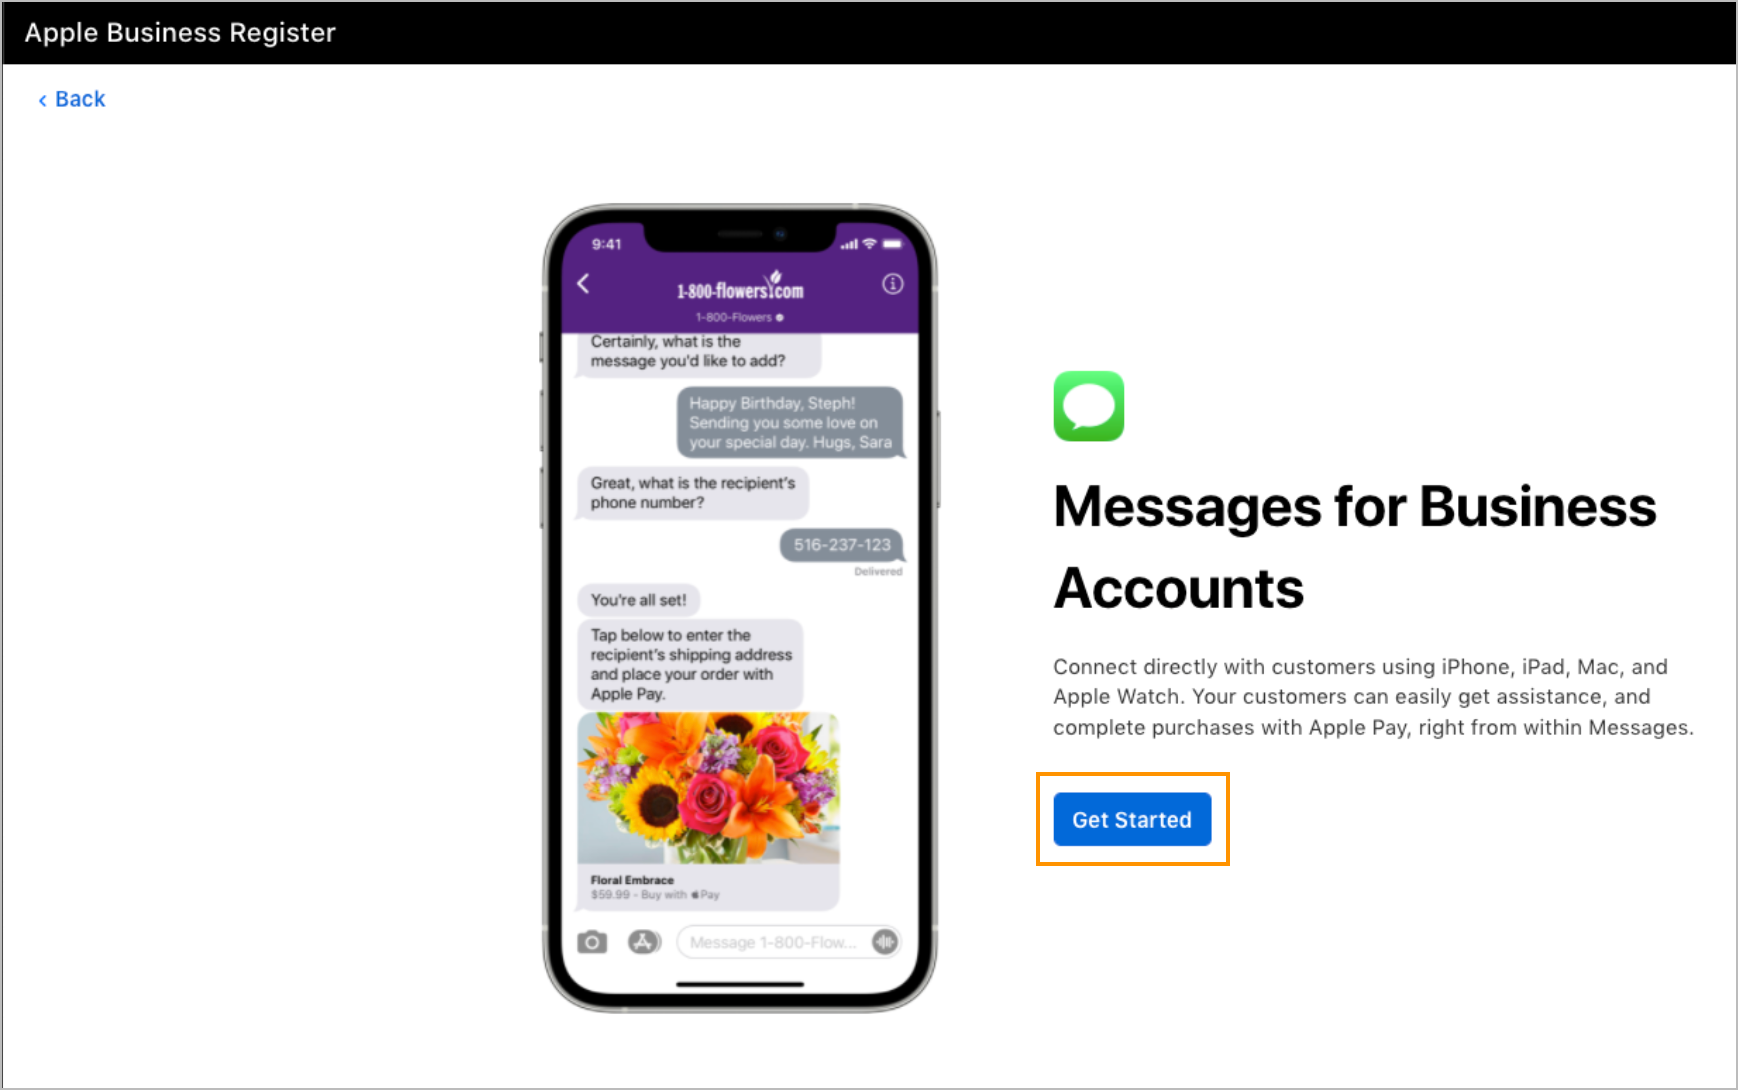
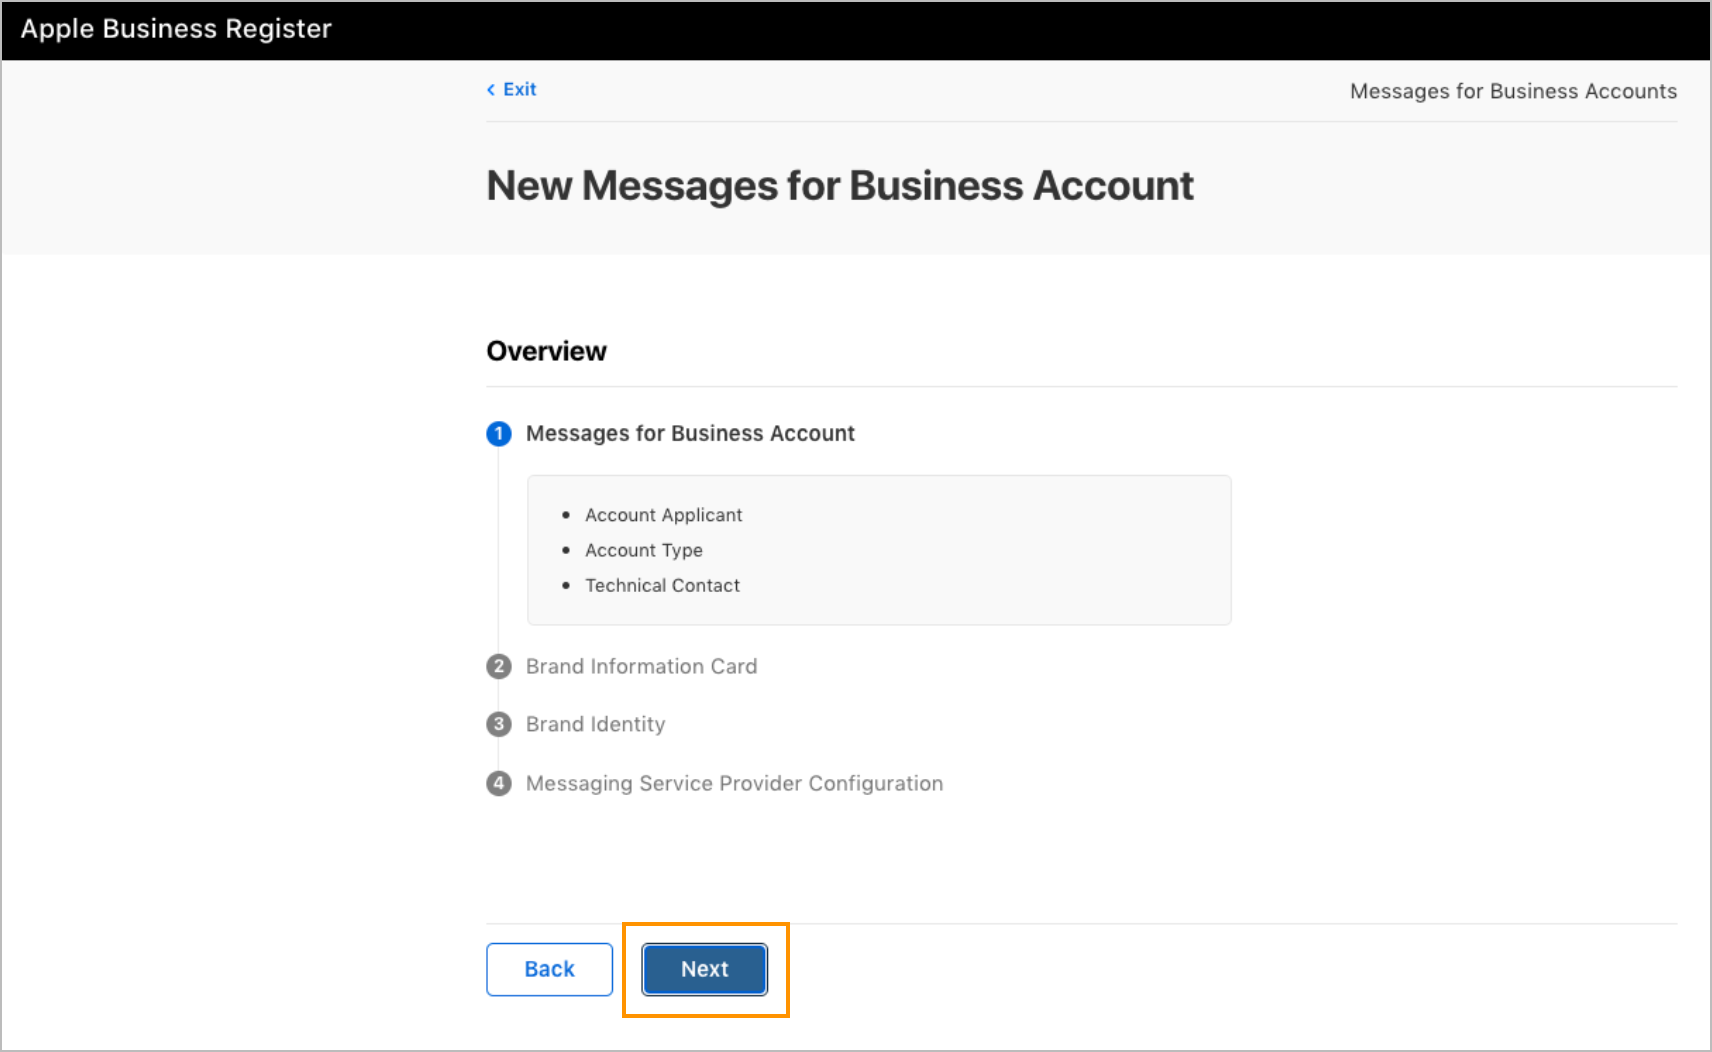
Click Get Started.
Read the Getting Started Guide, Design Guidelines, and Messages for Business Policies and Best Practices by clicking their links correspondingly, select all the checkboxes, and click Next.
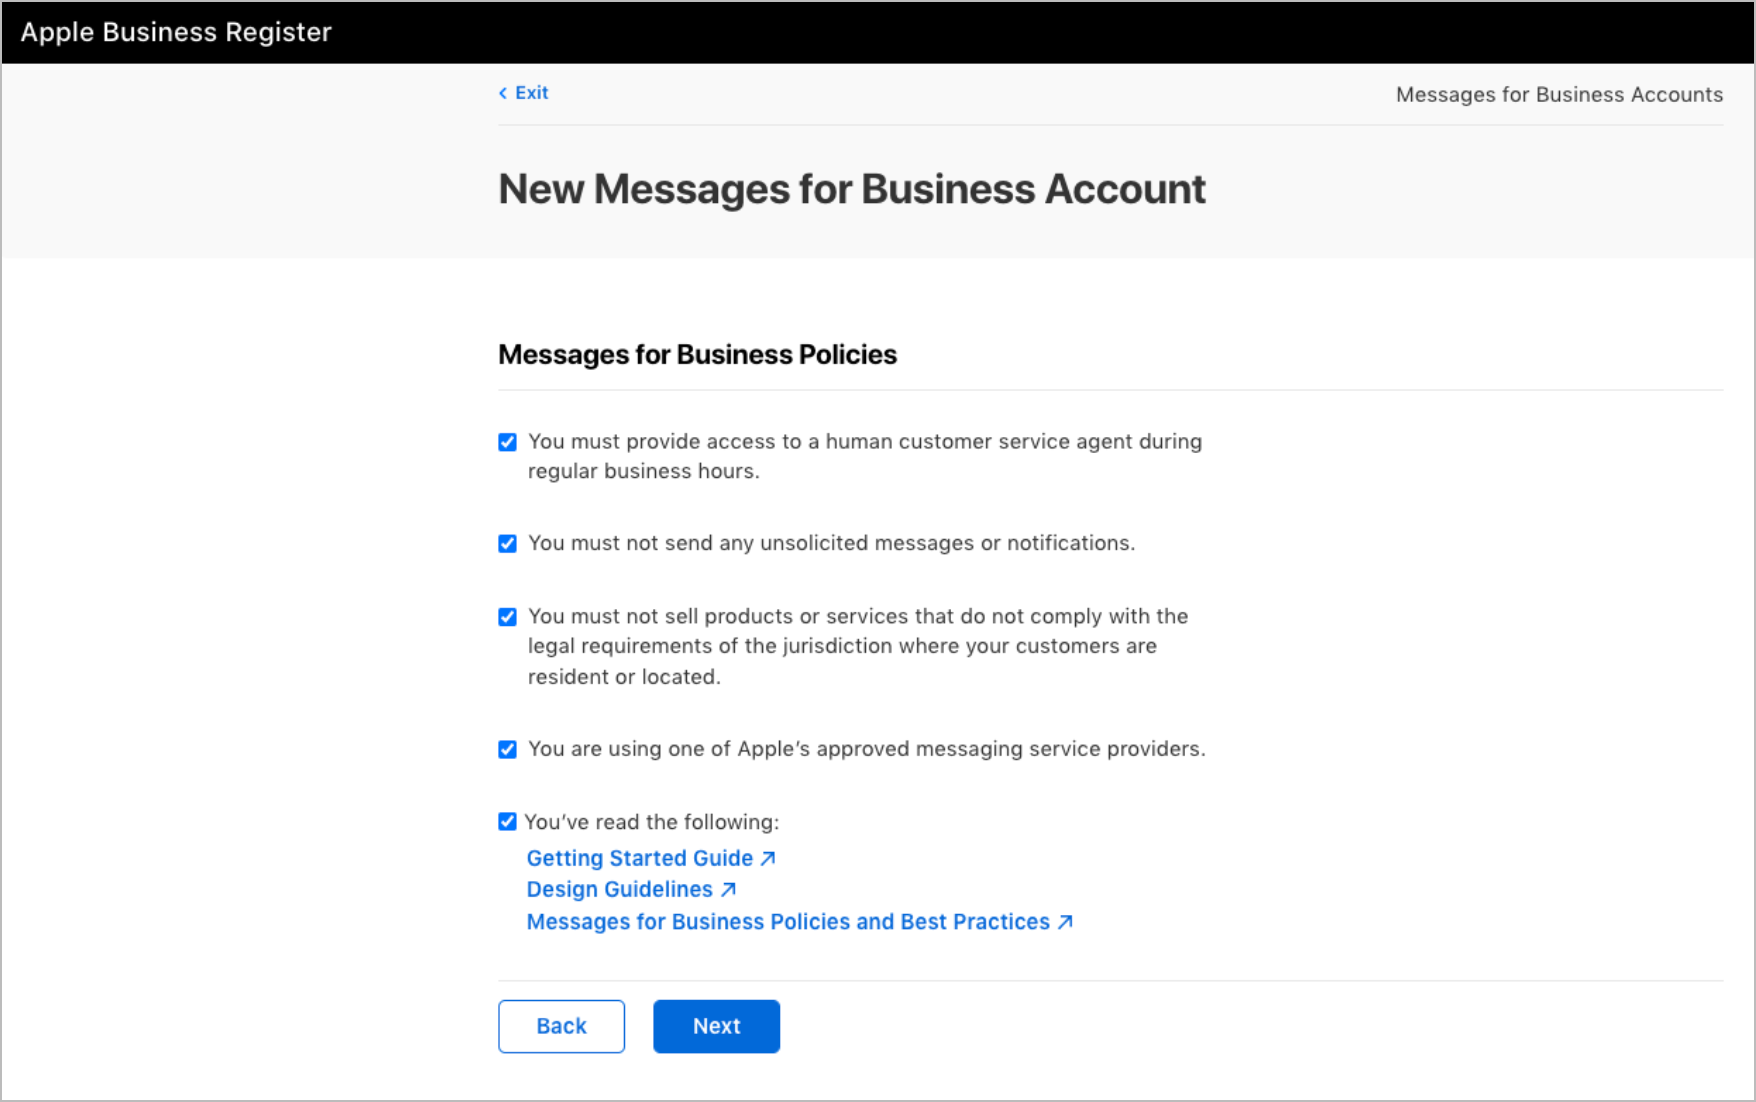
Click Next.
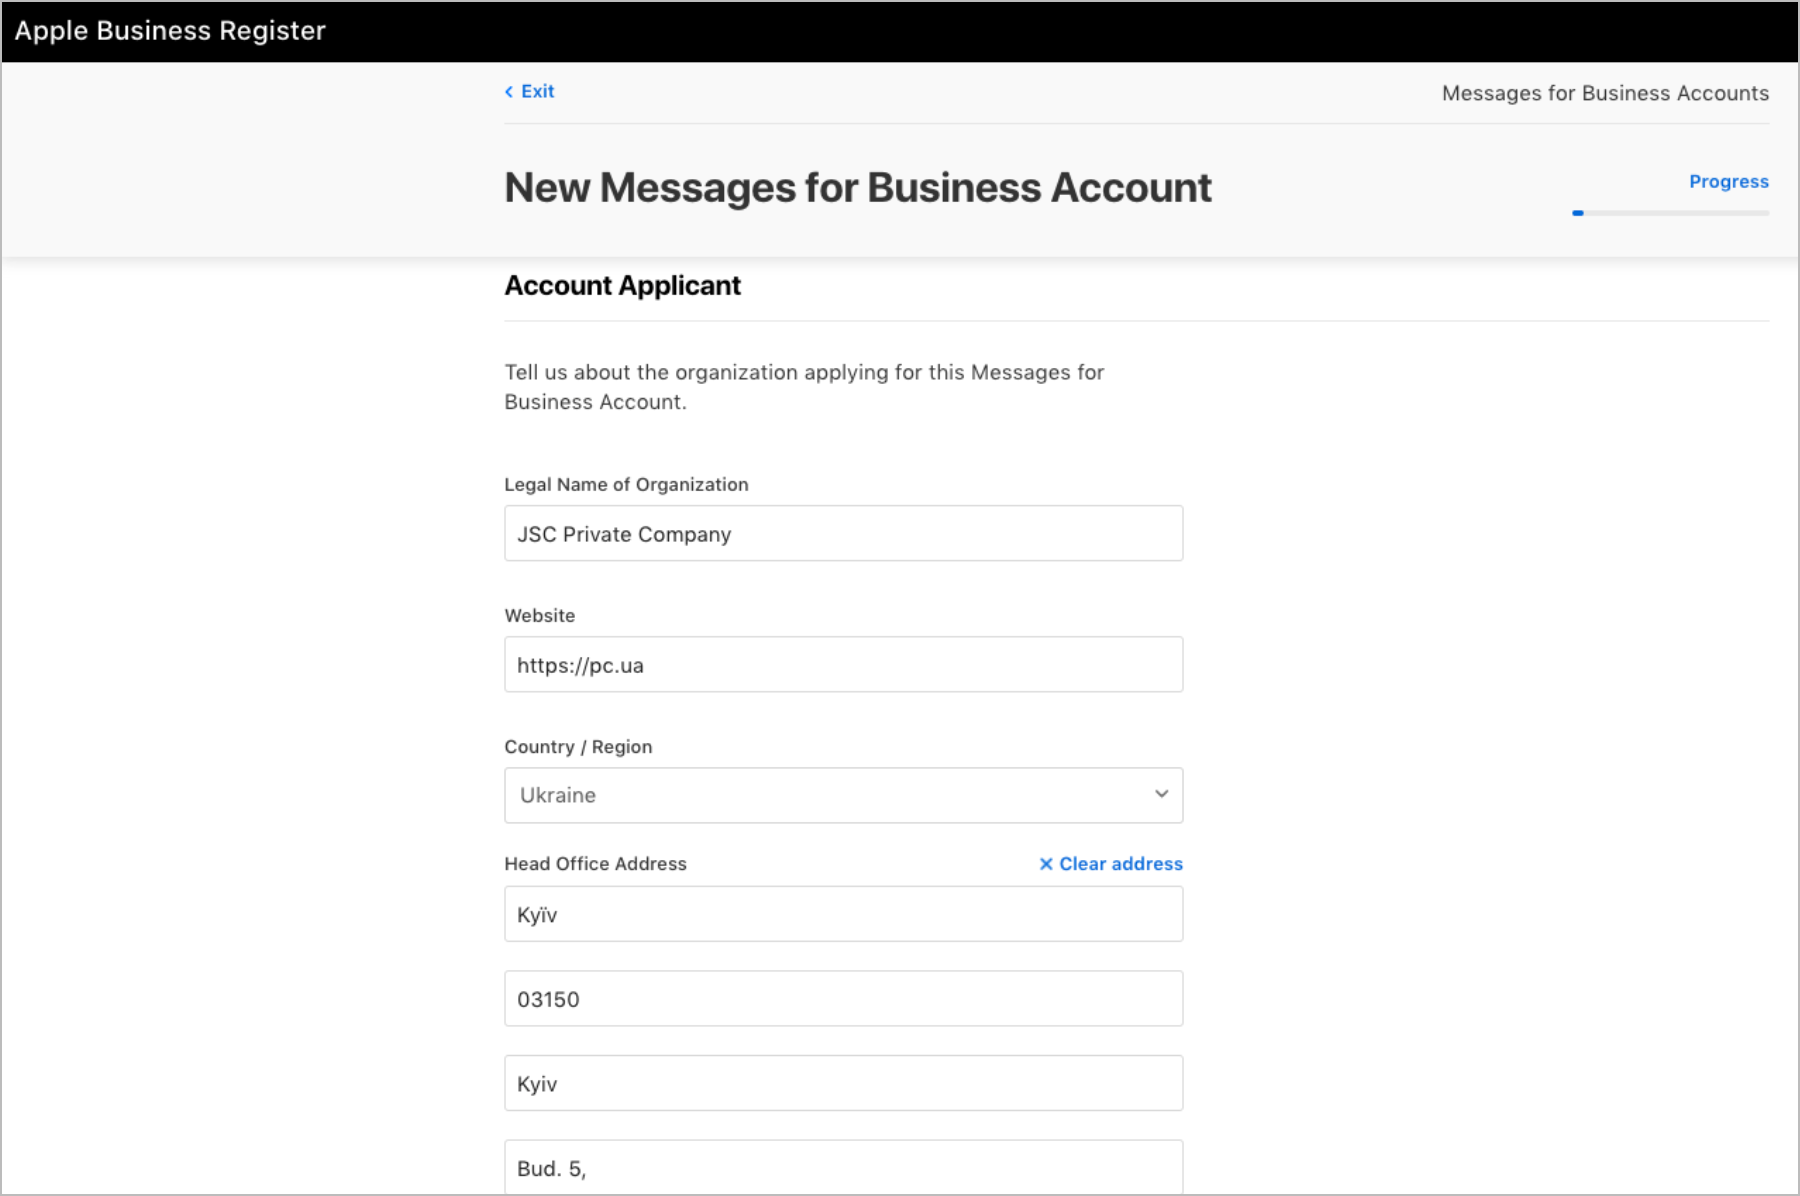
Fill in the fields with company address details and click Next.
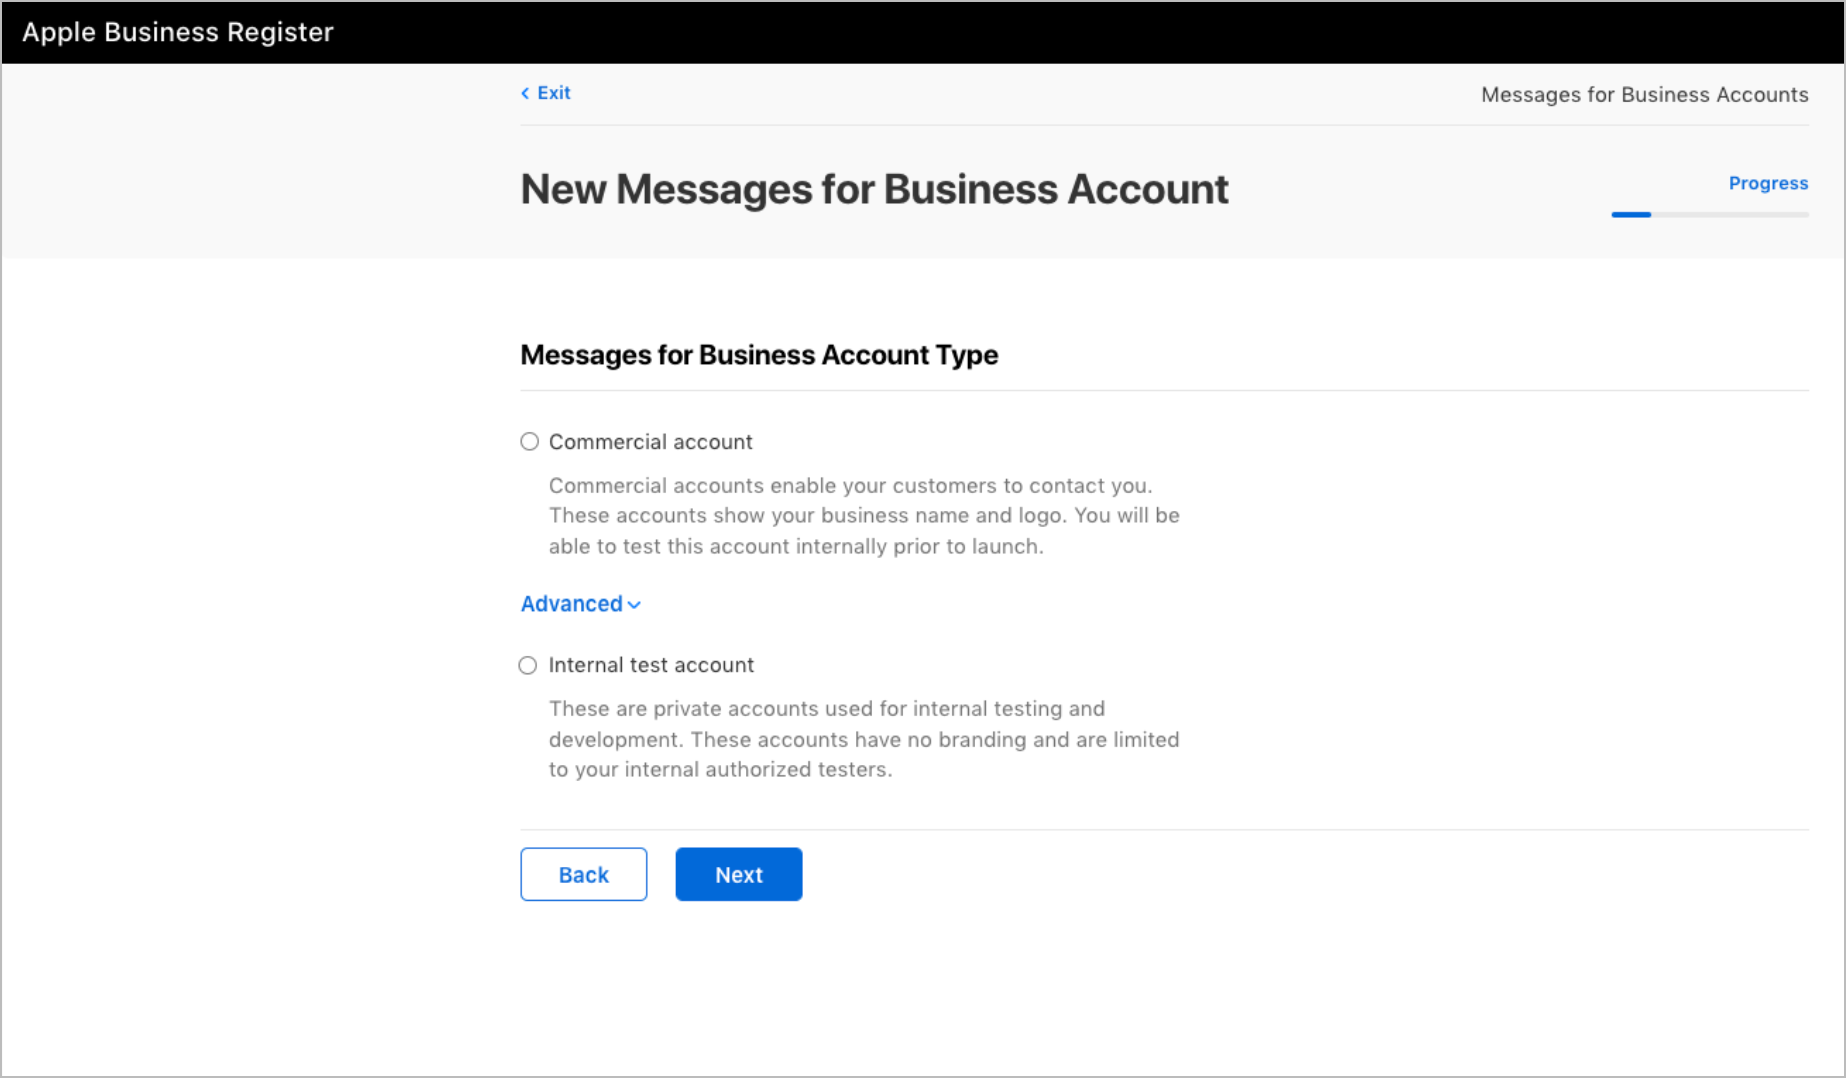
Select:
- Internal test account to use at the integration and testing stage.
Note: For more information, go to Internal test account. - Commercial account to use for industrial purposes.
Note: For more information, go to Commercial account.
- Internal test account to use at the integration and testing stage.


Internal test account
To create an internal test account:
Select the Internal Test Account option, enter your account name in the Internal Name field, and click Next.

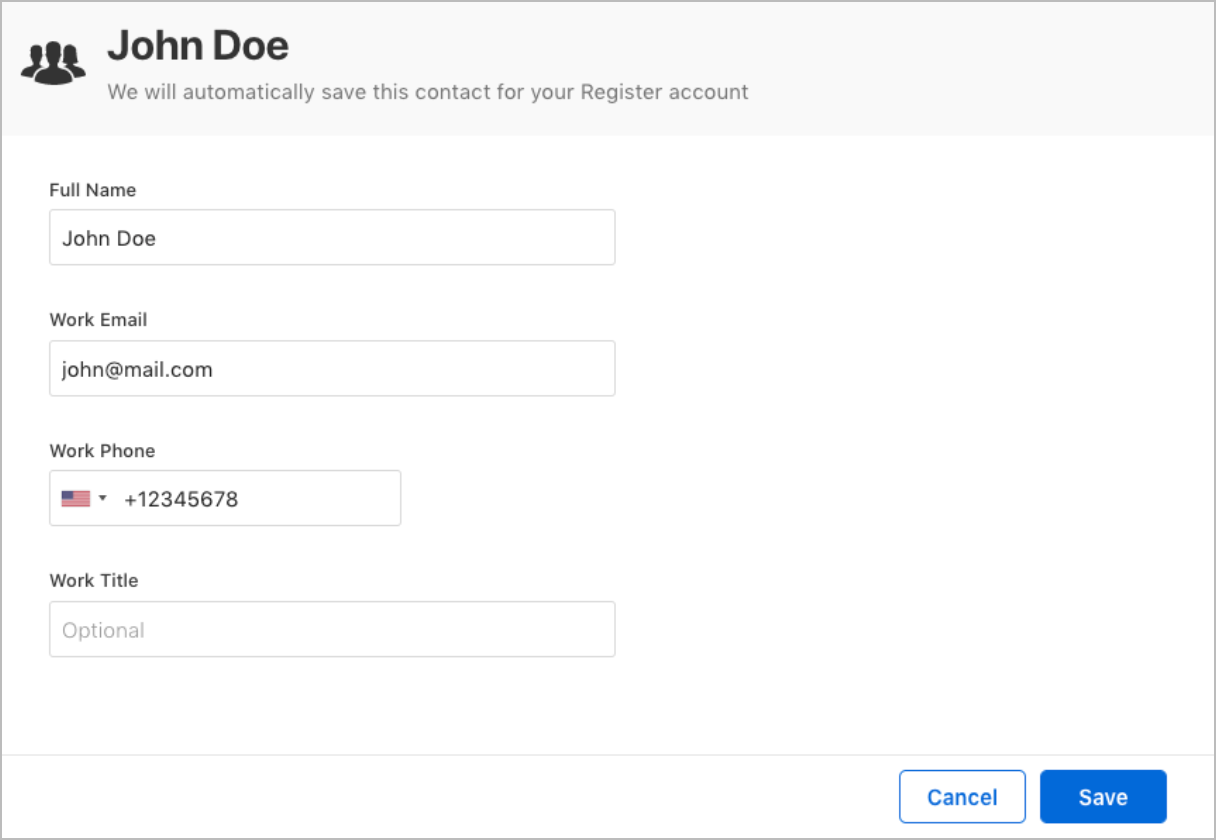
Add contacts that Apple automatically saves for your registered account and click Save.
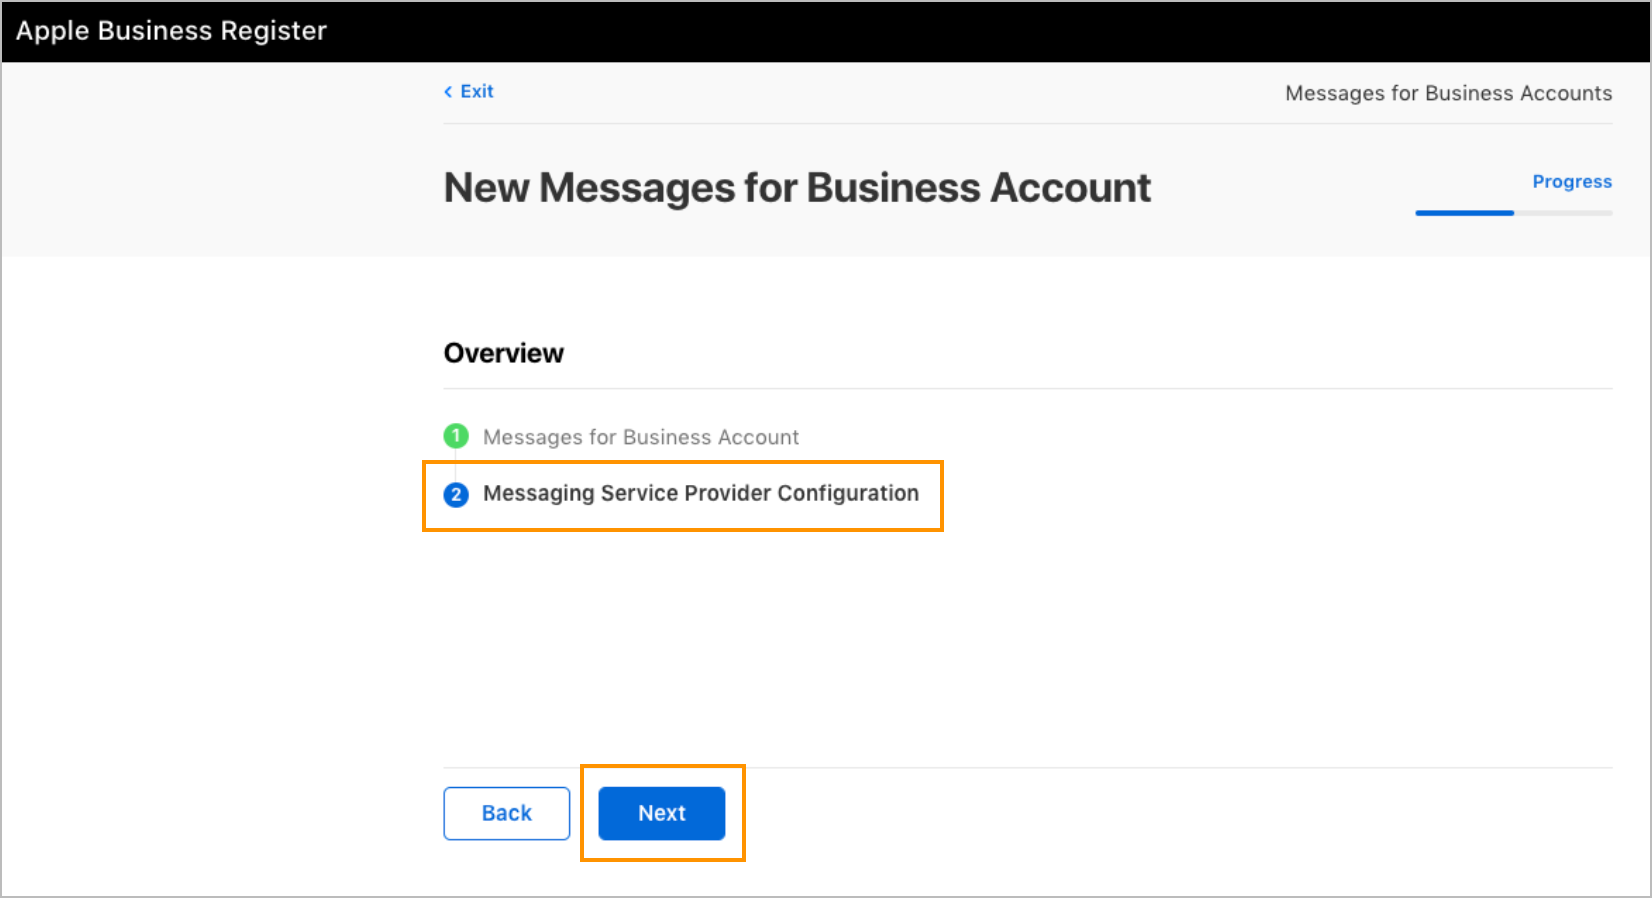
Below Messaging Service Provider Configuration, click Next.
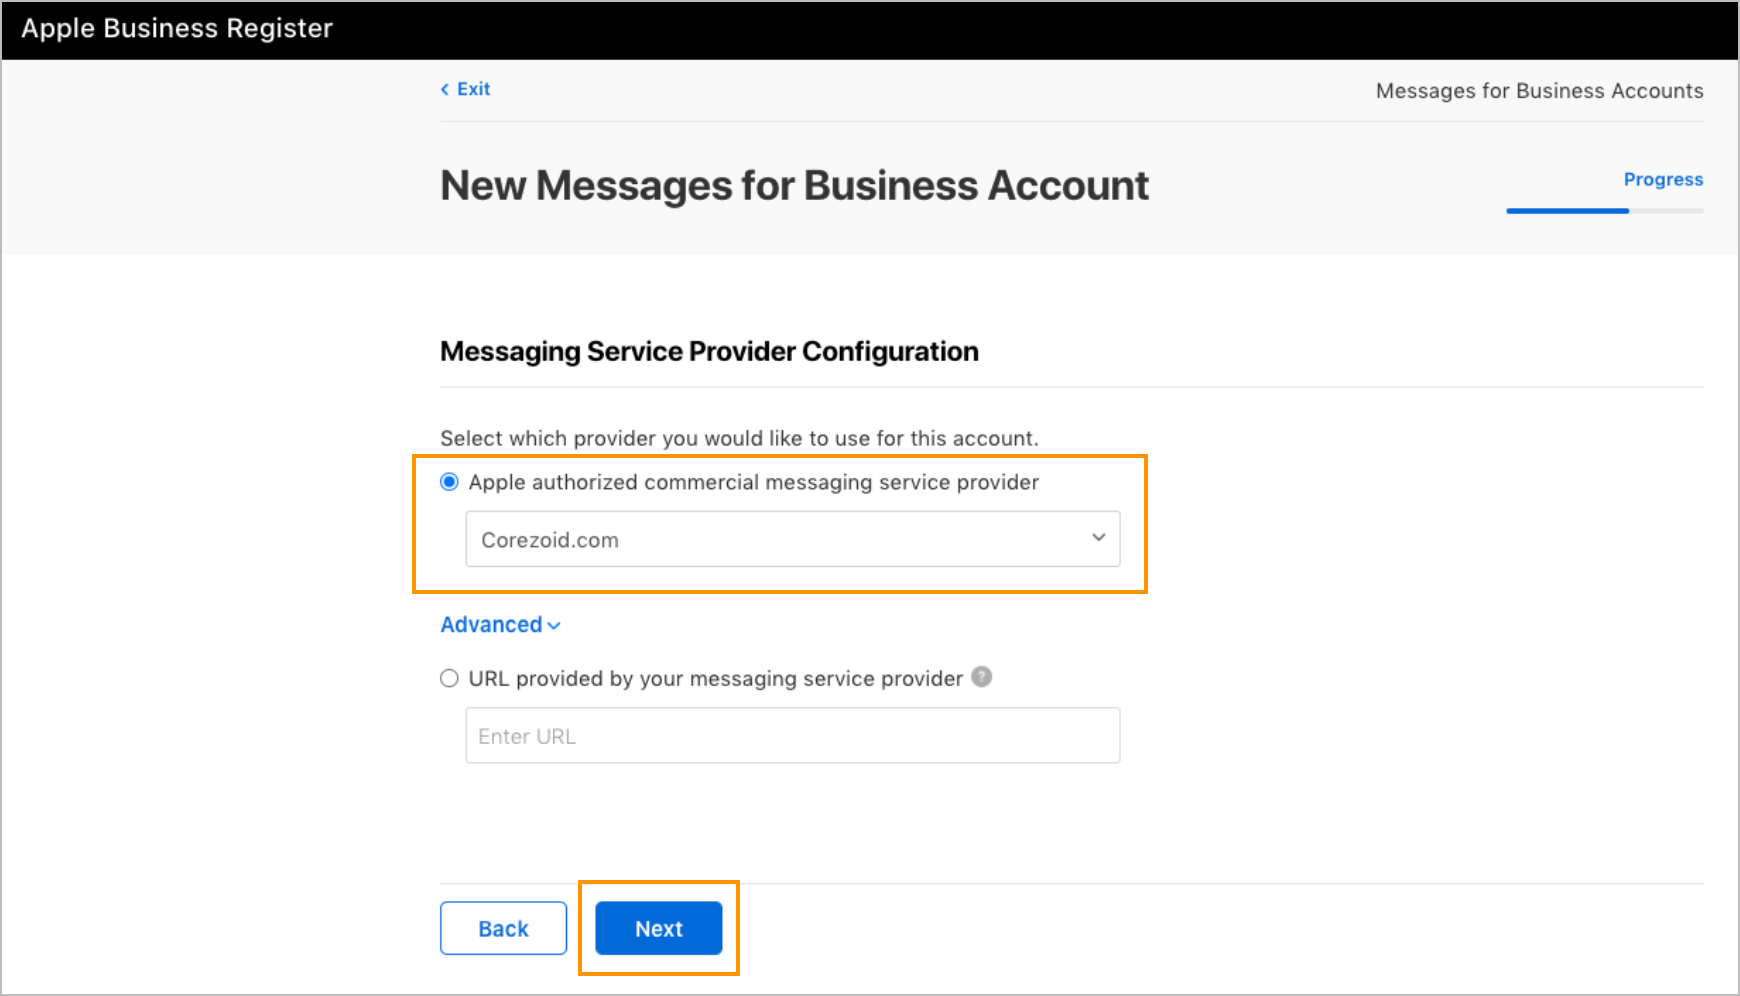
In the Apple authorized commercial messaging service provider dropdown list, select Corezoid.com.
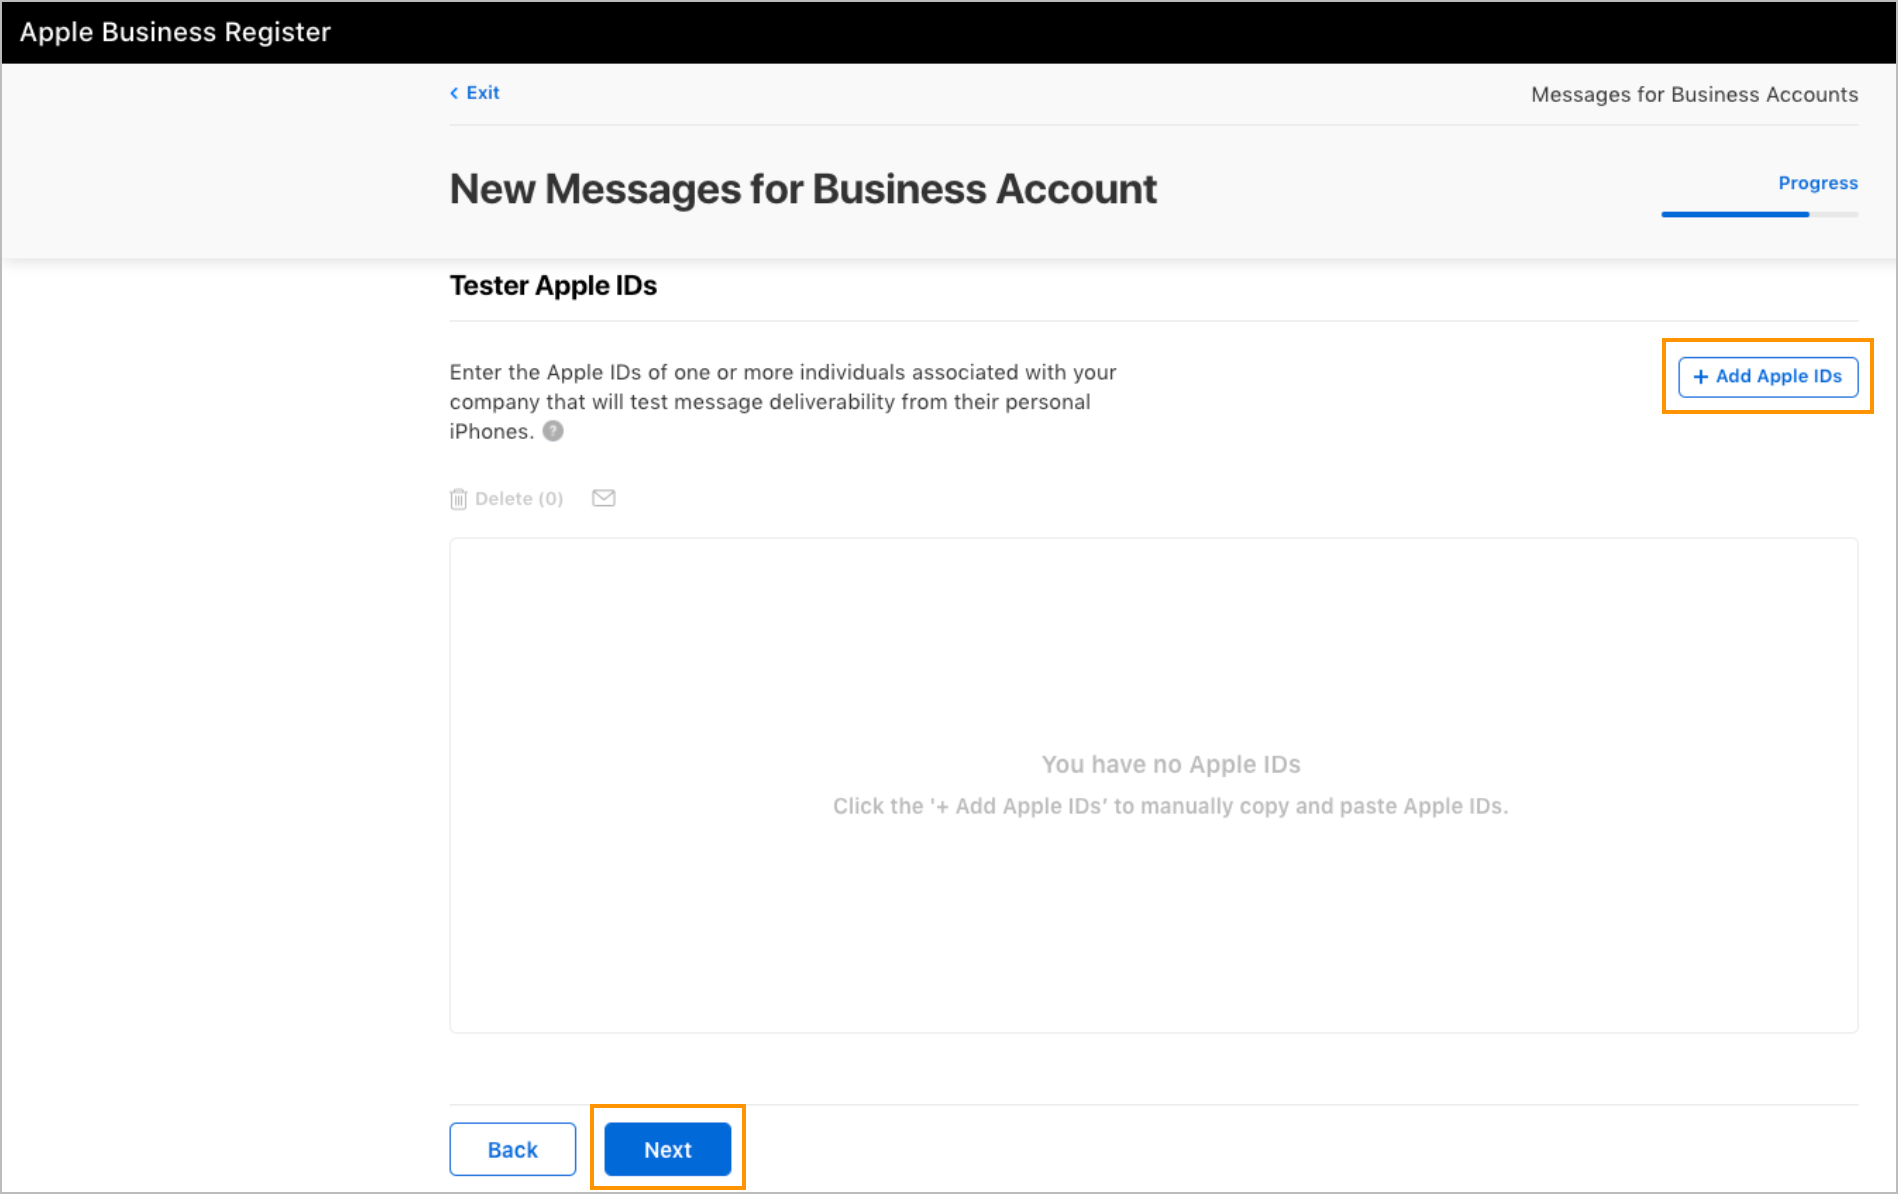
Click + Add Apple IDs and add Apple IDs of the users who can connect to your Apple Messages for Business as testers and click Next.
Note: The users receive the URL that they can use to initiate messages and test.
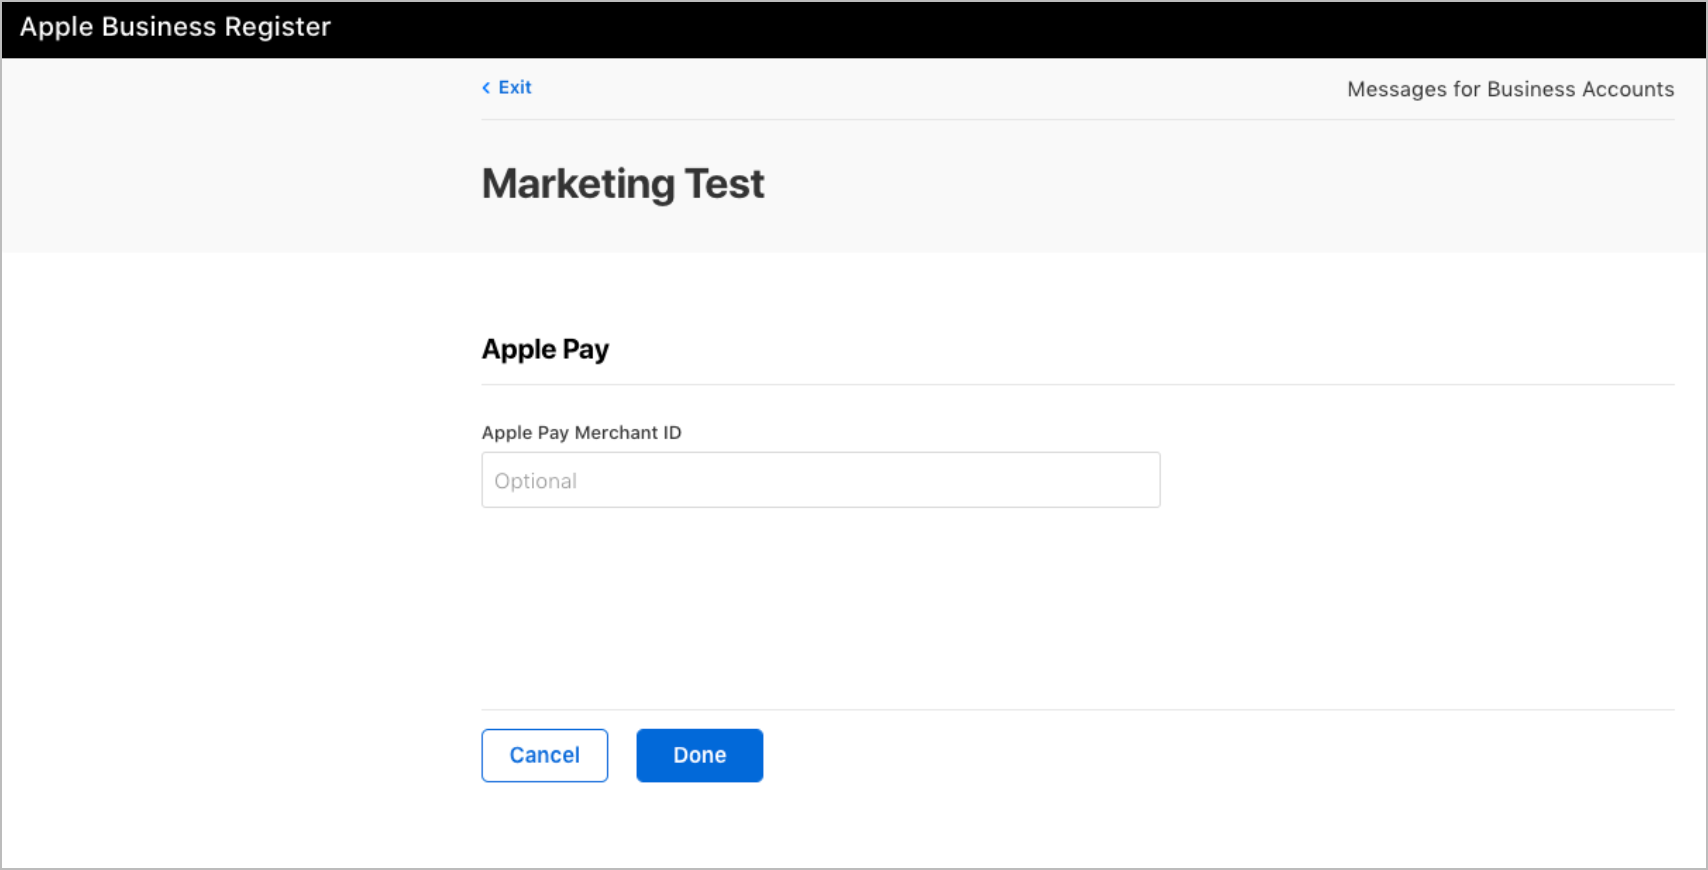
Create and configure Apple Pay Merchant ID.
Note: You should have a registered Merchant ID in your Apple developer’s account. For more information on creating an Apple Pay Merchant, go to Configuring your environment.Add it to the Apple Pay Merchant ID in the Apple Pay Merchant ID field and click Done.


Your internal test account has been created.
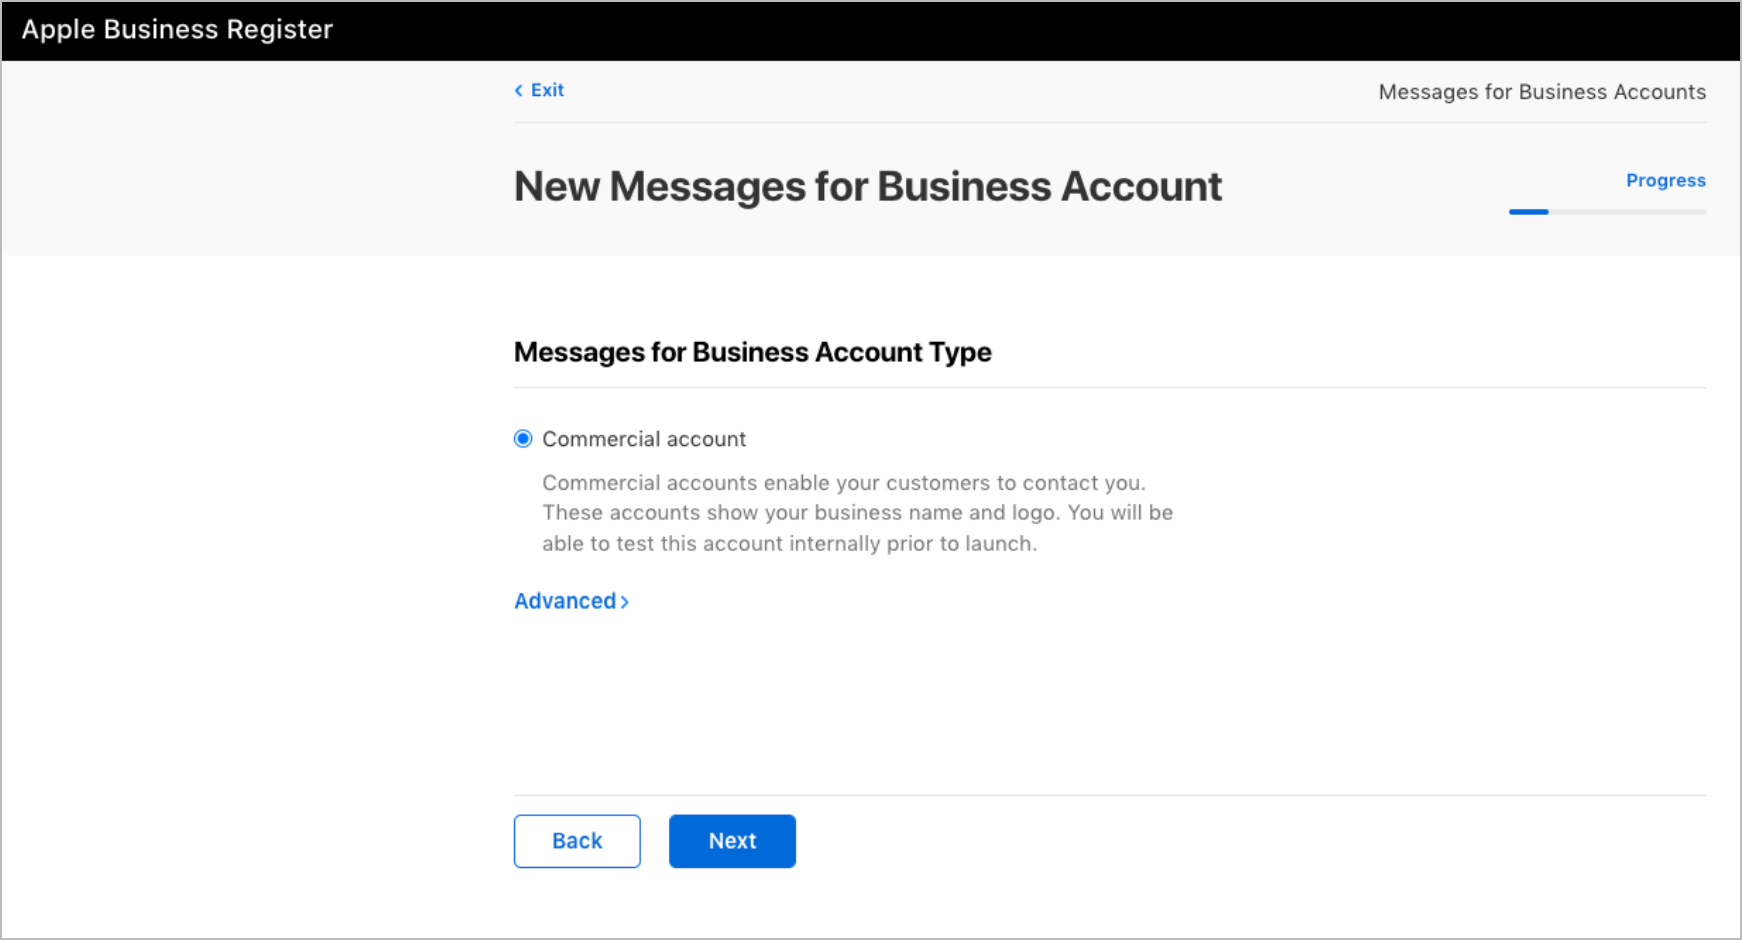
Commercial account
After you have tested the full functionality of your Apple Messages for Business account and passed the QA session from Apple, you can start creating a commercial account:
Select the Commercial account option and click Next.
In the Account Contacts dialog:
- Enter a contact person responsible for the technical side of the integration in the Technical Contact field.
- (Optional) Enter a contact person who owns the Apple Messages for Business account in the Sponsoring Executive field.
Note: In steps a and b, can be the same person. - Click Next.

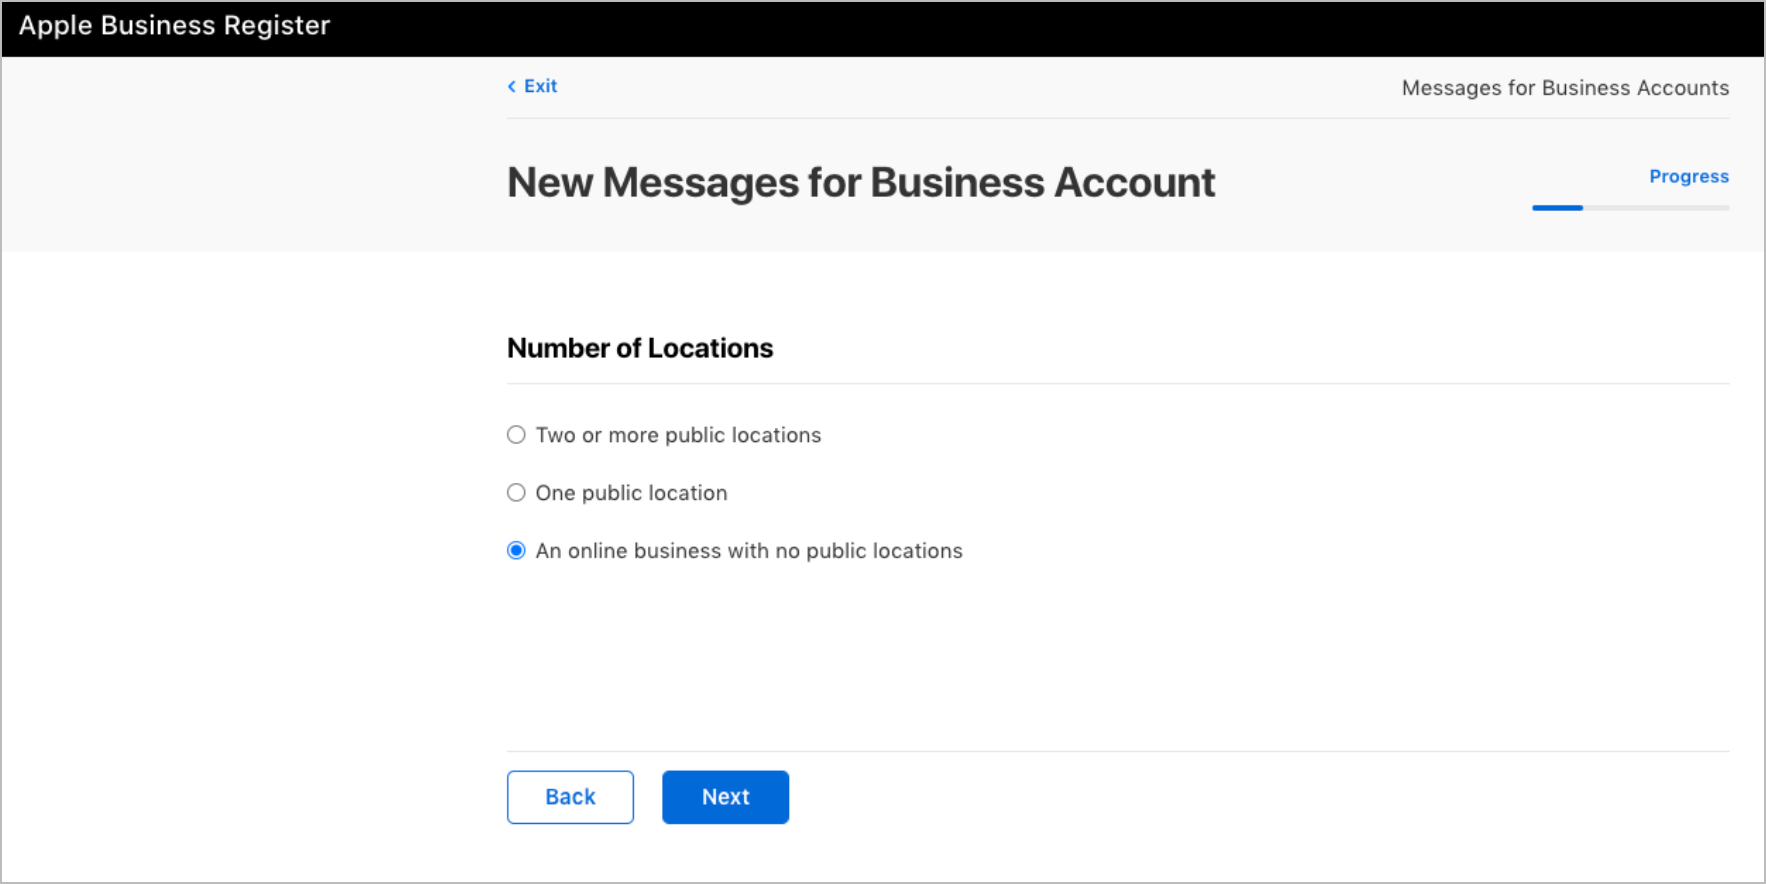
Select the number of your business locations and click Next:
- Two or more public locations: If you have many locations.
- One public location: If you have only a head office or one store.
- An online business with no public locations: If you have an online business or simply do not have locations.
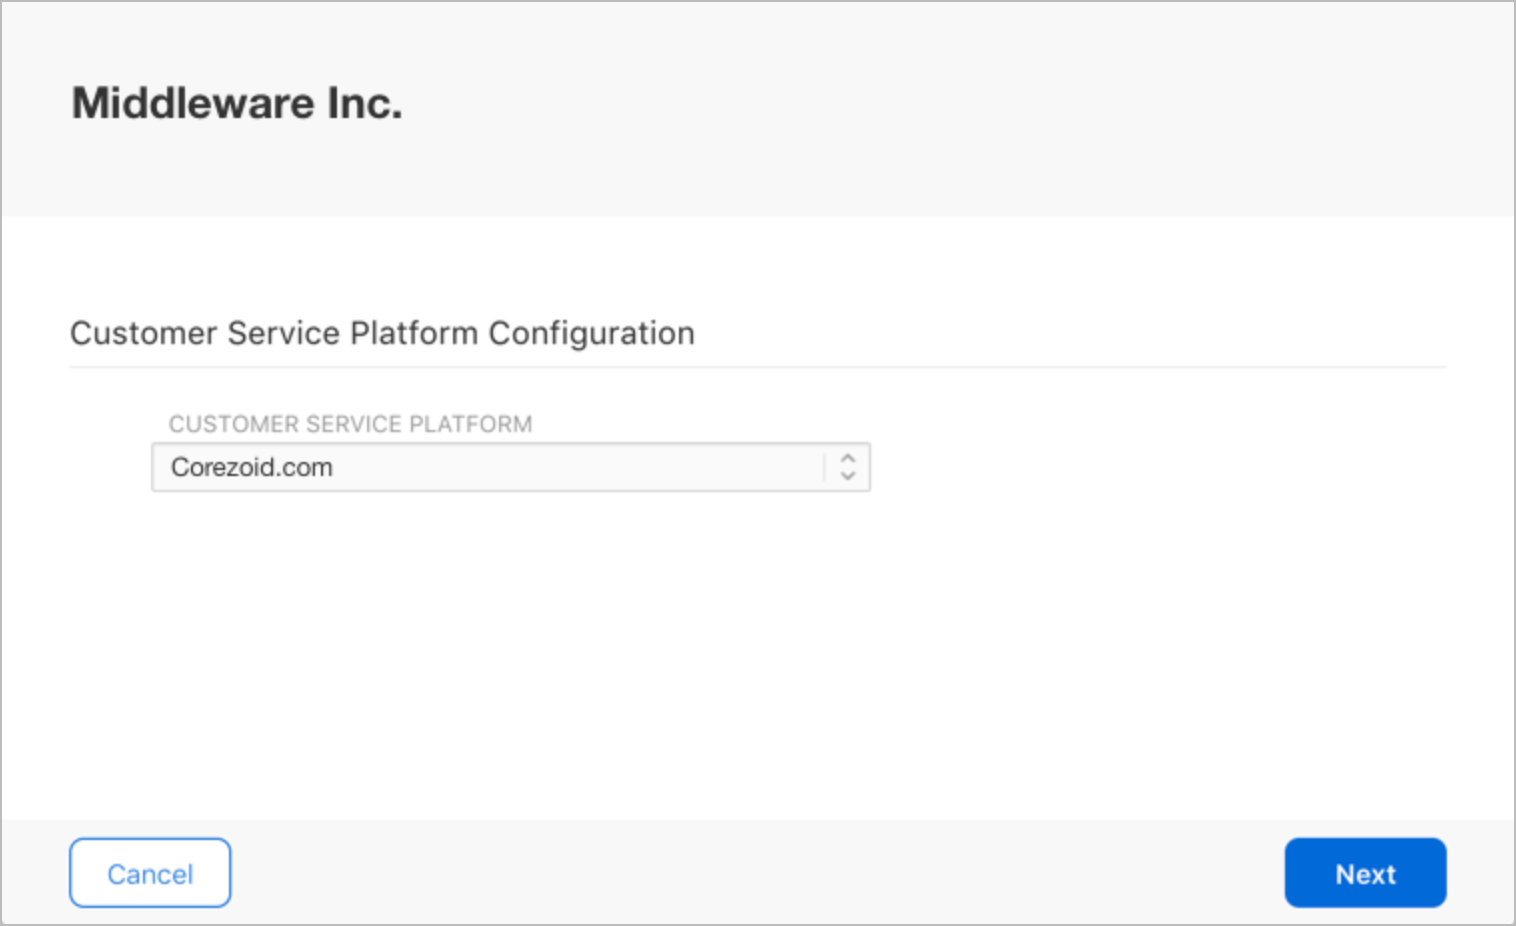
In the Customer Service Platform Configuration dropdown menu, select Corezoid.com.
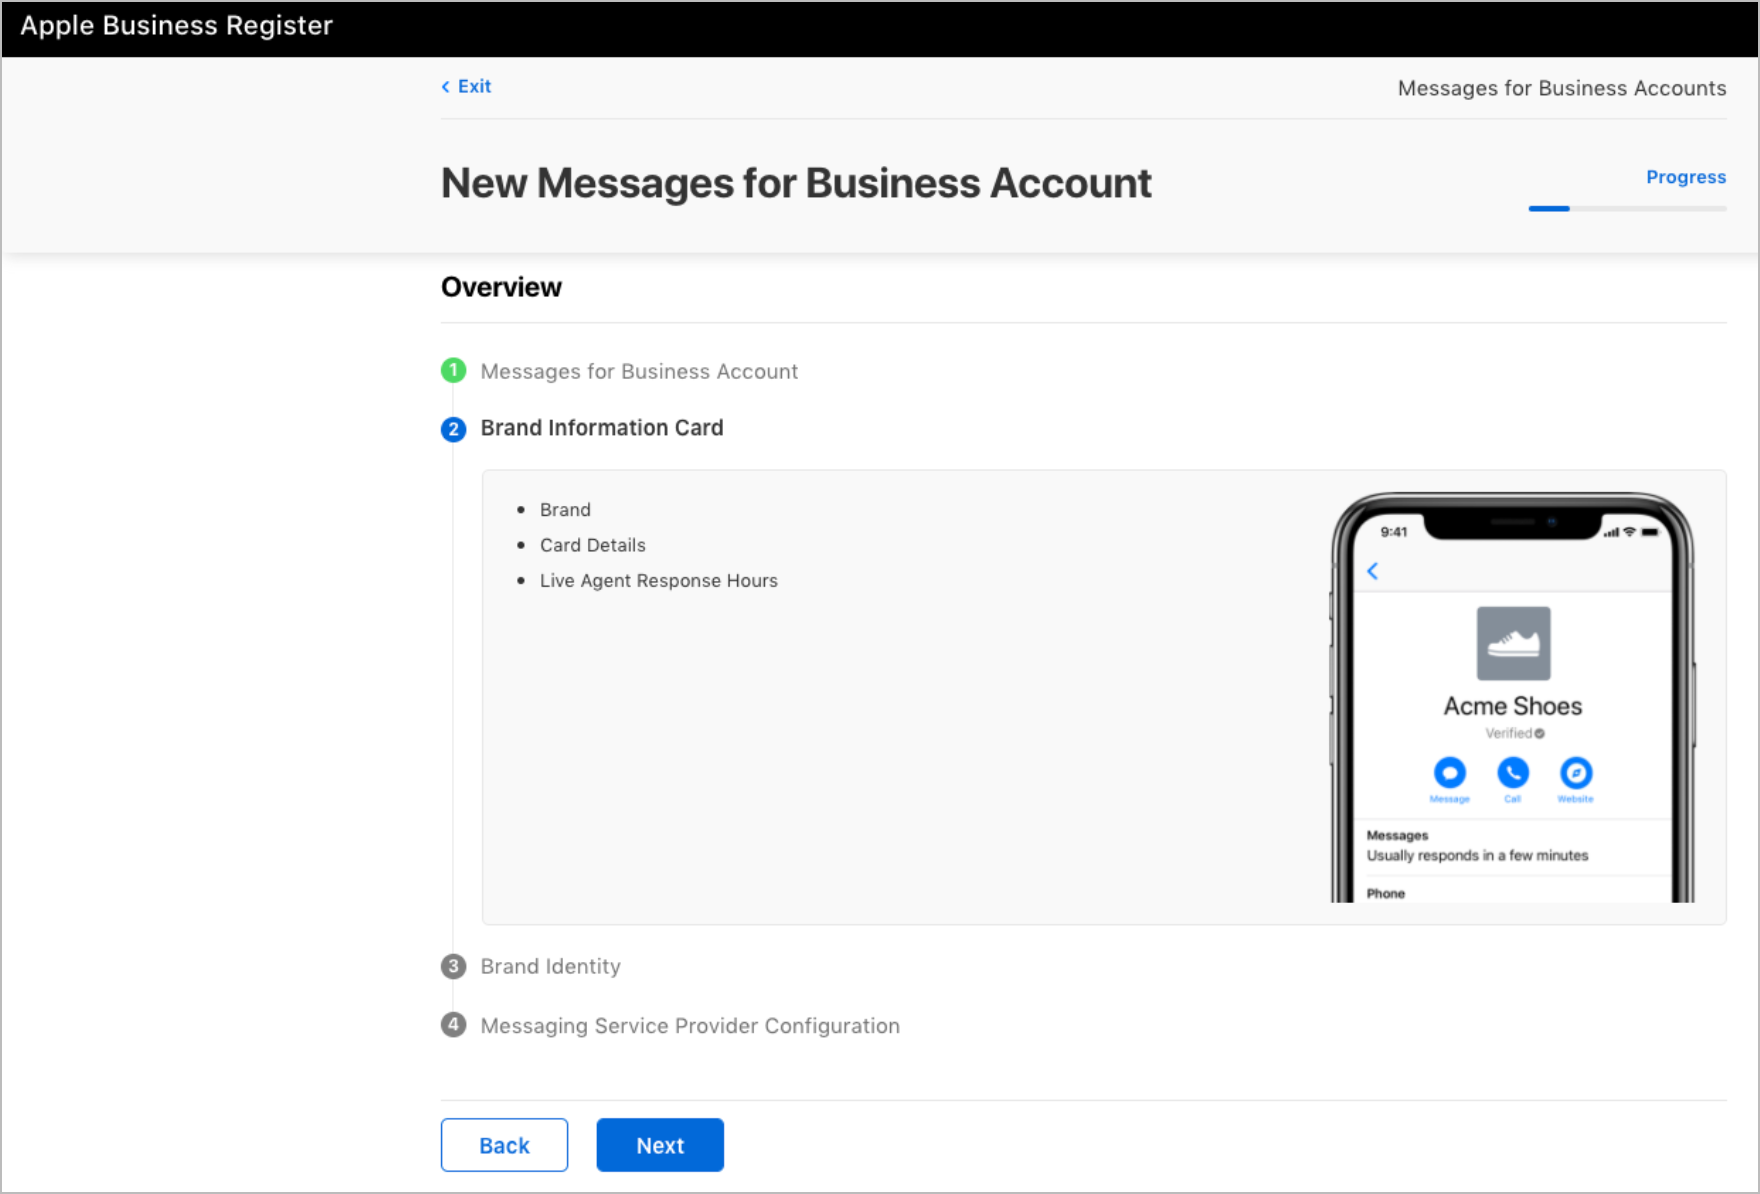
View Brand Information Card details and click Next.
Select a brand by name and click Next.
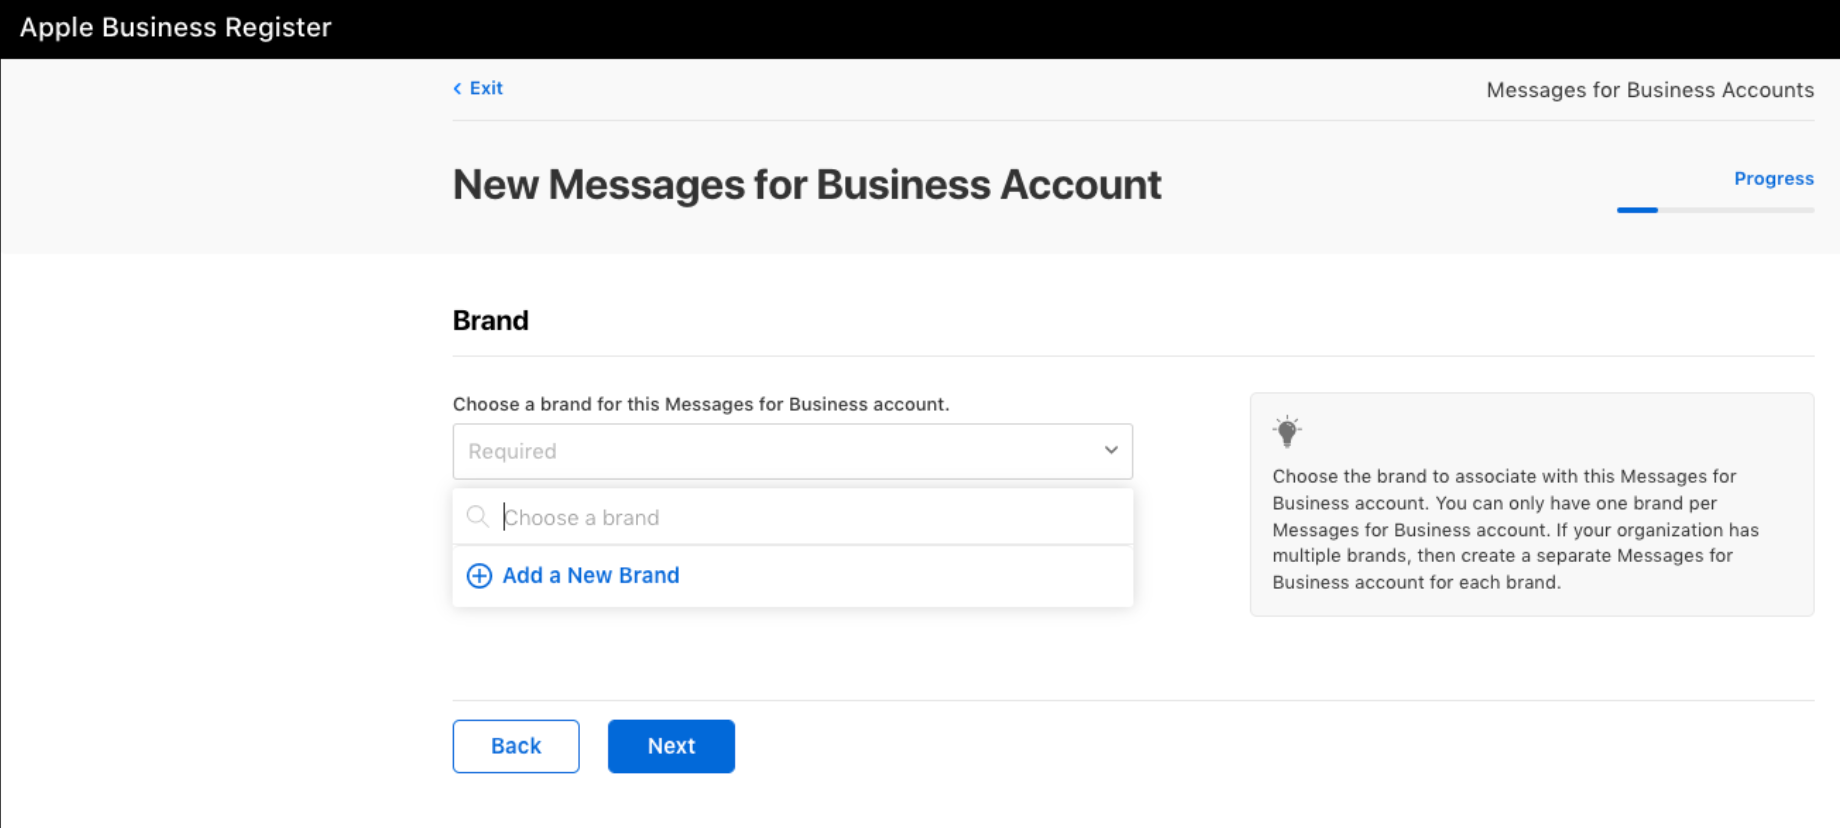
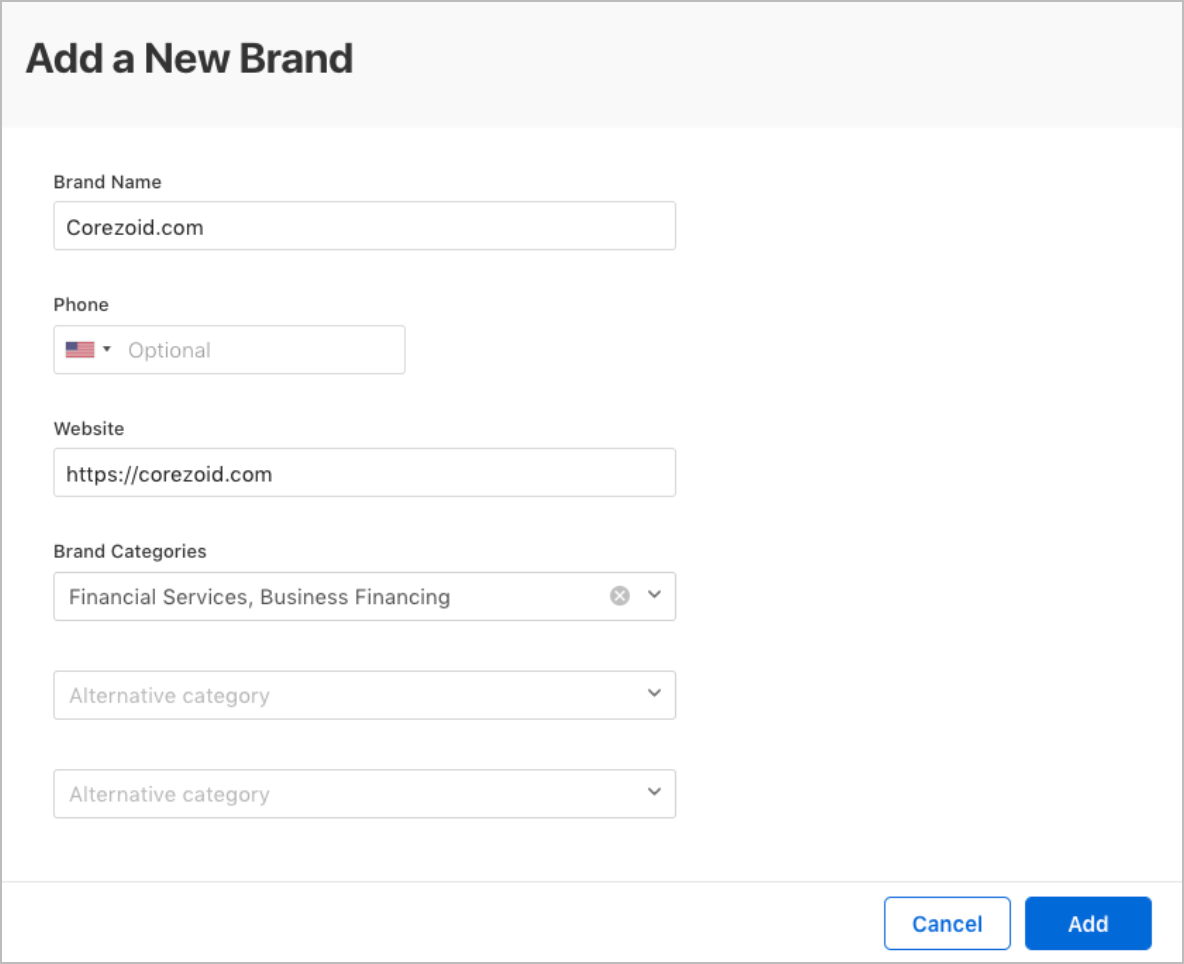
Note: If your company is associated with several brands, click Add a New Brand, in the Add a New Brand dialog, fill in the required field, and click Add.
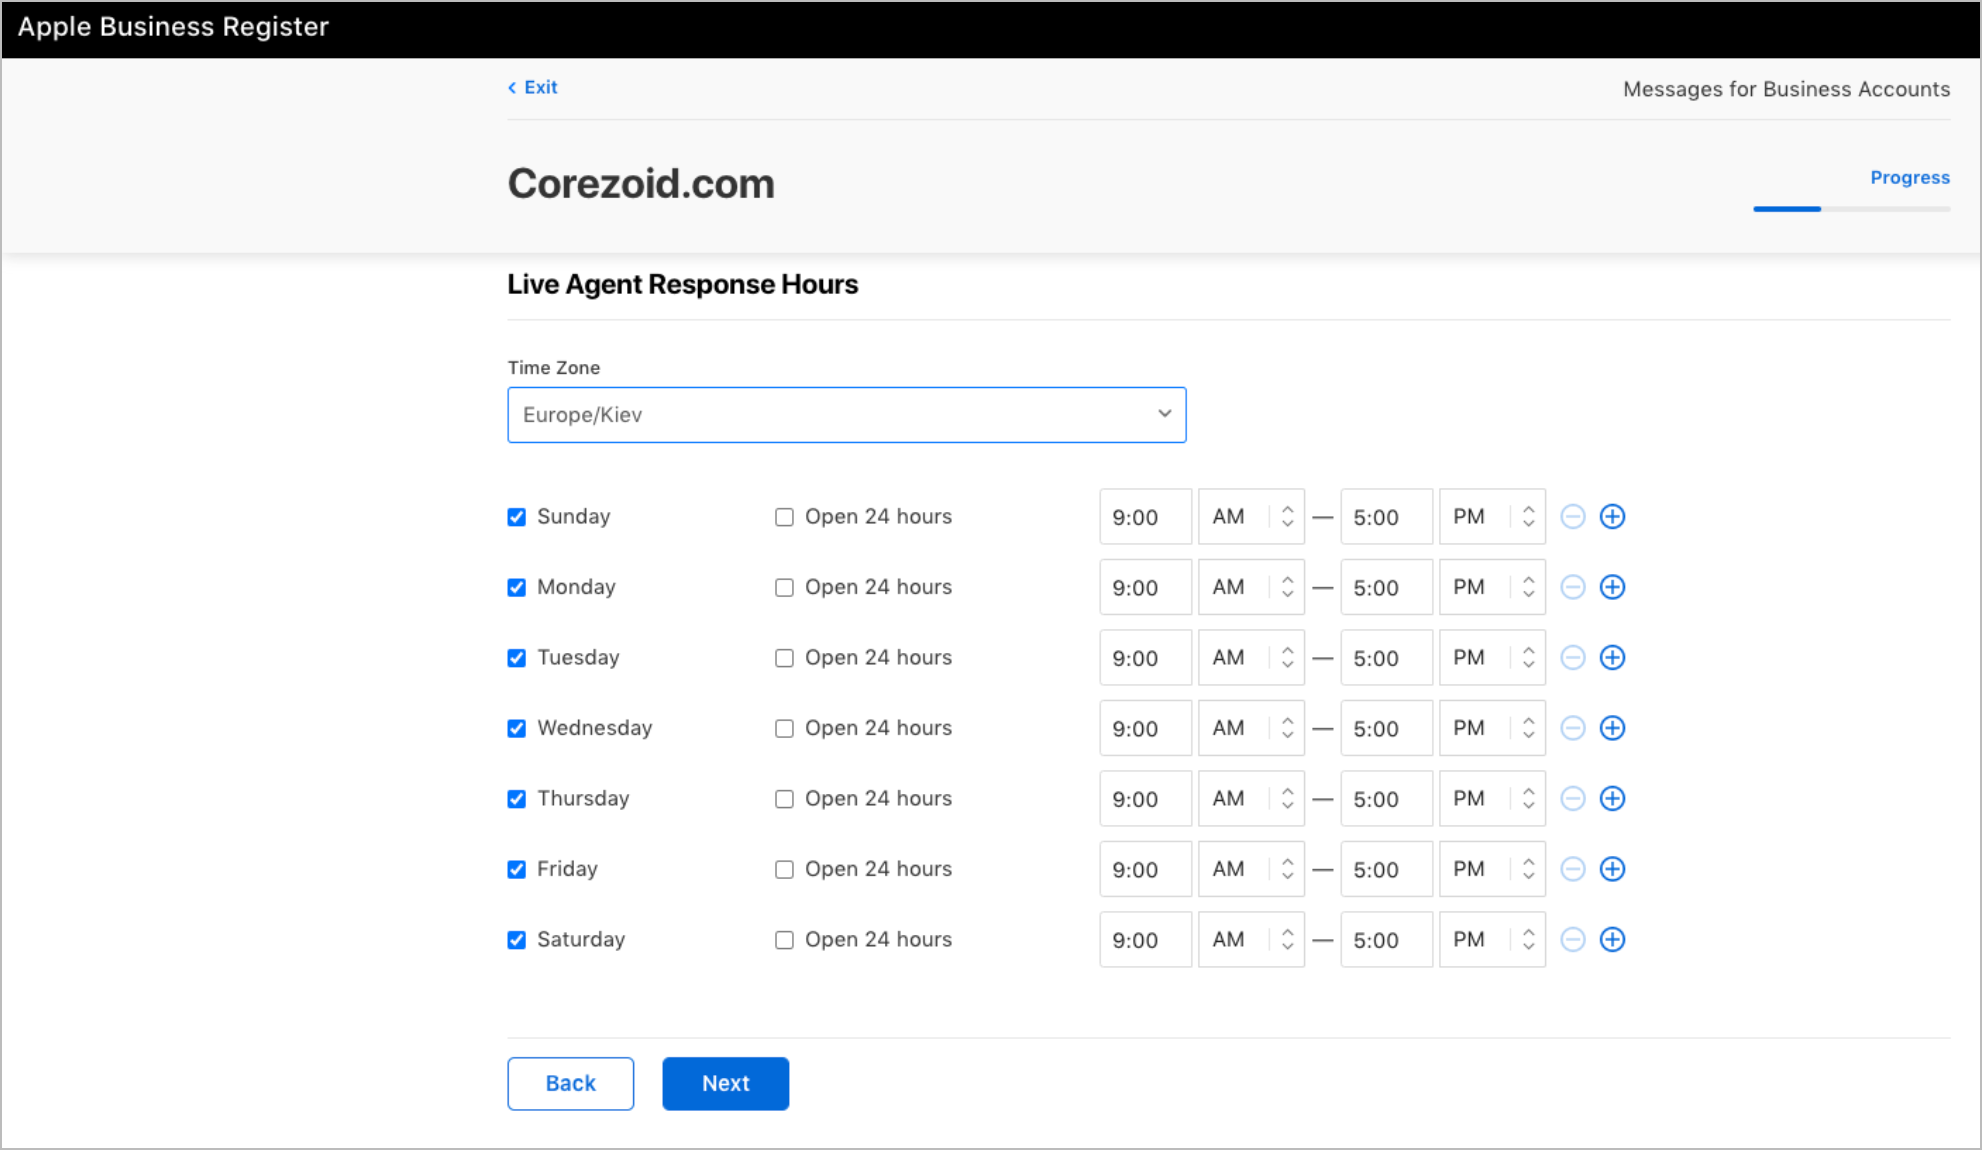
Select your business hours and click Next.
View Brand Identity details and click Next.

Upload a file with your logo and click Next.
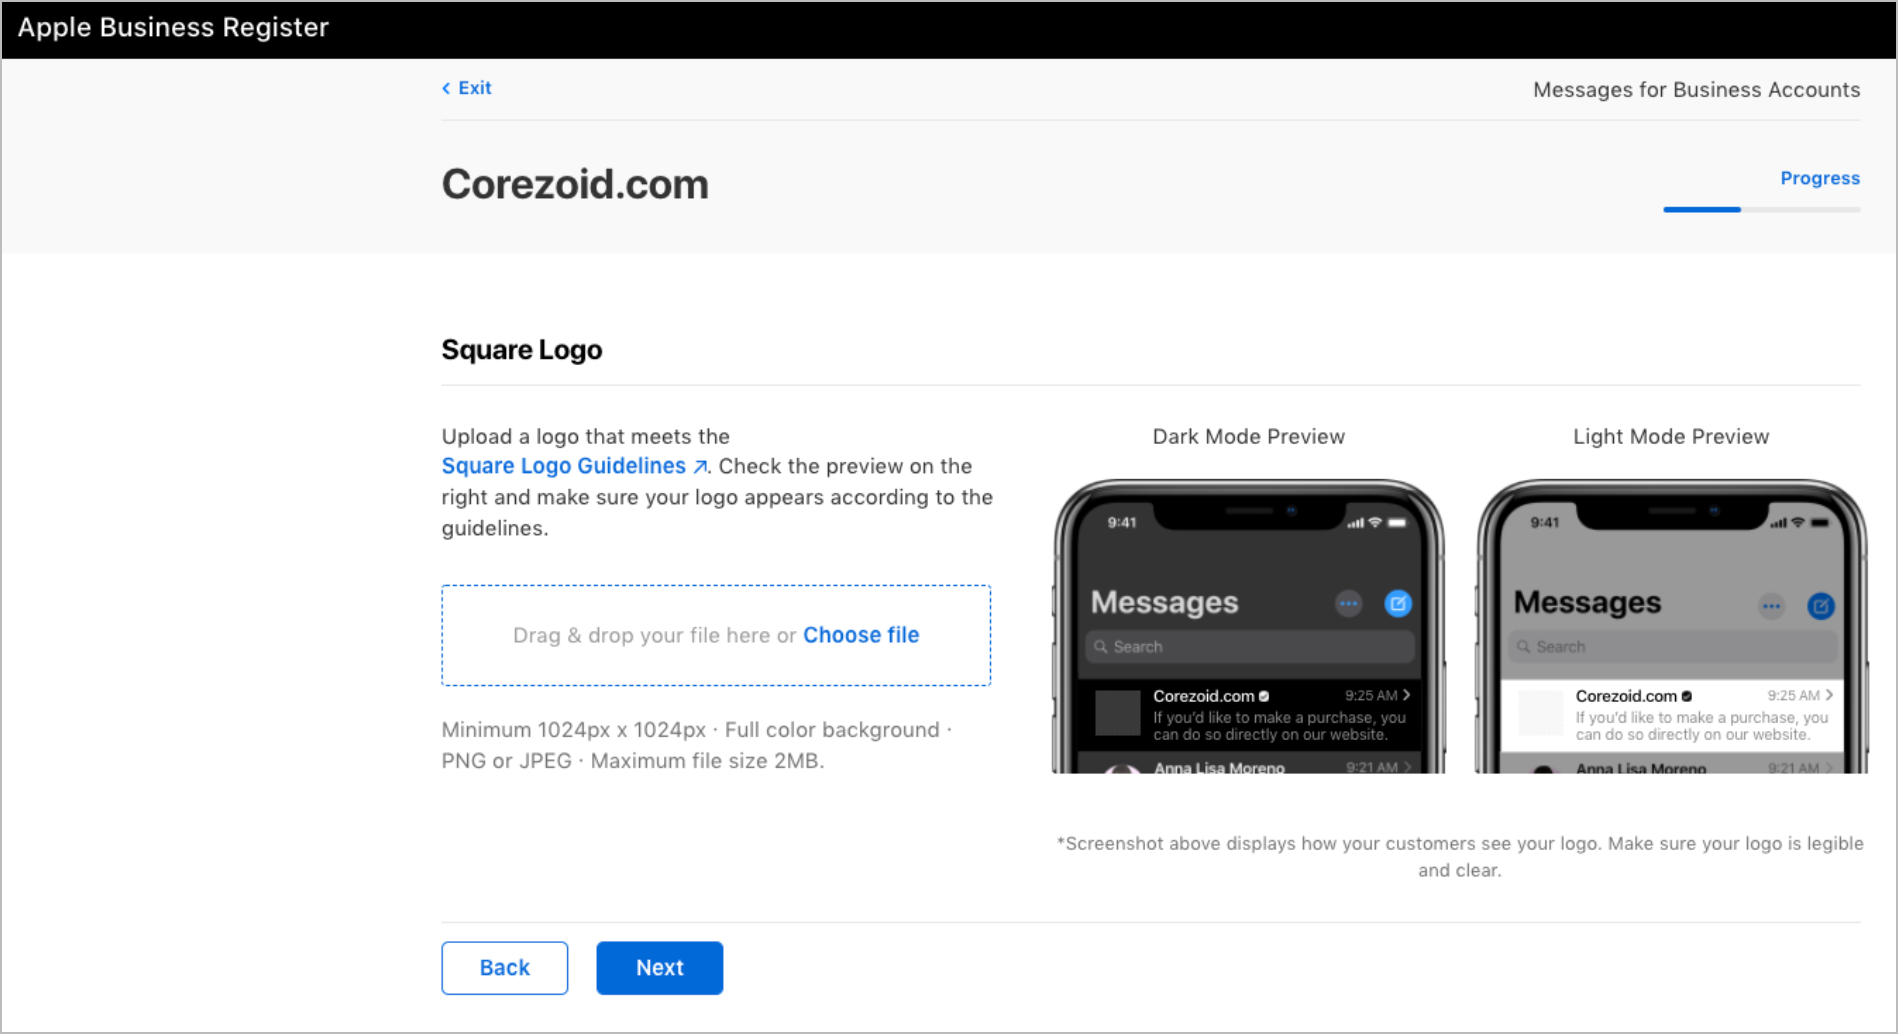
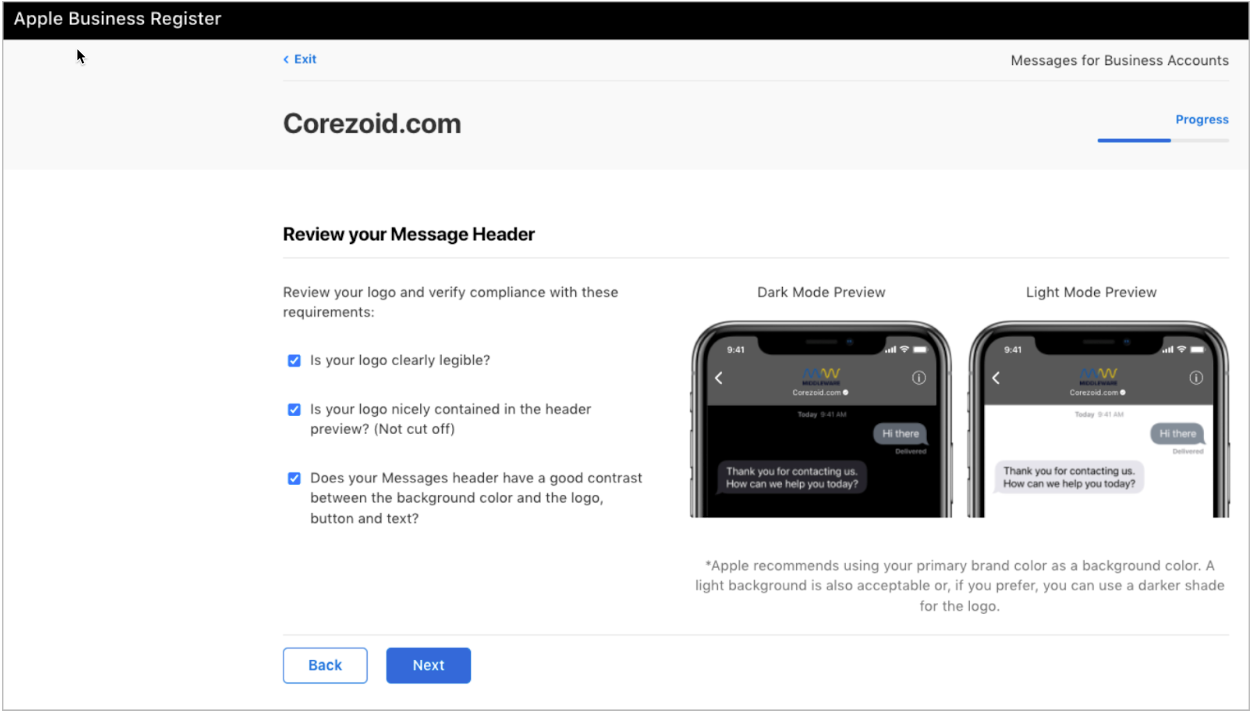
Review your logo compliance: select the needed options and click Next.
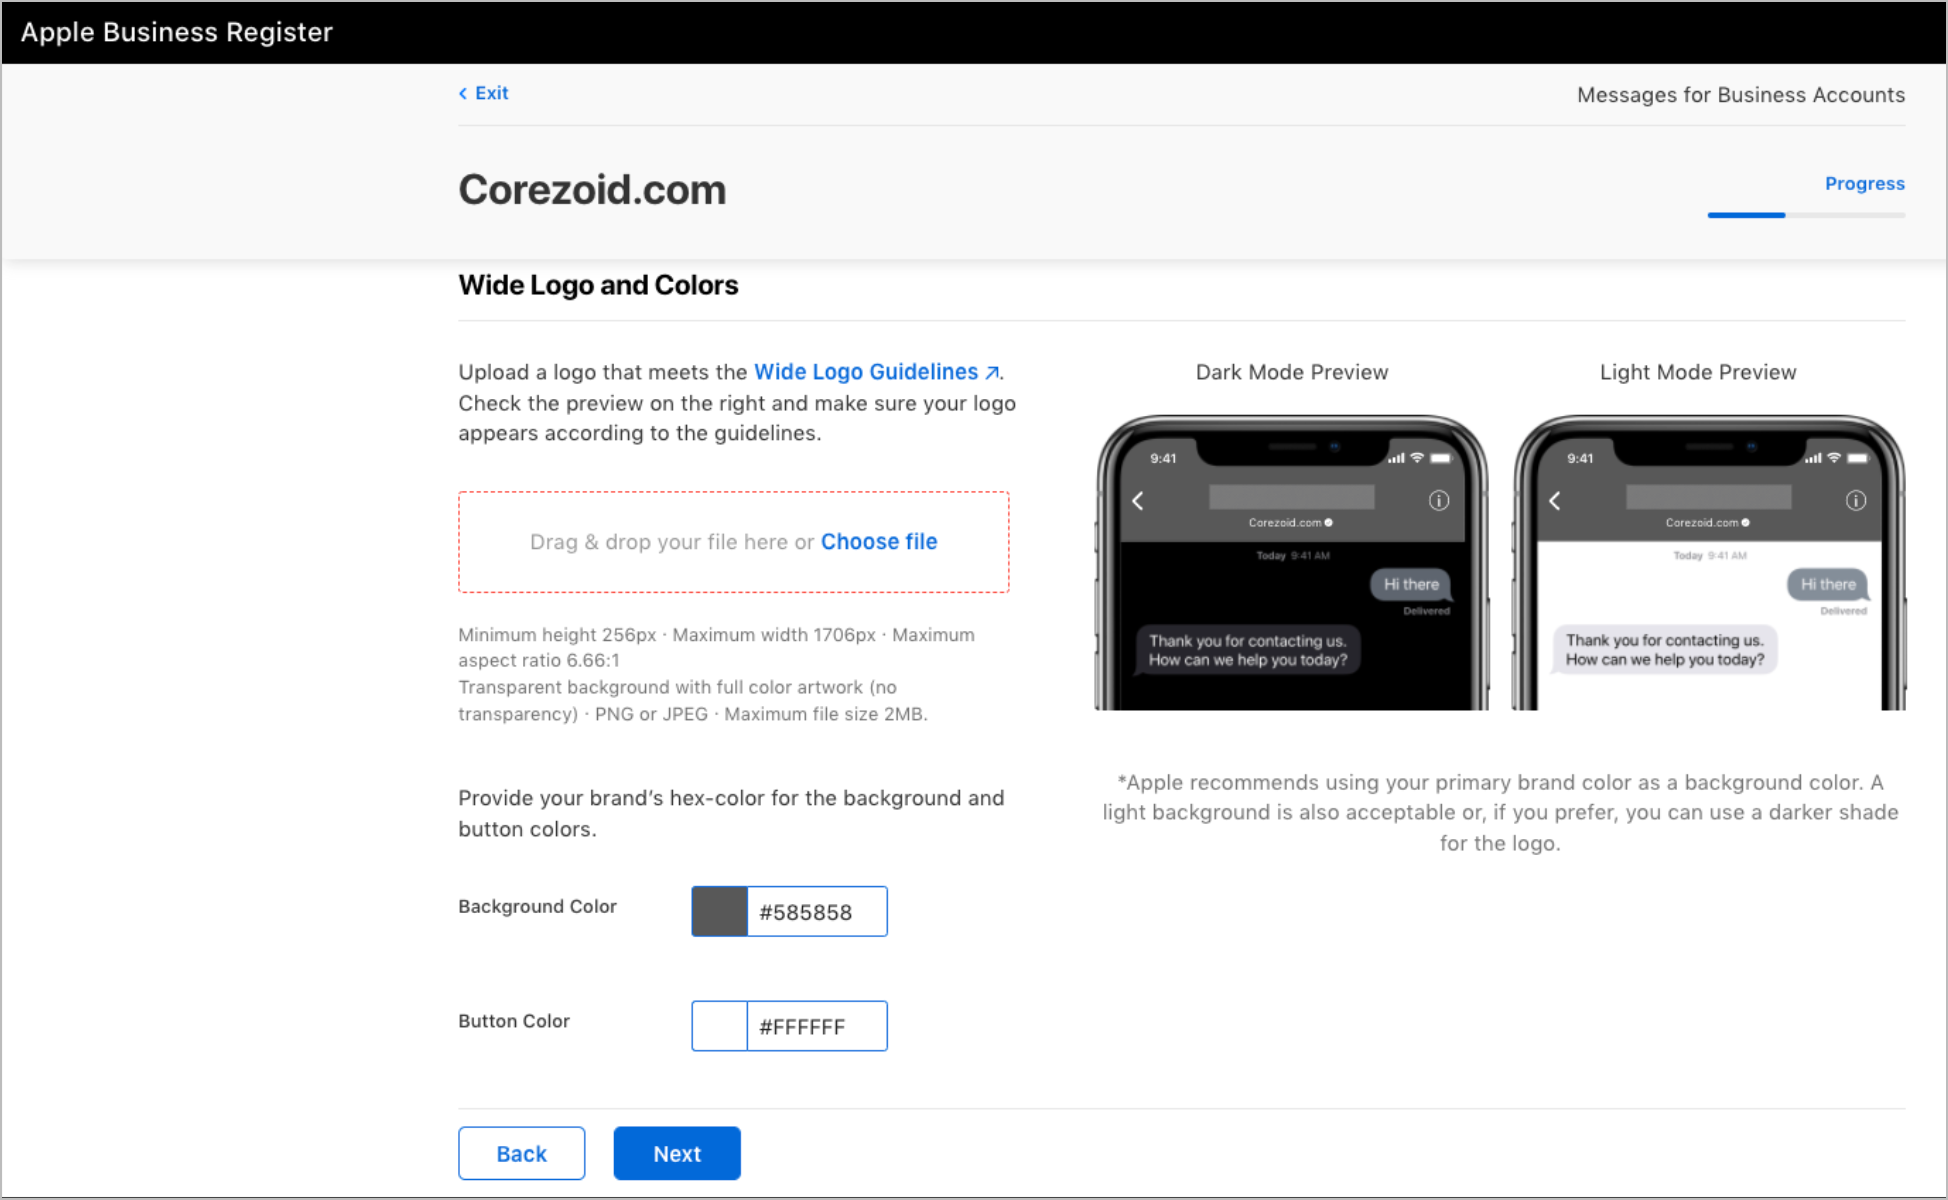
Upload the wide logo file, customize the logo colors, and click Next.
Review your logo compliance: select the needed options and click Next.
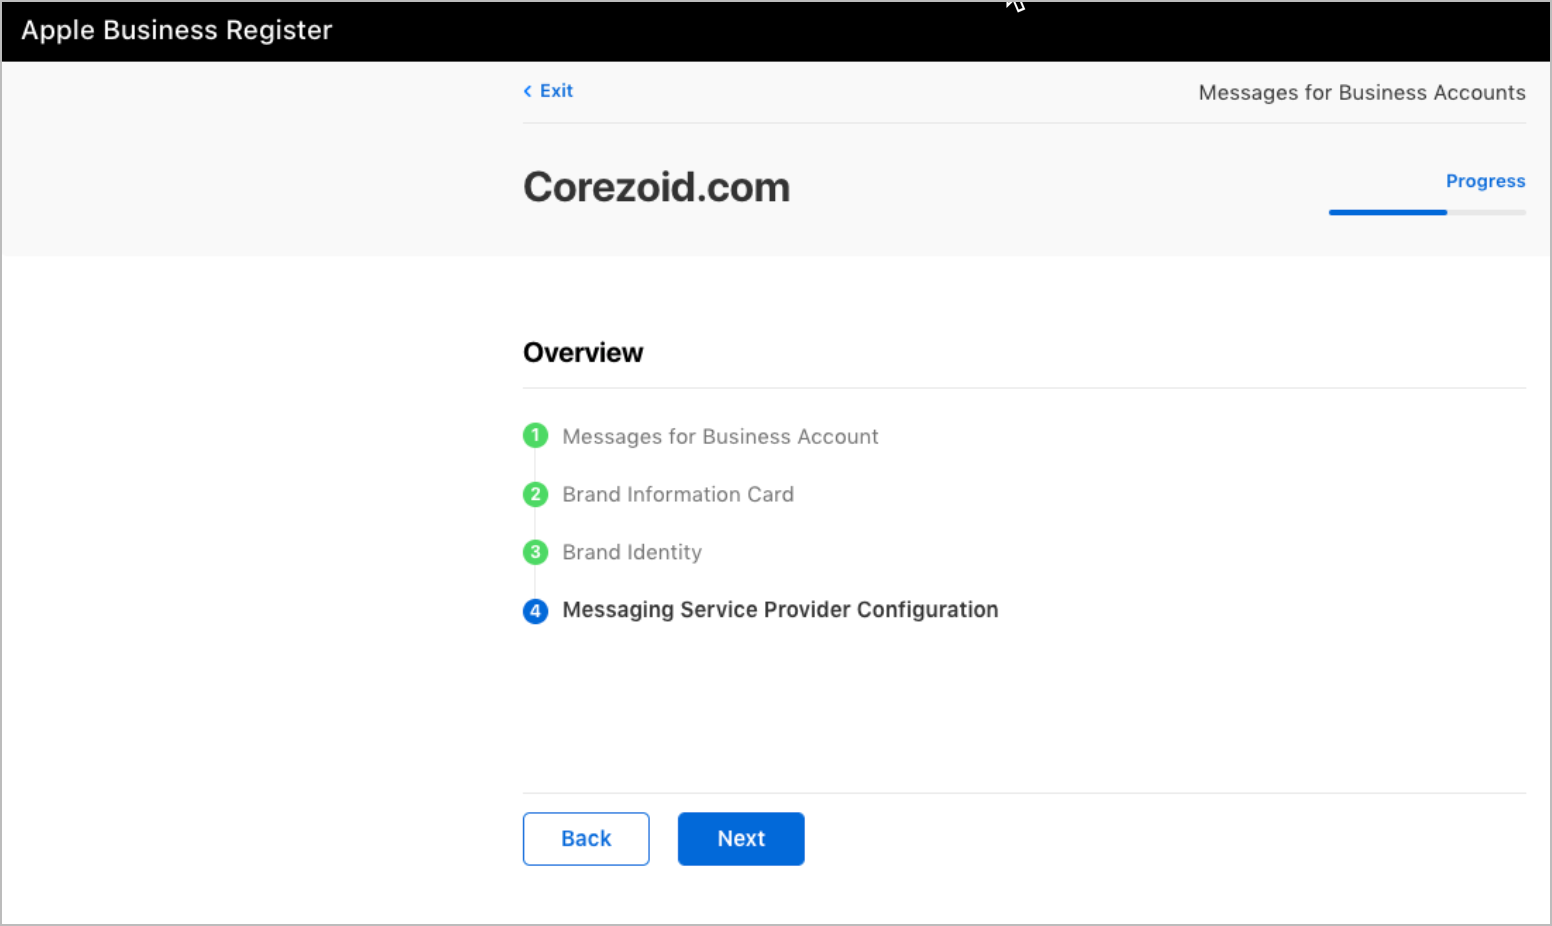
Below Messaging Service Provider Configuration, click Next.
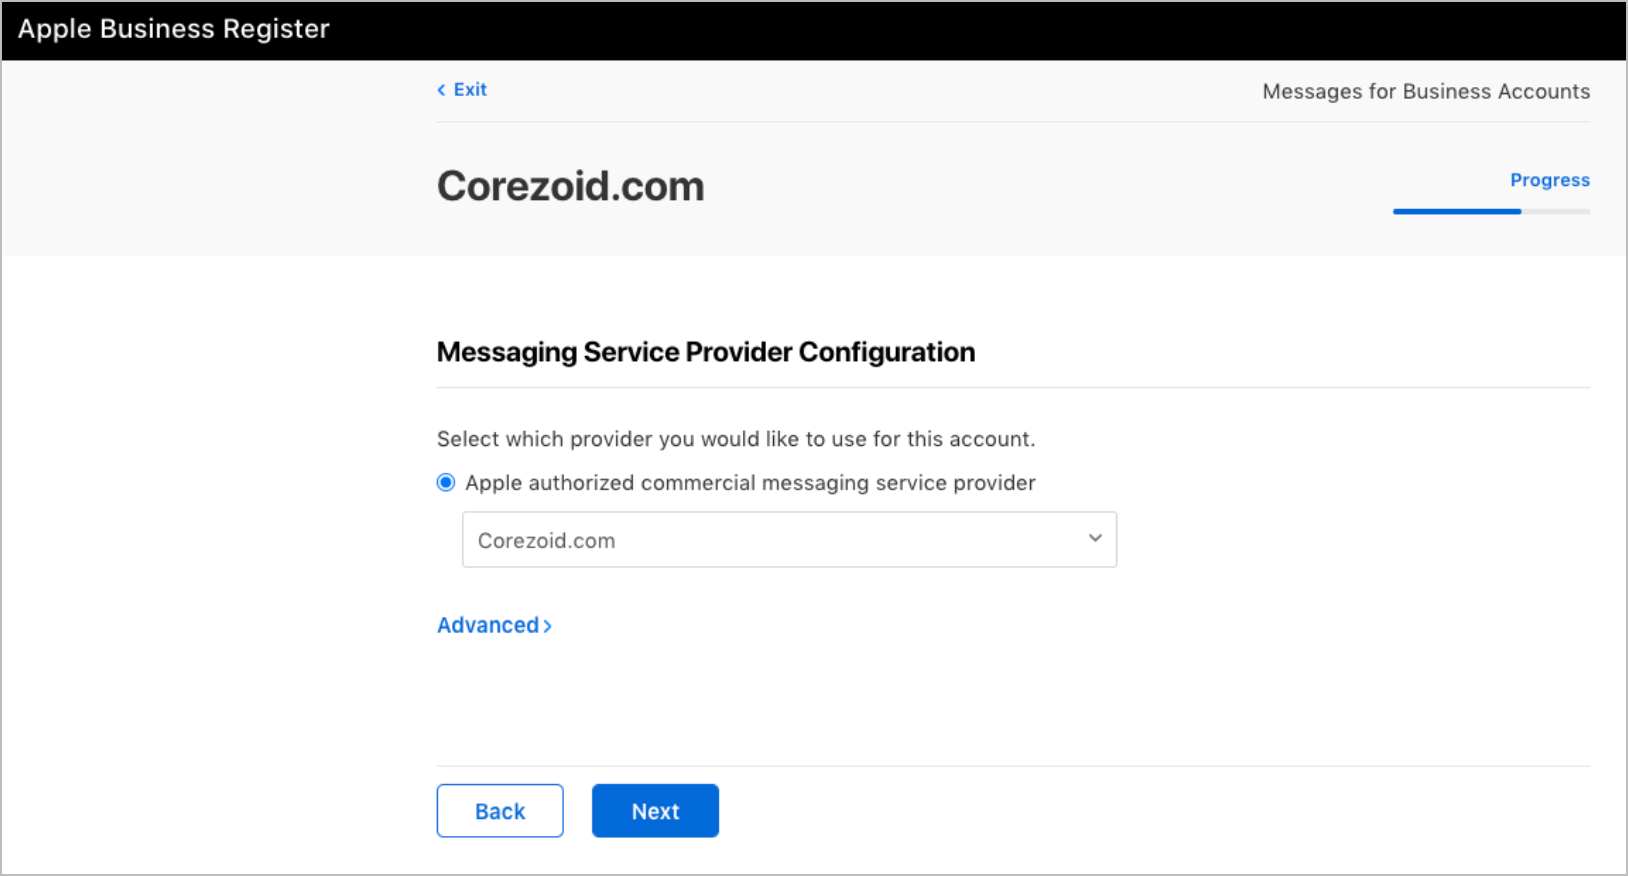
In the Apple authorized commercial messaging service provider dropdown list, select Corezoid.com.


You have successfully registered your Commercial account.
You can change or add information in the account settings by clicking Edit.

Was this article helpful?