General
- 12 Jul 2024
- 2 Minutes to read
- Contributors

- Print
- DarkLight
- PDF
General
- Updated on 12 Jul 2024
- 2 Minutes to read
- Contributors
- Print
- DarkLight
- PDF
Article summary
Did you find this summary helpful?
Thank you for your feedback
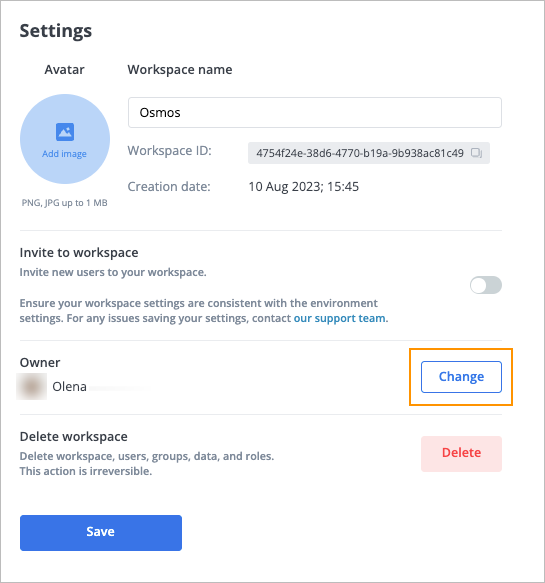
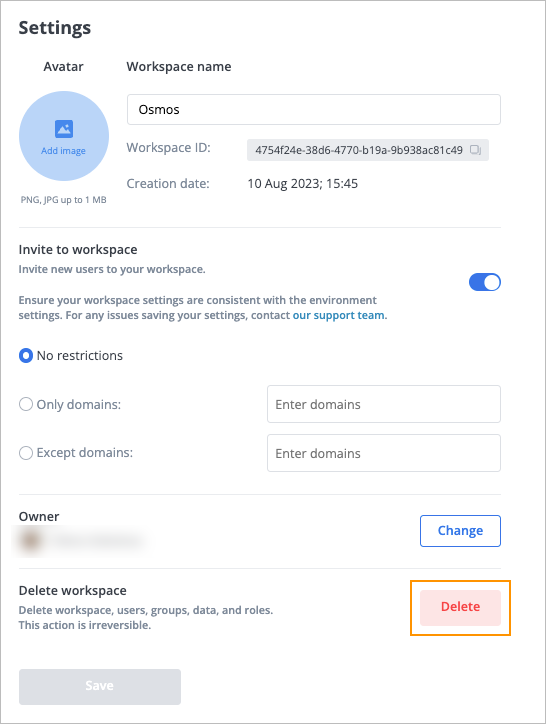
On the General page, you can:
- Change the Workspace avatar by clicking your avatar and uploading a new one.
- Edit or change your Workspace name by editing it in the Workspace name field and then clicking Save.
- Copy your Workspace ID by clicking the copy icon next to your Workspace ID.
- Customize invitation settings.
- Change Workspace ownership.
- Delete your Workspace.

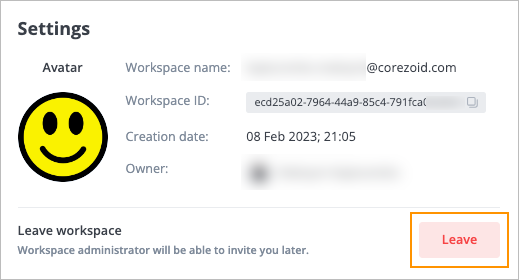
If you are not the Workspace owner, you can copy the Workspace ID and leave the Workspace only.
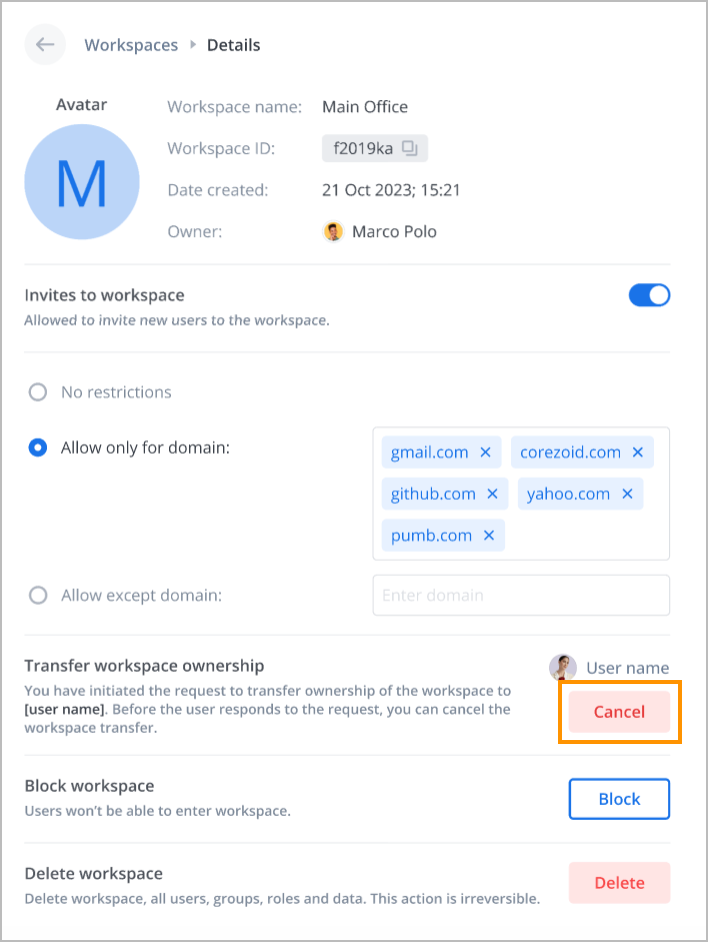
Customize invitation settings
To customize invitation settings:
On the Settings page, turn on the Invite to workspace toggle.
Select:
- No restrictions for no domain restrictions when sending invitations.
- Only domains and enter allowed domains comma separated. For example: gmail.com, yahoo.com.
- Except domains and enter domains to be restricted comma separated. For example: rambler.ru, yandex.ru.
Note: This prevents users from the specified domains from entering the Workspace.
Click Save.

Now, you can invite other users with specified domains to your Workspace.
Change Workspace ownership
This functionality is available if you are the owner of the Workspace. If you are not the owner, you can leave the Workspace you were invited to by clicking Leave.

To change the Workspace ownership:
On the Settings page, click Change.
In the Transfer workspace ownership dialog:
- Enter the user name or email to whom you want to transfer ownership.
- (Optional) Select the Leave workspace after transfer checkbox if you want to leave the workspace.
- Select a role for the new user.
- Click Transfer ownership.


When you transfer the workspace ownership:
The user selected to be the workspace owner, on the Details page of Settings, clicks Accept or Decline to accept or reject the Workspace owner role correspondingly.
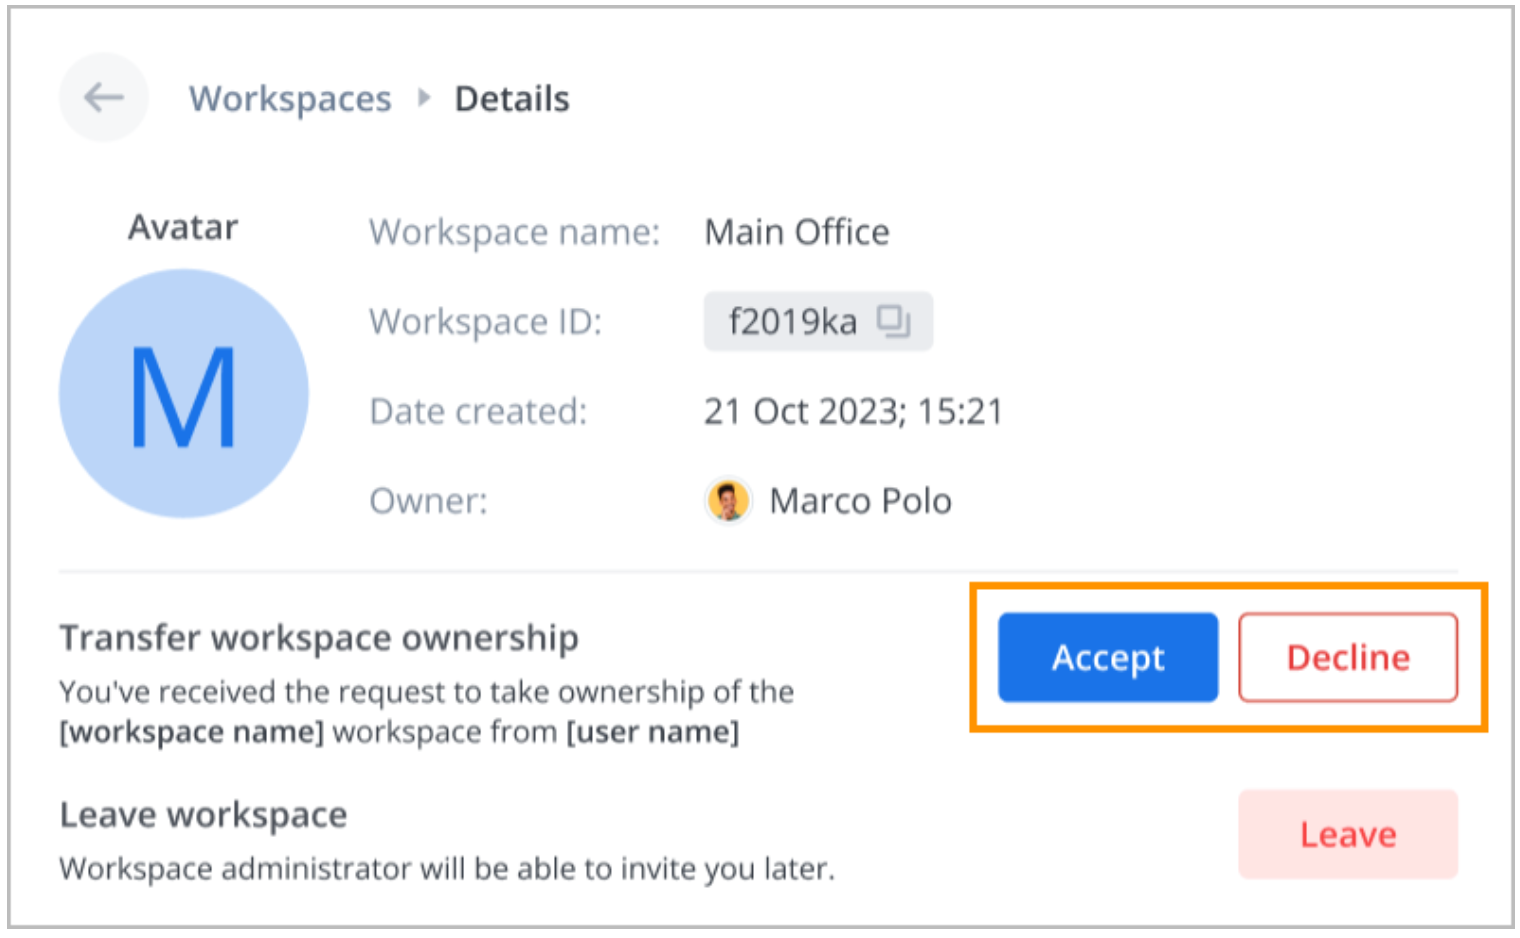
Before the user has made the decision, you can cancel the ownership transfer by clicking Cancel.
The ownership transfer is canceled if the selected user is blocked or deleted.


The Workspace ownership is transferred to the selected user after they accept the Workspace owner role.
Delete workspace
This functionality is available if you are the Workspace owner.
To delete your workspace:
In the lower-left corner of the Settings page, click Delete.
In the Delete workspace confirmation dialog, select the Delete workspace, users, groups, data, and roles checkbox and click Delete.
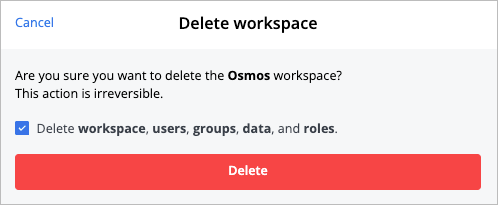


The Workspace is deleted with all related users, groups, data, and roles.
Leave Workspace
To leave a workspace you have been invited to:
On the Settings page, click Leave.

In the Leave workspace dialog, enter the username or email you would like to transfer the access to workspace objects permissions to and click Leave.
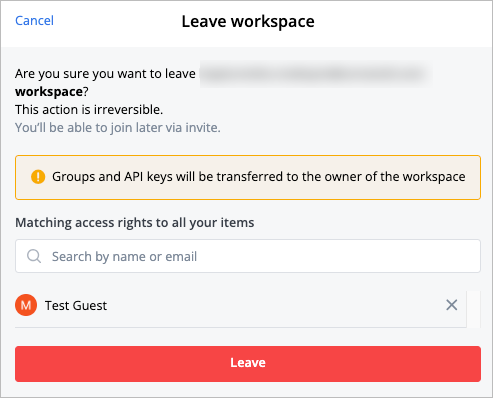

You have left the Workspace, and it doesn't appear in your workspace list.
Was this article helpful?