Сreate widget
- 29 Oct 2024
- 1 Minute to read
- Contributors

- Print
- DarkLight
- PDF
Сreate widget
- Updated on 29 Oct 2024
- 1 Minute to read
- Contributors

- Print
- DarkLight
- PDF
Article summary
Did you find this summary helpful?
Thank you for your feedback
To create a widget:
In the upper-right corner of the Widgets tab of the Communications page, click Create.

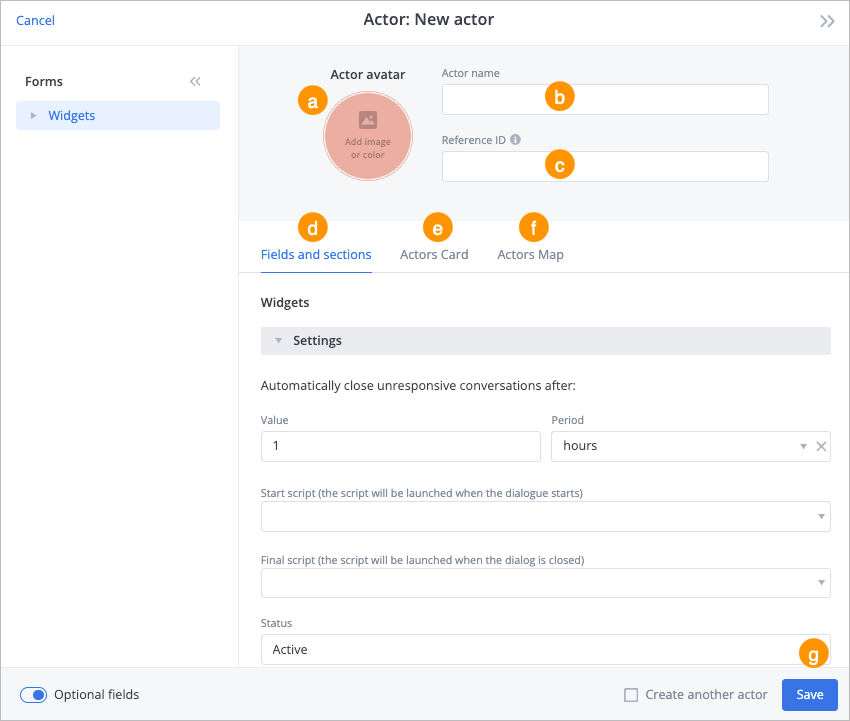
In the Actor dialog:
Enter a widget's name in the Actor name field.
Enter the widget’s reference ID in the Reference ID field.
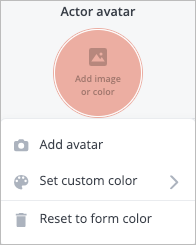
Note: The field appears if you turn the Optional fields toggle on in the lower-left corner of the dialog.(Optional) Click Add image or color and select:
- Add avatar to upload an avatar image.
- Set custom color to specify a custom color from the palette.
- Reset to form color to reset the set color.

On the Fields and sections tab:
- Enter a value in the Value field
- Select a period in the Period dropdown list.
- Select the start script in the Start script dropdown list.
- Select the final script in the Final script dropdown list.
- Select a status in the Status dropdown list.
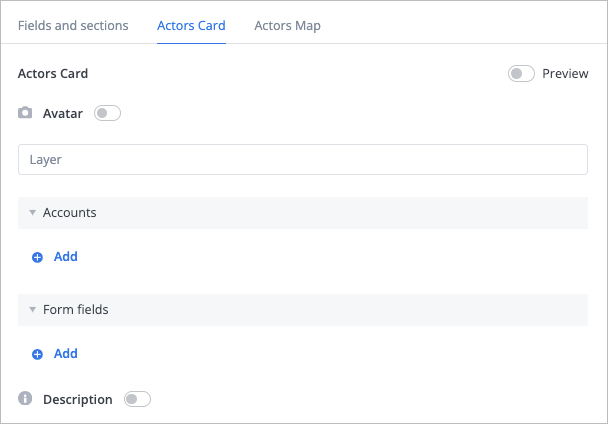
(Optional) On the Actors Card tab:
- Turn the Preview toggle on to preview the widget image and to edit its opacity.
- Turn the Avatar toggle on to show your avatar next to the widget name.
- Enter a layer name or create a new one in the Layer field.
- Add account by clicking + Add below Accounts.
- Add form fields by clicking + Add below Form fields.
- Turn the Description toggle on to show the widget description next to the widget name.

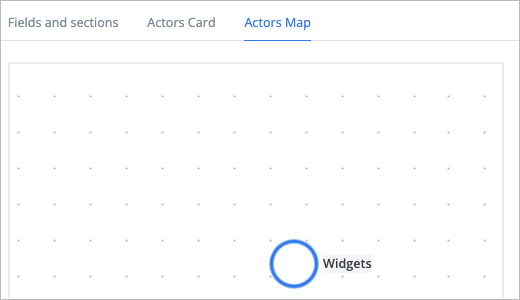
(Optional) On the Actors Map tab, drug the widget and drop it to the needed place on a layer.

Click Save.

The widget has been created, and you can see it in the widget list on the Widgets tab of the Communications page.
Was this article helpful?


