Users & Groups
- 05 Jan 2024
- 2 Minutes to read
- Contributors

- Print
- DarkLight
- PDF
Users & Groups
- Updated on 05 Jan 2024
- 2 Minutes to read
- Contributors
- Print
- DarkLight
- PDF
Article Summary
Share feedback
Thanks for sharing your feedback!
Overview
The Users & Groups tab helps you create and manage new objects that you can then share in your project.
On the Users & Groups tab, you can:
- Create users, API keys, and groups
- Manage objects: Add users to groups, change group ownership, remove unneeded objects, and so on
Create users, API keys, and groups
To create users, API keys, and groups:
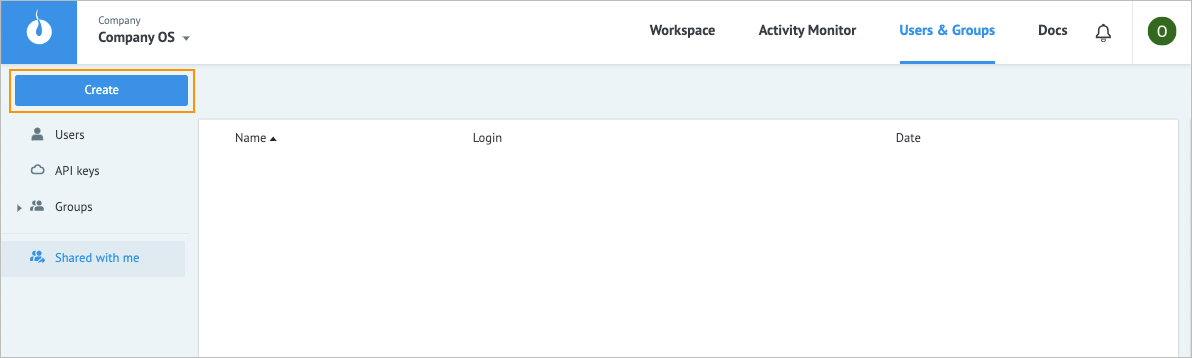
In the upper-left corner of the Users & Groups tab, click Create.
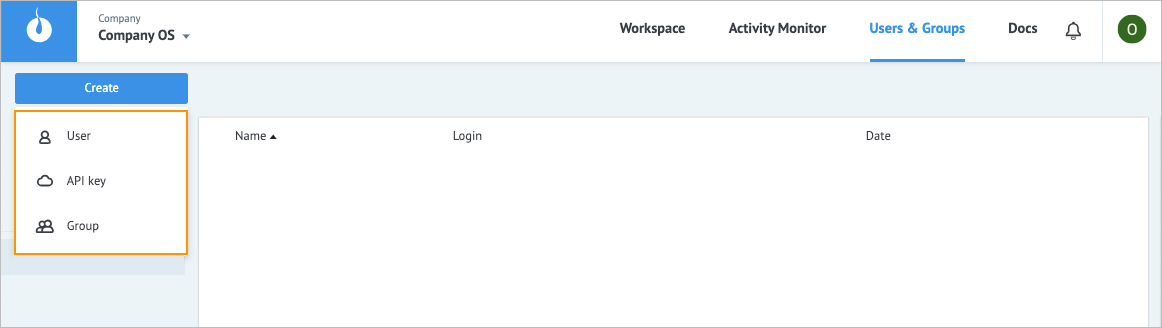
In the dropdown list, select:
- Users to create a user.
- API key to create an API key.
- Group to create a group.
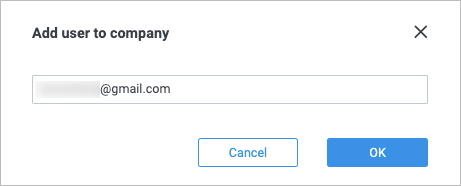
In the following dialog:
Add user to company: enter the needed user email and click Ok.
Create api key: enter the API key name and click Ok.

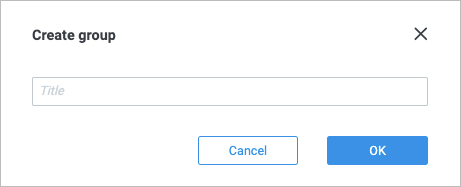
Create group: enter the group name and click Ok.


As a result, you can see the newly created API key and group added to the API keys and Groups tabs correspondingly.
Note: The newly added users appear on the Users tab after accepting the invitation sent by email.
Manage objects
On the Users & Groups tab, you can perform the following actions on the objects:
In Users, view the needed user info or delete a user by clicking the info
 or delete
  icon correspondingly.

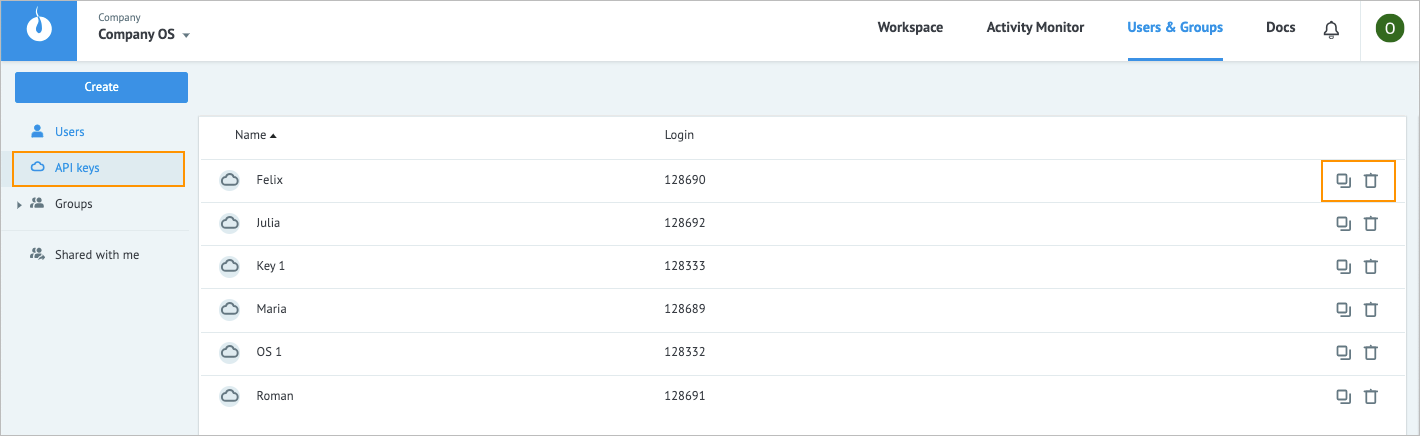
In API keys, copy the needed secret key or delete an API key by clicking the copy
 or delete icon correspondingly.
In Groups:
a. View the group members by clicking the expand icon next to the group name.
Note: You can also see the members of the needed group by clicking the expand icon next to the group name on the left panel.b. Perform additional actions on a group.
Note: For more information, go to Perform additional actions.c. View the needed user info or delete a user by clicking the the info
or delete icon correspondingly.d. Copy the needed secret key or delete an API key by clicking the copy
or delete icon correspondingly.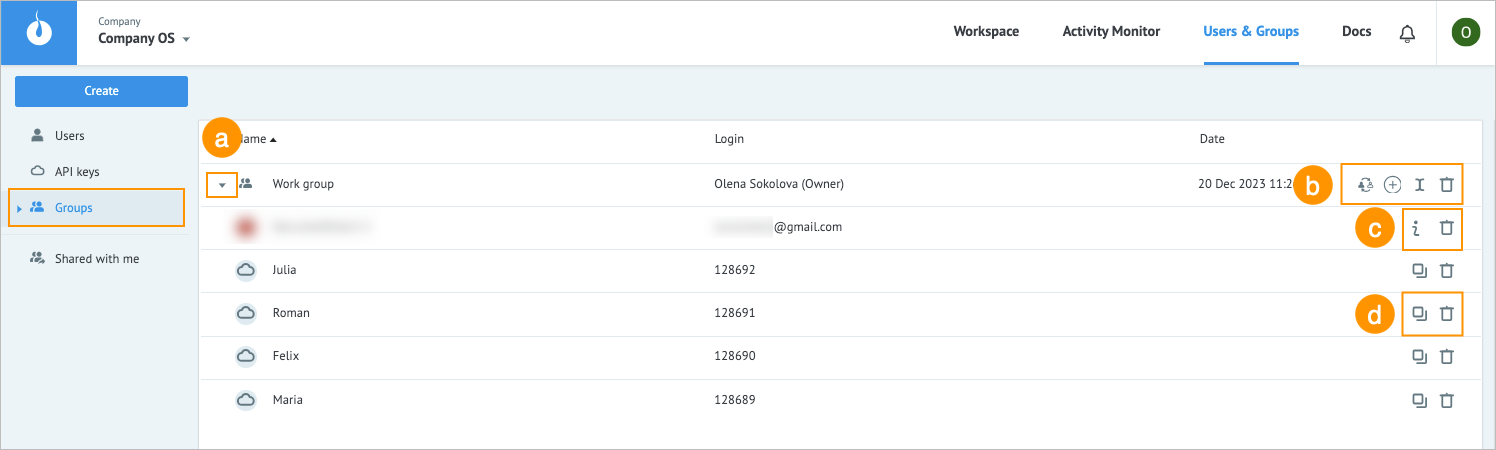 Note:
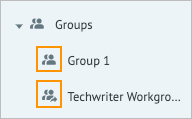
Note:- If you are a group owner, your group is marked with the ownership icon
 .
. - If you have a group shared with you, this group is marked with the shared group icon
 .
.
- If you are a group owner, your group is marked with the ownership icon
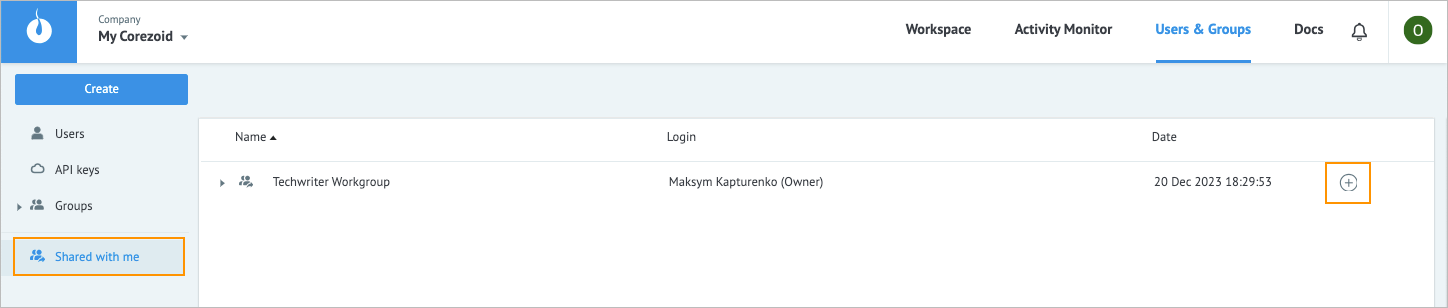
In Shared with me, add a user to the needed group by clicking the add user icon
 .
.
Note: For more information, go to Perform additional actions.
 or delete
  icon correspondingly.
 or delete
 next to the group name.
 .
. .
.
 .
.
Perform additional actions
You can perform the following actions on a group:
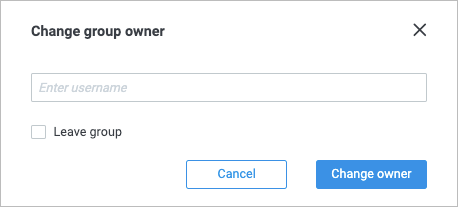
Change the group owner: Click the ownership icon
 , in the Change group owner dialog, enter the new owner name, and then click Change owner.
Note: If you want to leave the group, select the Leave group checkbox.
Add a user to the group: Click the add user icon
, in the Add user to group dialog, enter the needed name or email, and then click Ok.

Rename the group: Click the rename icon
 , in the Rename group dialog, enter the new group name, and then click Ok.

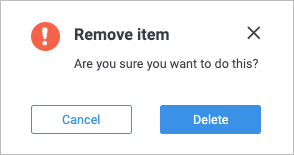
Remove the group: Click the delete icon
, in the Remove item dialog, click Delete.
 , in the Change group owner dialog, enter the new owner name, and then click Change owner.

 , in the Rename group dialog, enter the new group name, and then click Ok.

Was this article helpful?