Process
- 21 Dec 2023
- 1 Minute to read
- Contributors

- Print
- DarkLight
- PDF
Process
- Updated on 21 Dec 2023
- 1 Minute to read
- Contributors
- Print
- DarkLight
- PDF
Article Summary
Share feedback
Thanks for sharing your feedback!
Overview
By creating a Process, you can:
- Configure the needed workflow for your business logic
- Check the way it works step by step on a visual space
- Add, edit, or remove any workflow when needed
For more information on working with Processes, refer to the following chapters:
Create Process
To create a Process:
On the Workspace tab, click Create, and then in the dropdown list, click Process.
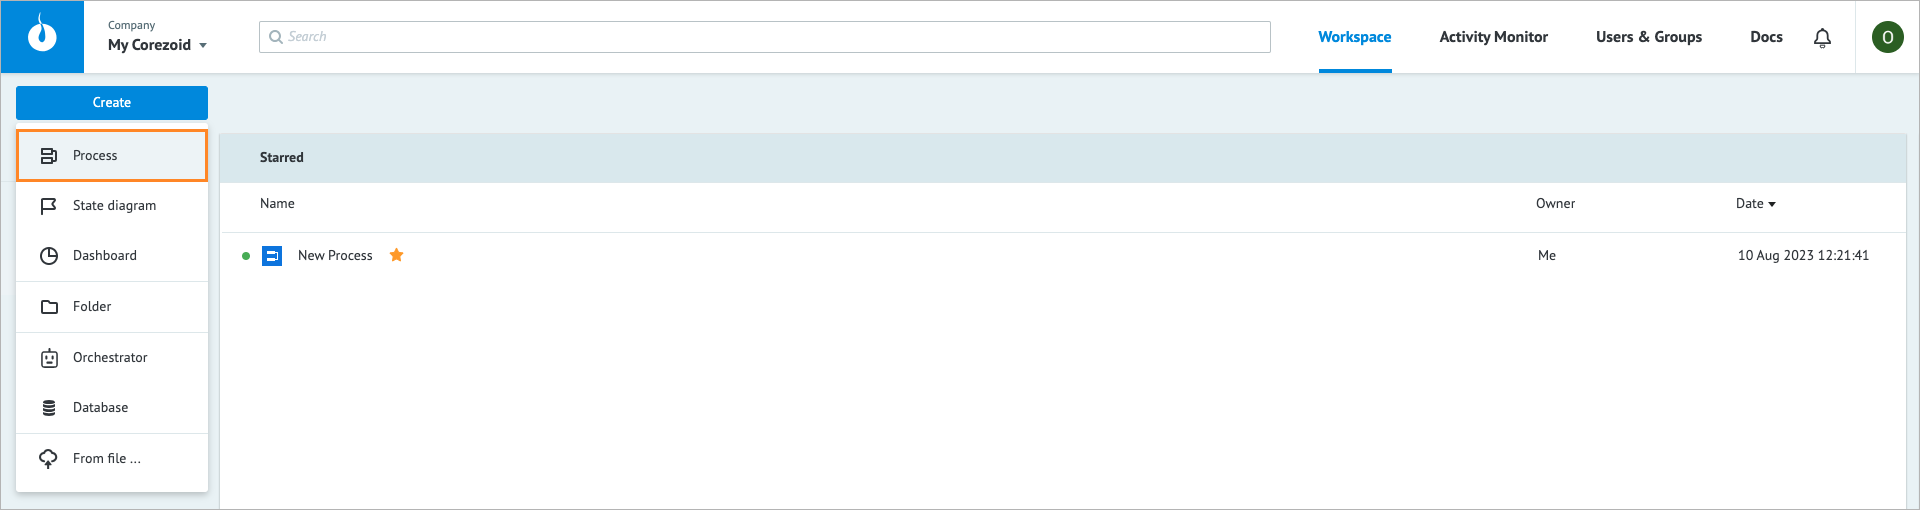
In the Create process dialog that opens, enter a Process name and description (optional), and then click OK.

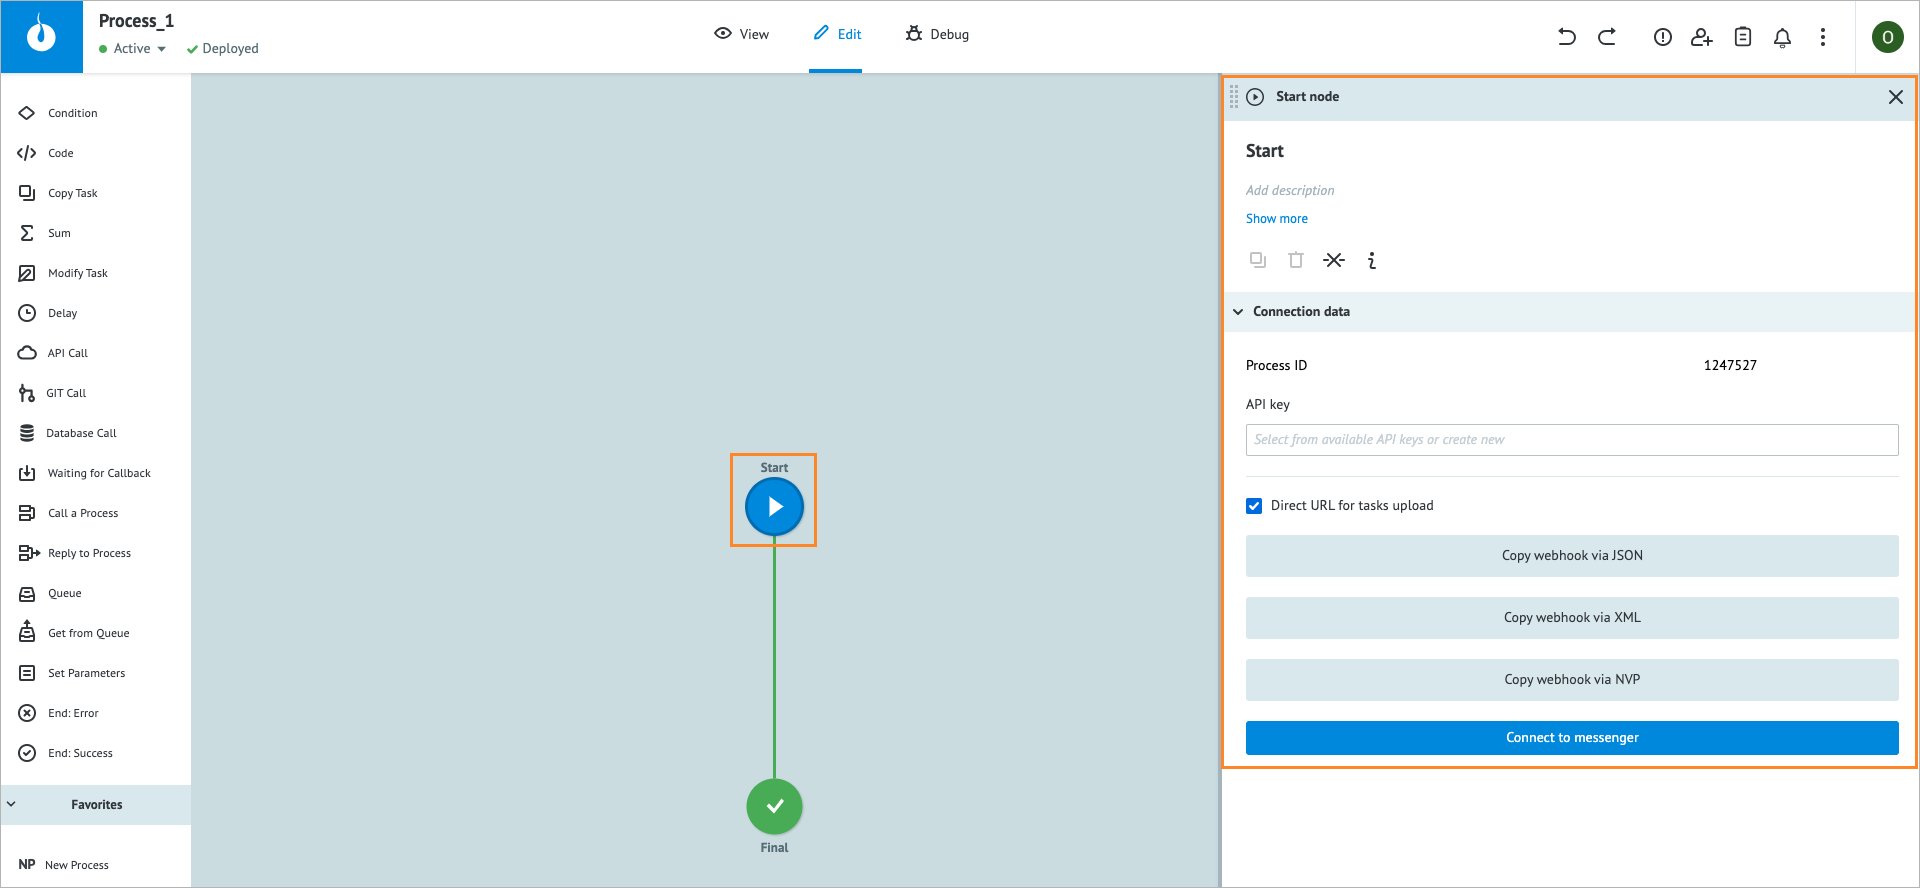
(Optional) On the created Process page that opens, click the Start node:
- Modify the node name and add a description.
- Enter or create an API key.
- Select the needed URL (Copy webhook via JSON, Copy webhook via XML, Copy webhook via NVP), and then click Connect to messenger.
Note: The Direct URL for tasks upload checkbox is selected by default, you can clear it if needed. - In the Connect to messenger dialog that appears, select the needed messenger, enter a token, and then click OK.
Note: Currently, Telegram, Viber, Apple Business Messages, and Facebook and Google Messengers are supported; Line is supported partially.
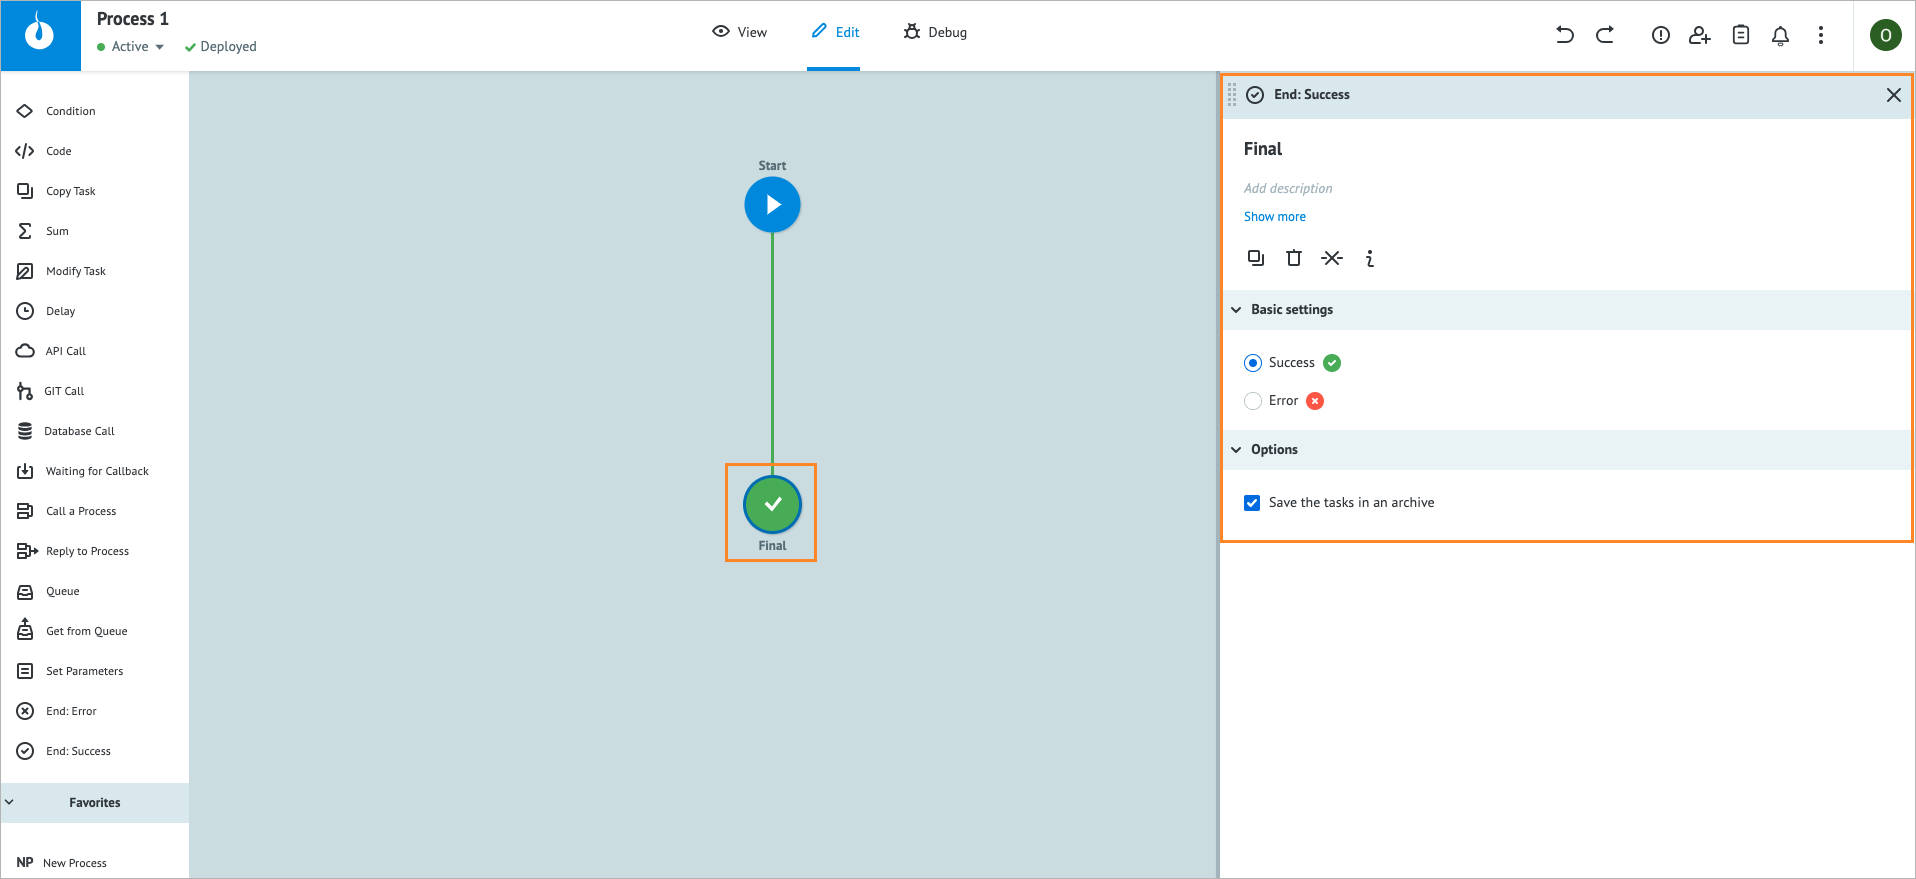
(Optional) On the created Process page that opens, click the Final node:
- Modify the node name and add a description.
- In Basic settings, click the Success or Error radio button.
- In Options, clear the Save task in an archive checkbox if needed.
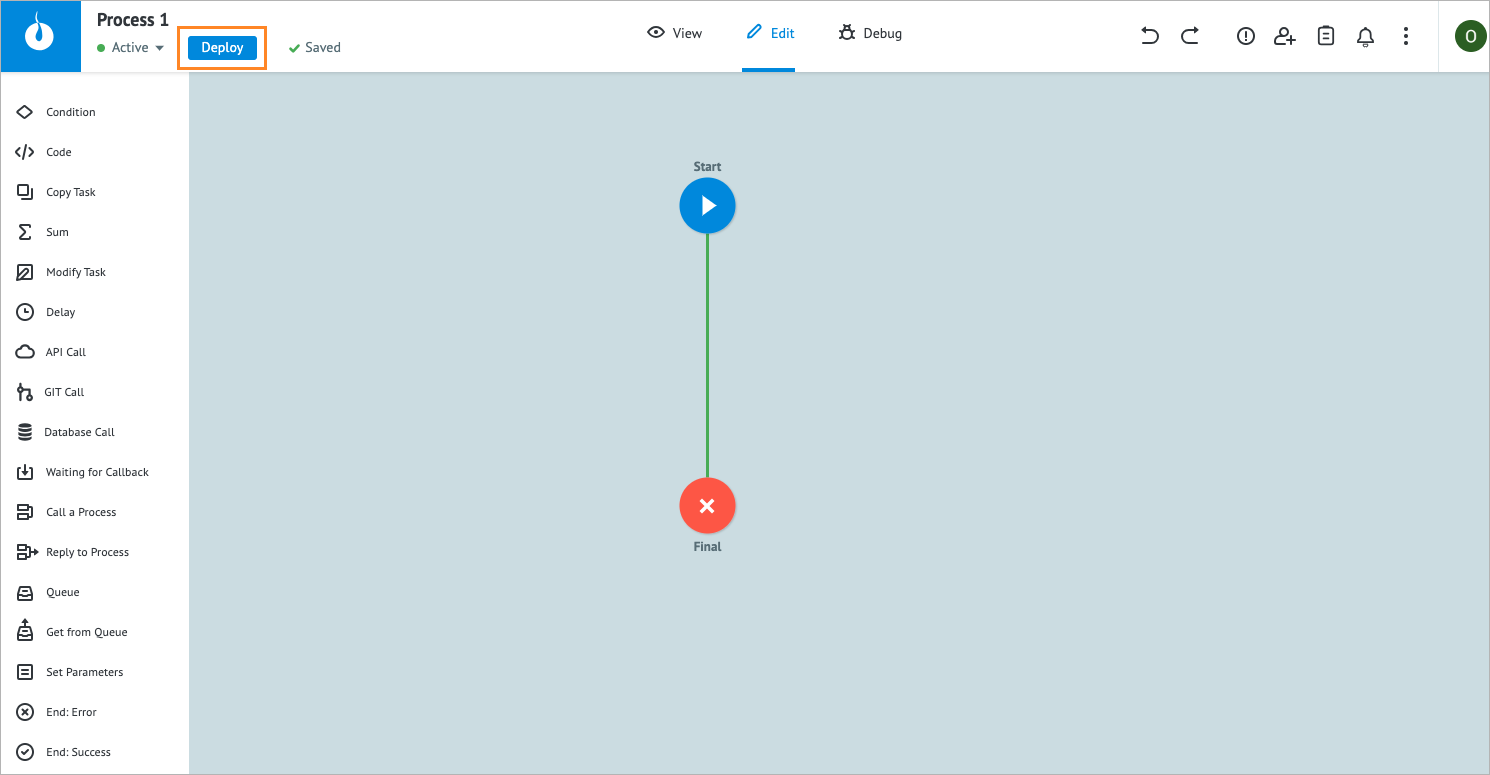
In the upper-left corner of the page, click Deploy.
 Note:
Note:If you have any errors during the Process creation, the warning icon
 shows the error number in a red dot in the upper-right corner of the page. Click the warning icon to view error details.


 shows the error number in a red dot in the upper-right corner of the page. Click the warning icon to view error details.
The new Process has been created, and now you can:
Was this article helpful?