Deploy Corezoid on VMware Fusion
- 08 May 2024
- 1 Minute to read
- Contributors

- Print
- DarkLight
- PDF
Deploy Corezoid on VMware Fusion
- Updated on 08 May 2024
- 1 Minute to read
- Contributors
- Print
- DarkLight
- PDF
Article Summary
Share feedback
Thanks for sharing your feedback!
Requirements
| VMware Fusion version (Activated) | 11 or later |
|---|---|
| CPU | 4 (minimum) - 6 (recommended) |
| RAM | 6GB (minimum) - 10GB (recommended) |
| HDD | minimum 20GB free |
Installation
Note: Before installing an image, make sure you have installed and activated a paid version of VMware Fusion. You won’t be able to deploy Corezoid on the Trial version of VMware Fusion.
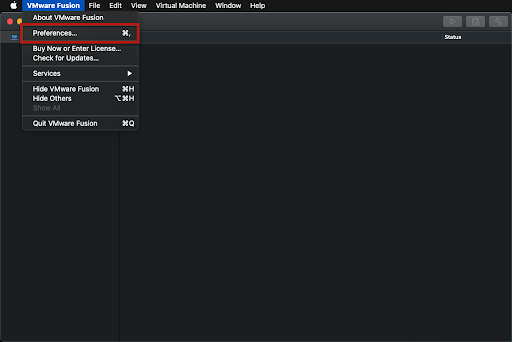
Click VMwareFusion and in the dropdown list, select Preferences.
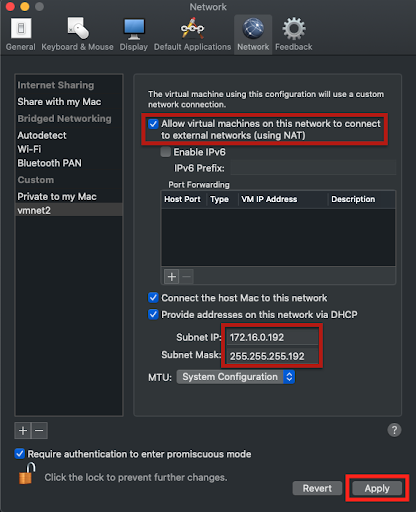
In the Network dialog, click Network and add a new Network interface.
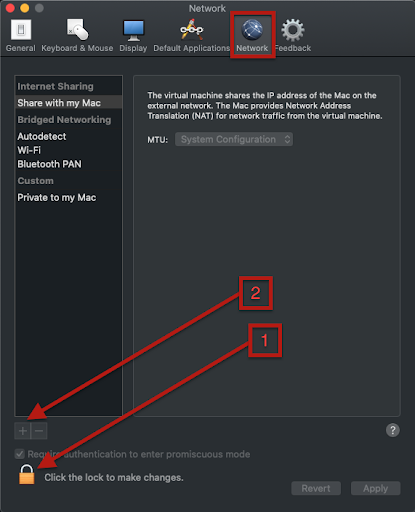
If you have troubles with setting Subnet IP and Subnet Mask parameters, go to Troubleshooting.
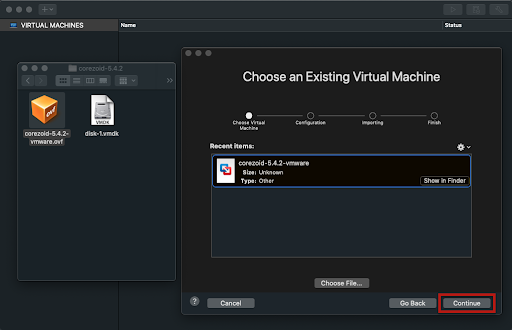
Create a new virtual machine: drag the .ovf file to the Select the Installation Method modal window.
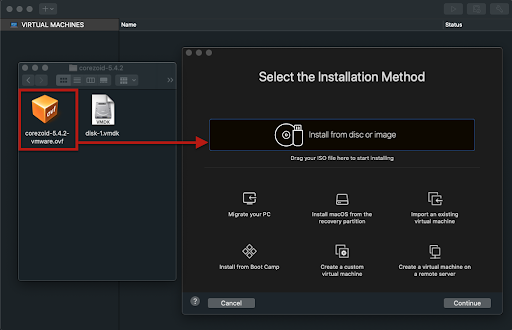
Select the existing virtual machine and click Continue.
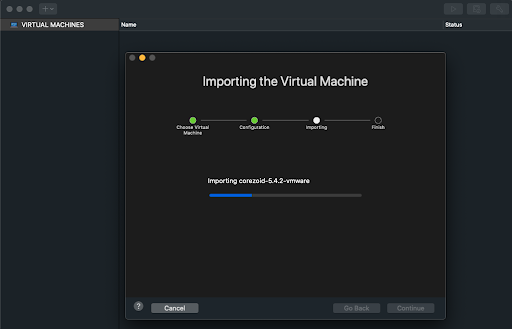
The installation starts.
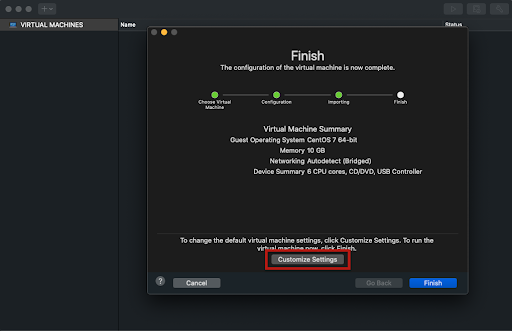
Click Customize Settings.
In the menu, select Network Adapter.
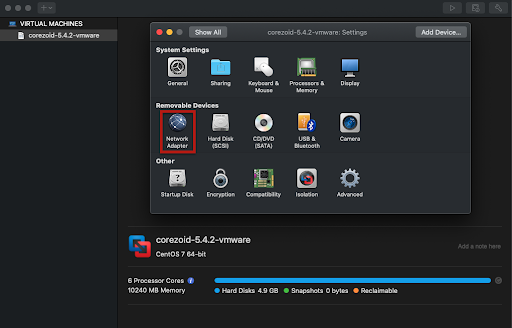
Select your network interface.

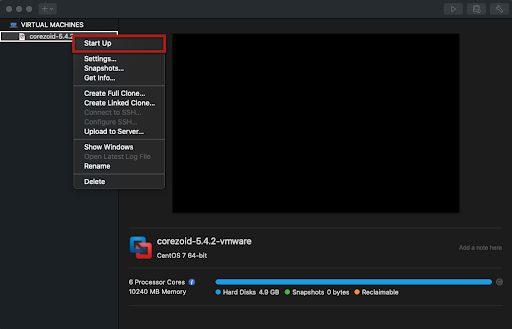
Start up your virtual machine.
Finish the deployment.
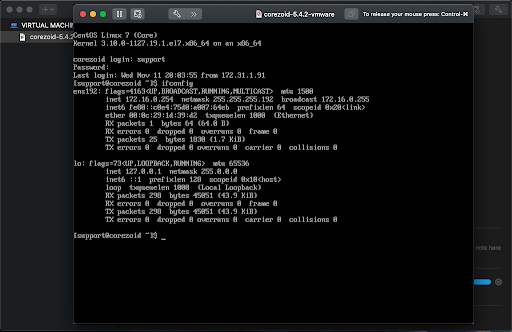


Launching
A few minutes later, after the successful launch of the system, you can open a Corezoid in your browser.
Web access: https://172.16.0.254/ (or your value)
Login: admin@corezoid.loc
Password: Middleware2020-
SSH access:
Login: support
Password: corezoid
Get superuser by command: sudo -i
Additional Information
After the image is installed, the IP address of the server is 172.16.0.254.
Note: You can change the IP address if needed: run a script which is located in /root/fix_domain_crz.sh.
SSH access:
Login: support
Password: corezoid
Get superuser by command: sudo -i
Monitoring and restarting
You can also monitor and restart applications via the monit:
Output of all the monitoring processes:
sudo monit statusDisabling monitoring of monit applications:
monit unmonitor allEnabling the monitoring:
monit monitor all
If monit is used to start / stop the application, then stop / start the application using the monit commands:
monit stop conveyor_api_multipartmonit start conveyor_api_multipart
Troubleshooting
When starting the virtual machine, the following error appears.
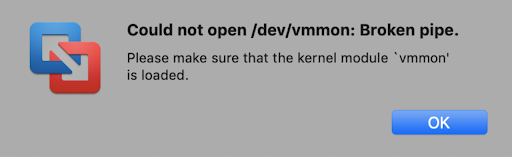
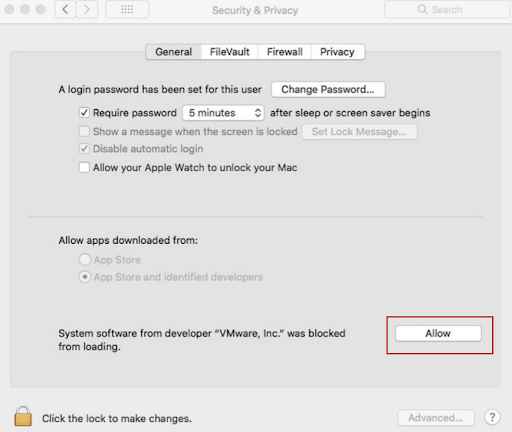
Perform the following actions in the system security settings:
Go to the System Preferences tab, open the Security & Privacy, and click Allow.
If you get these errors when configuring the subnet, set the Subnet Mask to 255.255.255.0 and Subnet IP value to 172.16.0.0.
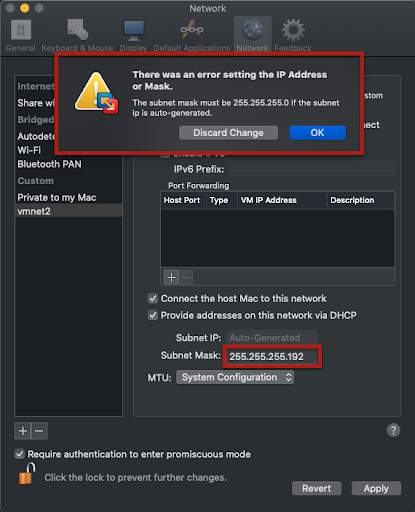
Change the Subnet Mask value to 255.255.255.192 and Subnet IP to 172.16.0.192.


Was this article helpful?