Deploy Corezoid on VMware
- 10 May 2024
- 1 Minute to read
- Contributors

- Print
- DarkLight
- PDF
Deploy Corezoid on VMware
- Updated on 10 May 2024
- 1 Minute to read
- Contributors
- Print
- DarkLight
- PDF
Article Summary
Share feedback
Thanks for sharing your feedback!
Requirements
| VMware | ESXi 6.5 and later |
|---|---|
| OS | RHEL7/CentOS7 |
| CPU | 6 |
| RAM | 10 |
| SSD | 500GB |
| Note: VM version 13. If your version is lower, you need to additionally convert the image. |
Deployment options
We offer two options of Corezoid Actor Engine deployment on VMware:
Installation
Deploying via OVF + VMDK
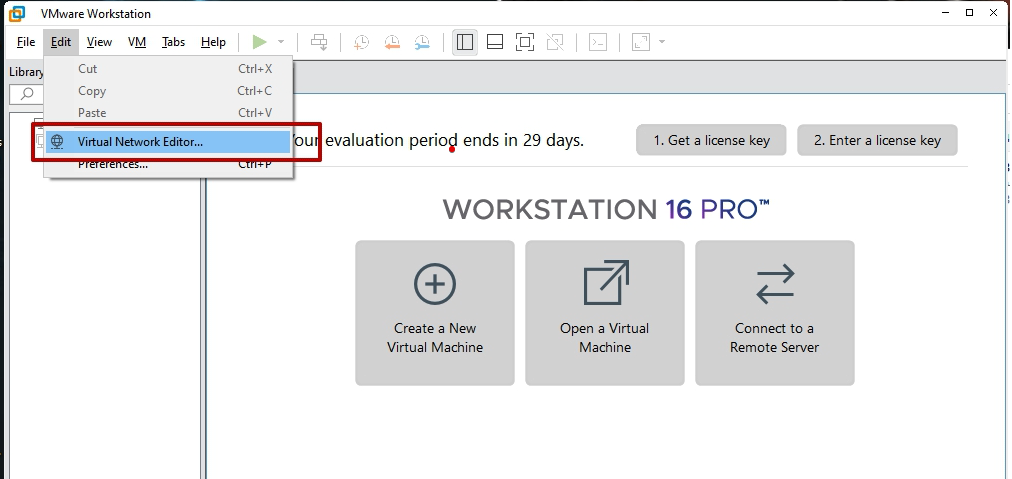
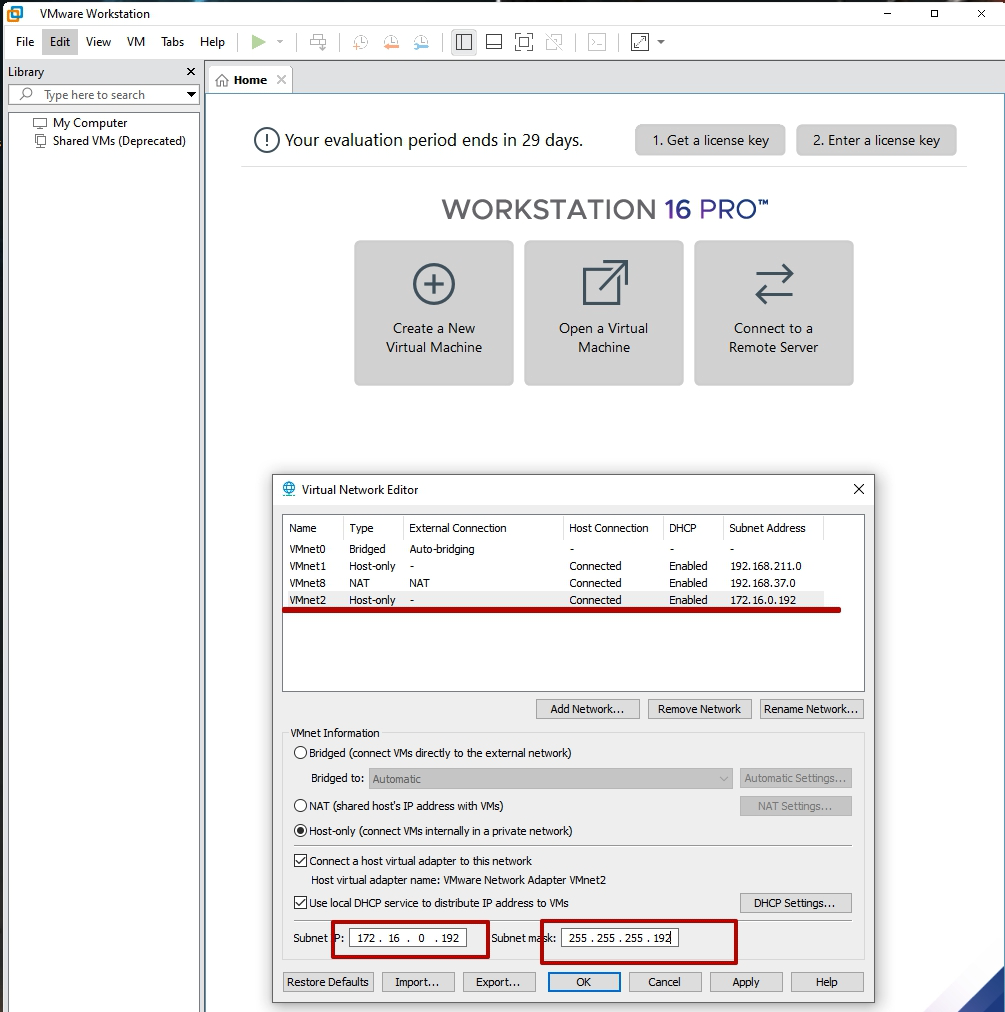
Create a network: Click the Edit tab and in the dropdown list, select Virtual Network Editor.
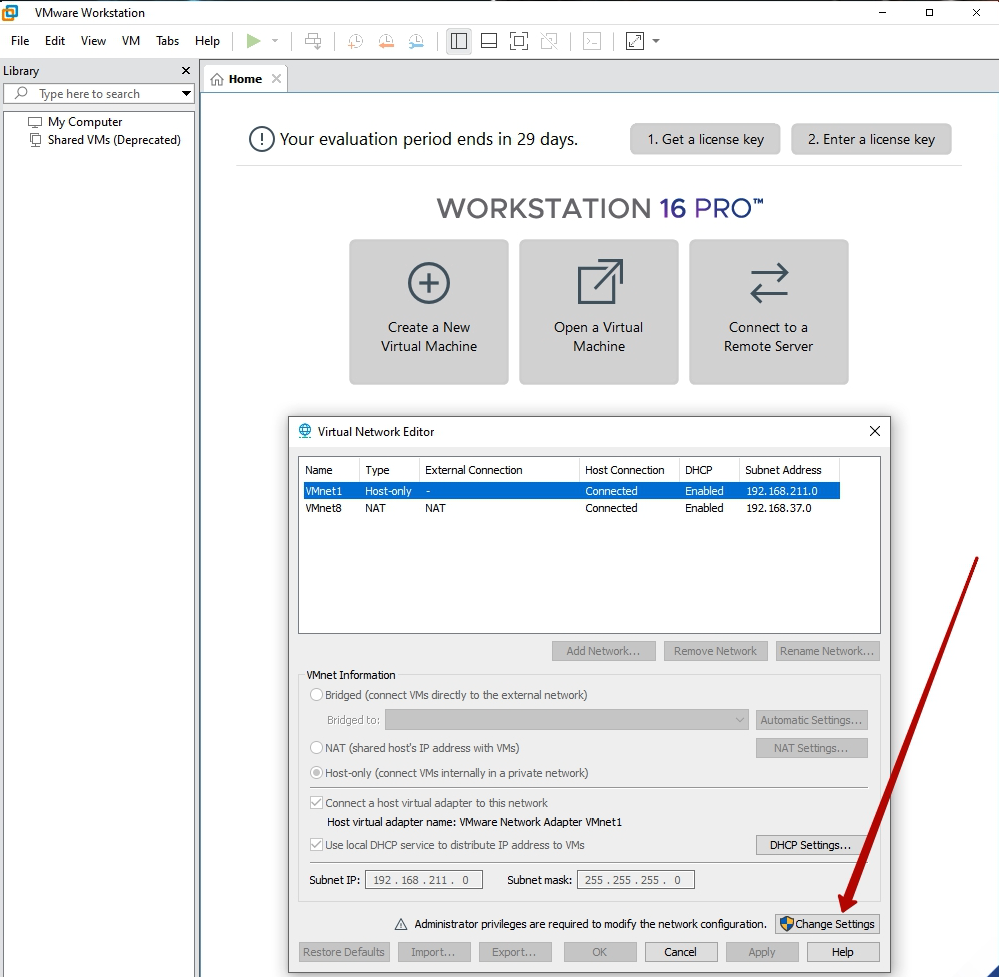
In the upper-right corner of the Virtual Network Editor dialog, click Change Settings.
Note: You need to have the admin permission to change the configuration.
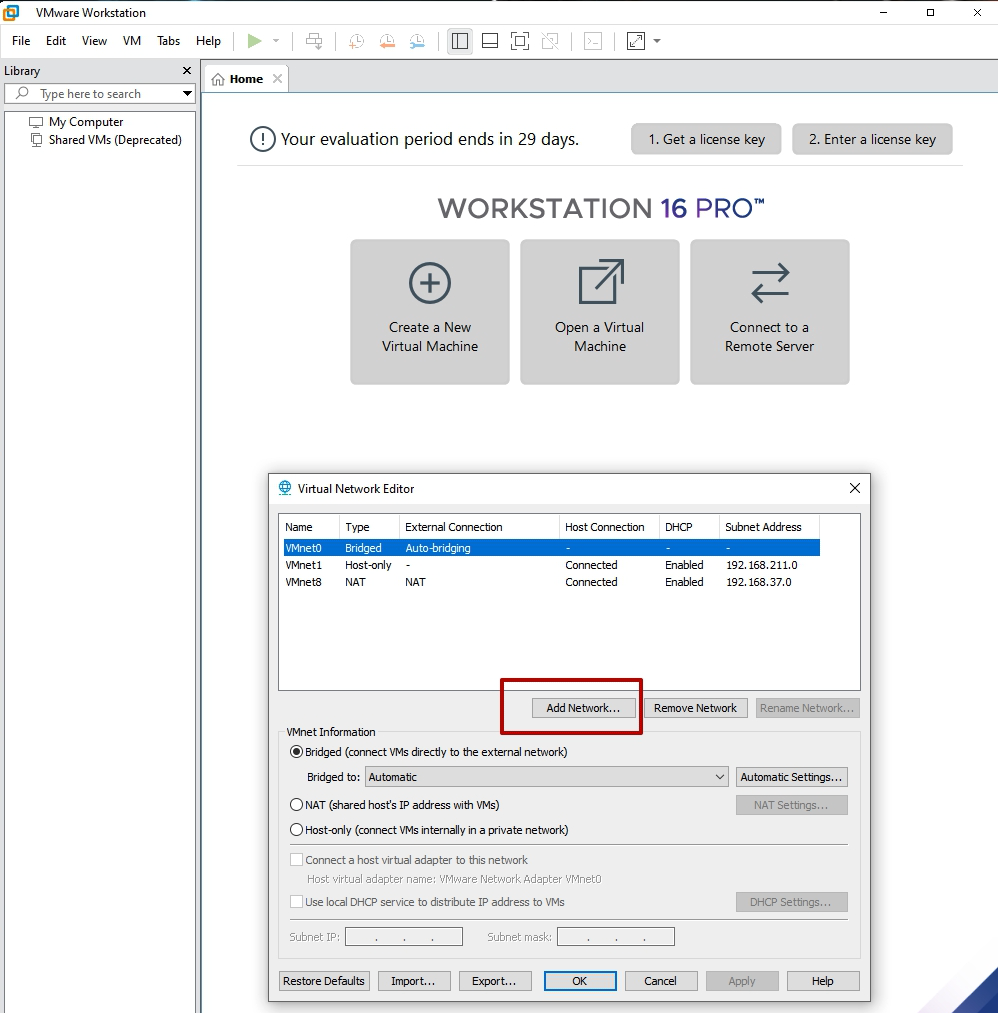
Click Add Network.
Select the network to add from the dropdown list.
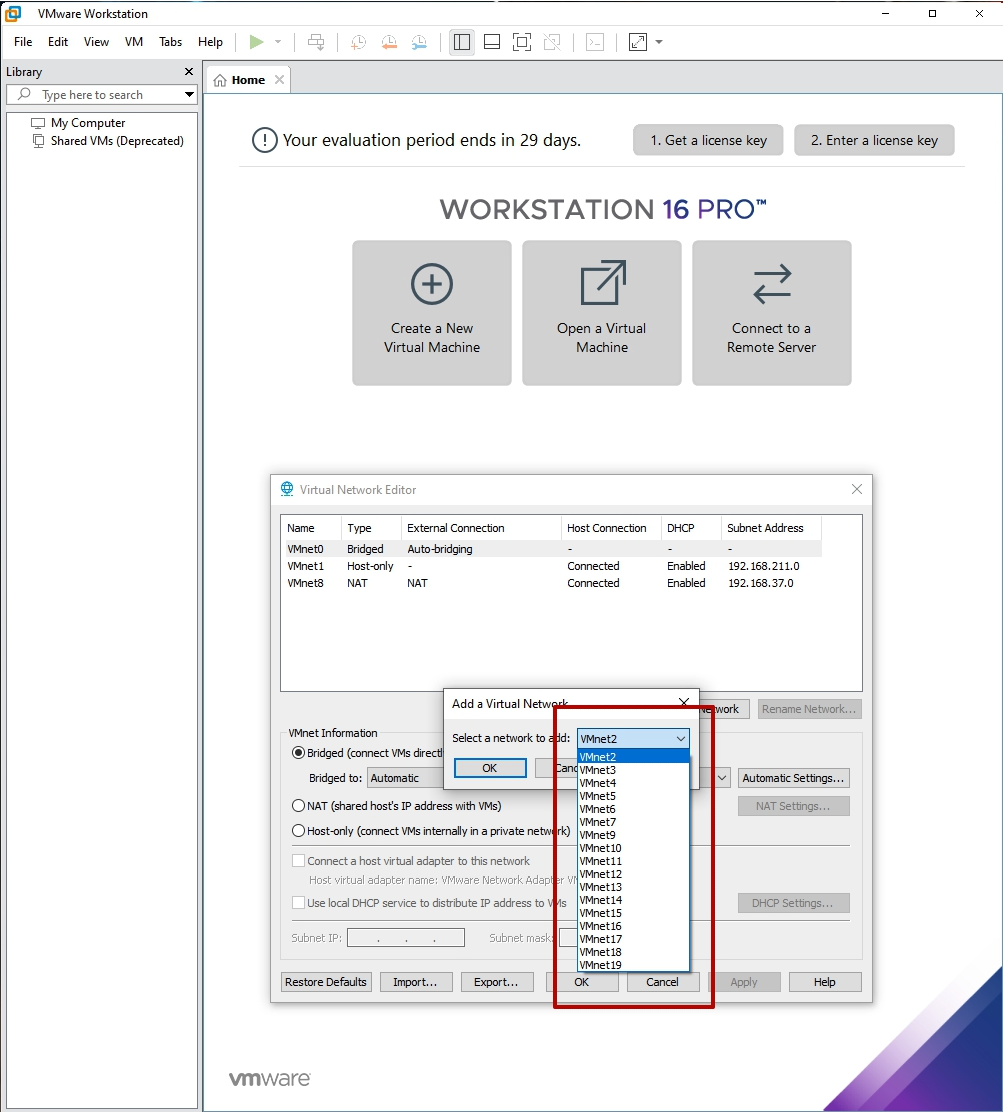
Specify the subnet IP and mask, and click Apply.
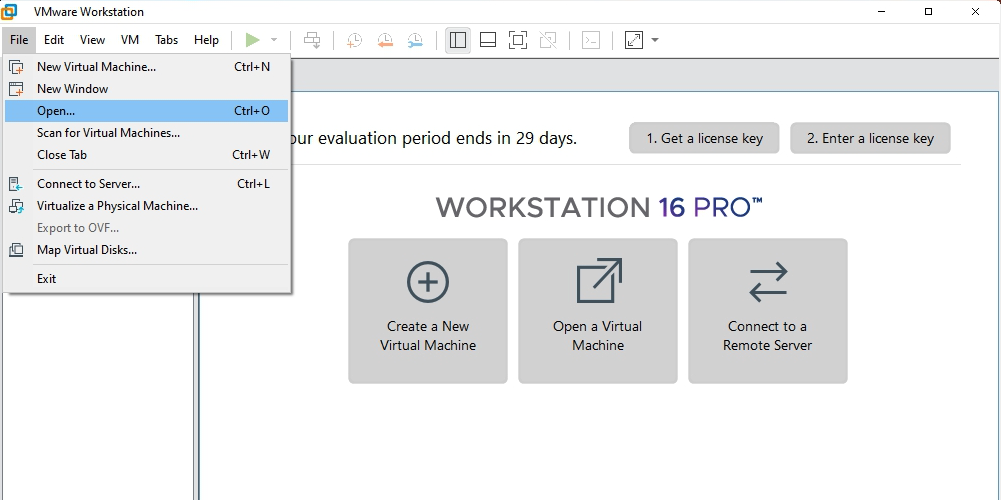
Upload the previously downloaded ovf-image to the virtual machine: click the File tab and in the dropdown list, select Open.
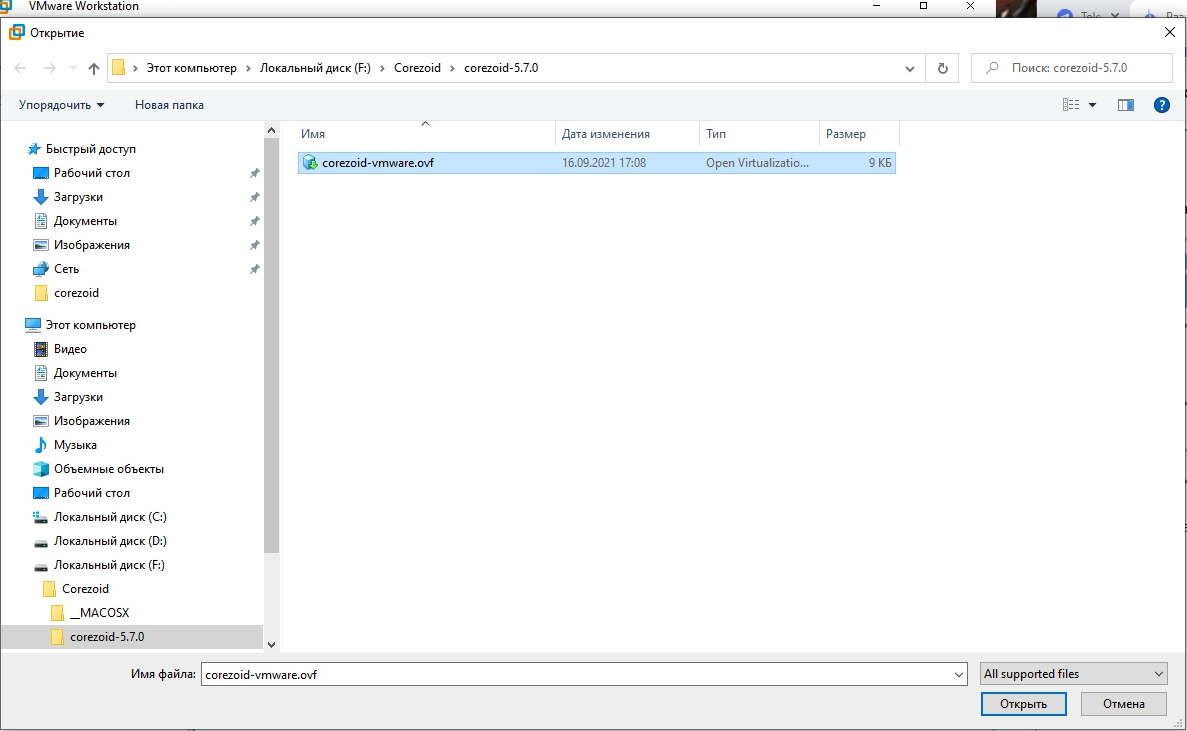
Browse to the ovf-image file.
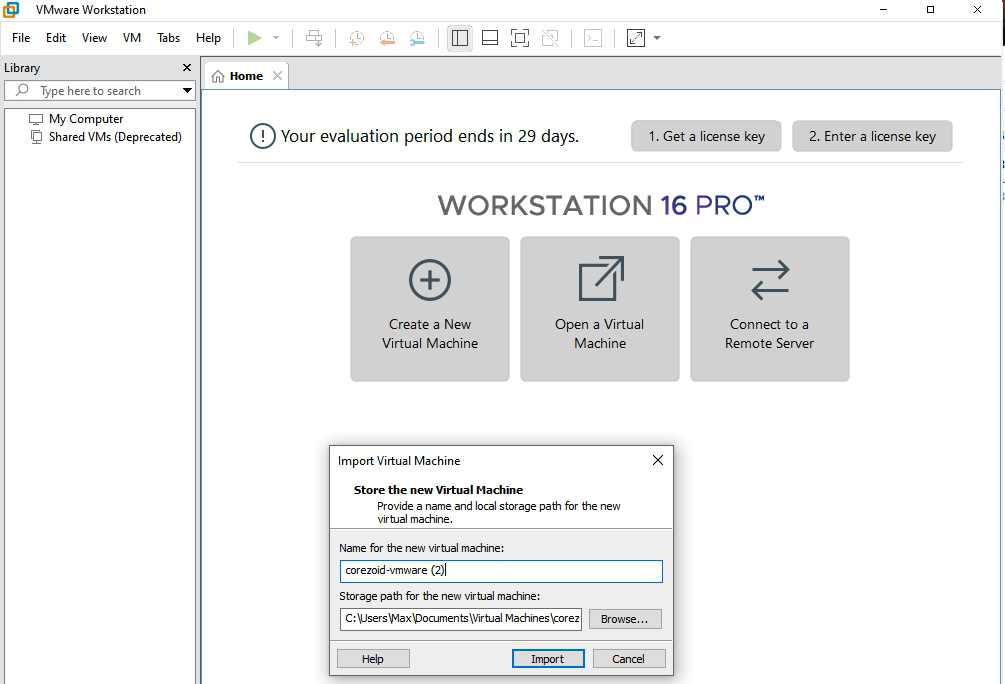
Specify the name for the new virtual machine.
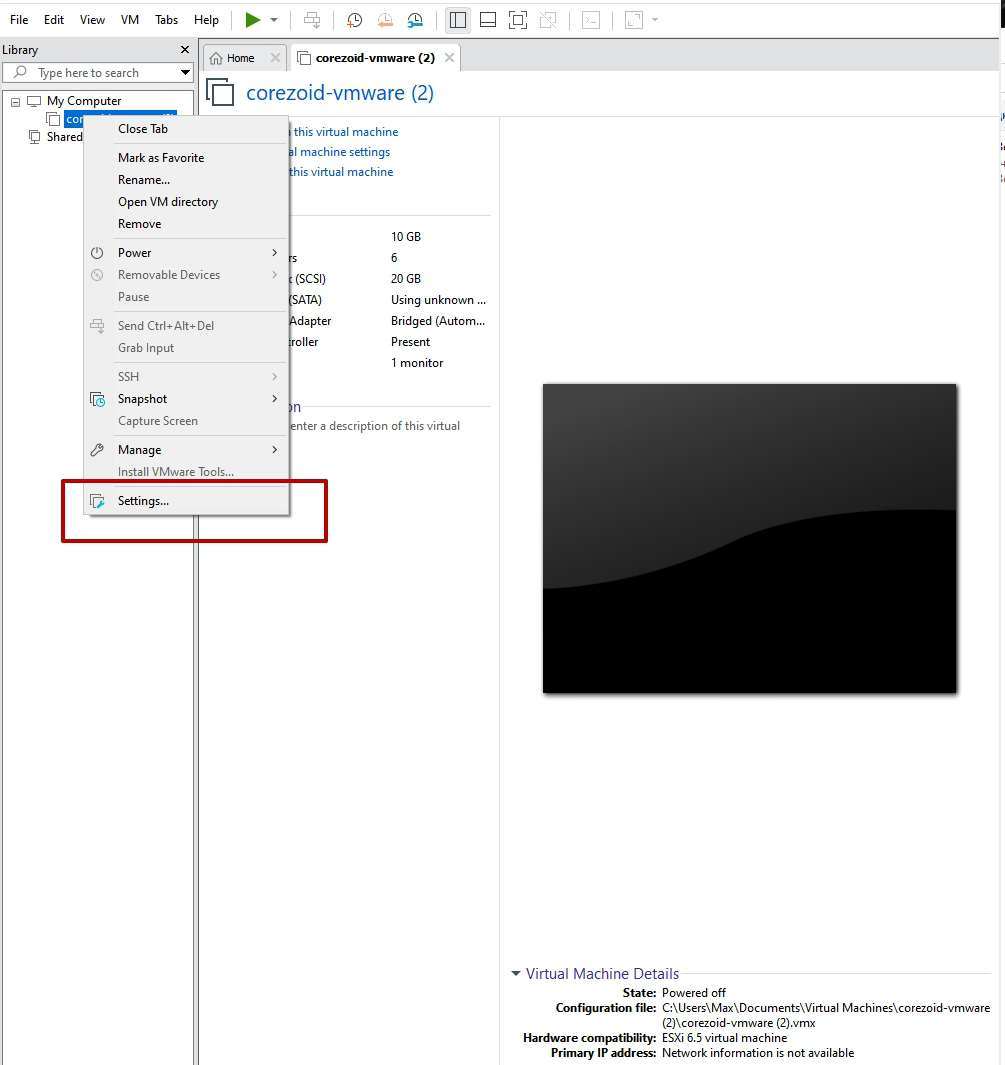
Right click the uploaded image in the list on the left, and in the dropdown list, select Settings.


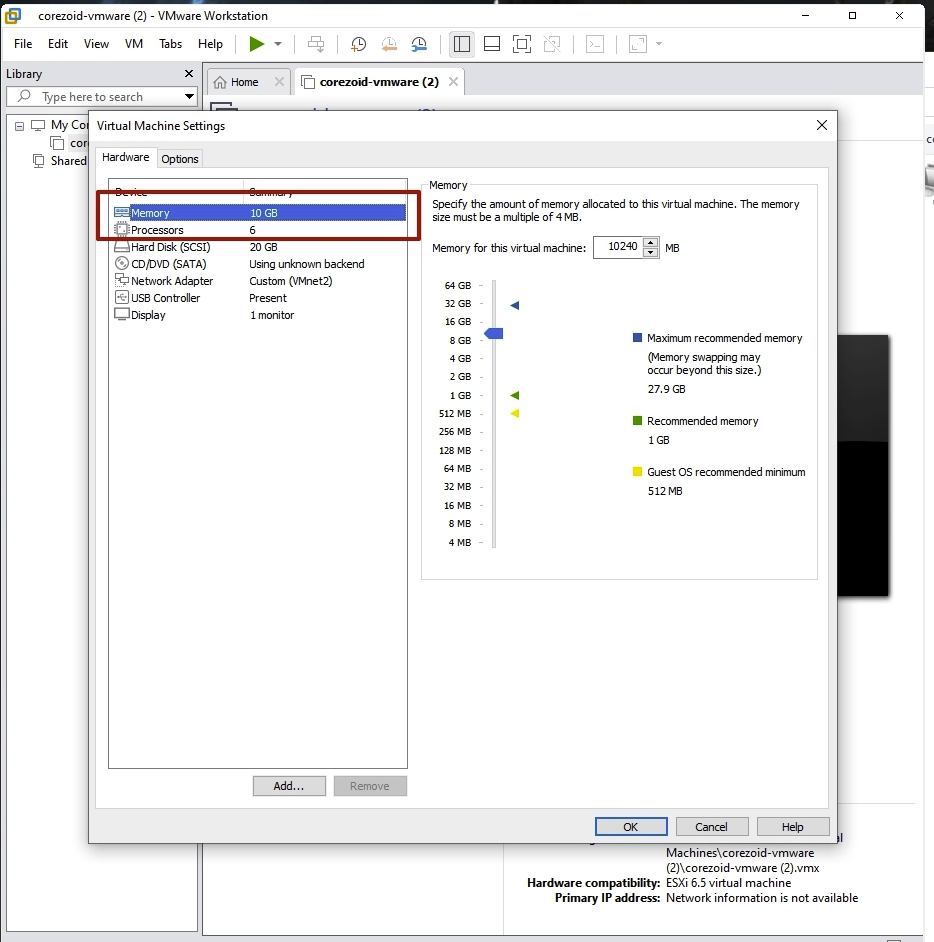
Before proceeding with the configuration of your virtual machine, make sure your hardware meets the minimum requirements (6 CPU cores, 10 GB RAM). To do that, select your virtual machine in the list, open the Settings menu on the Hardware tab.
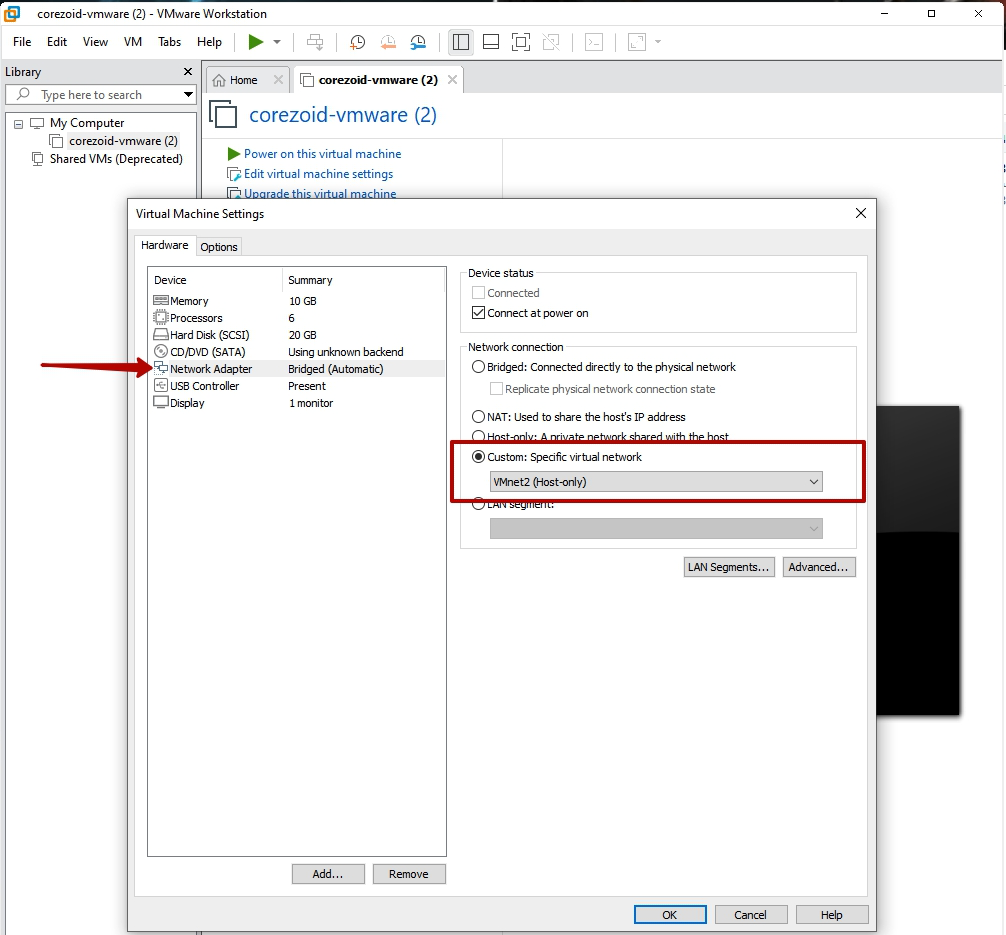
In the Hardware list, select Network adapter, and in the adapter's settings select the network, which you've created in the Virtual network editor on the step 1. Click OK.
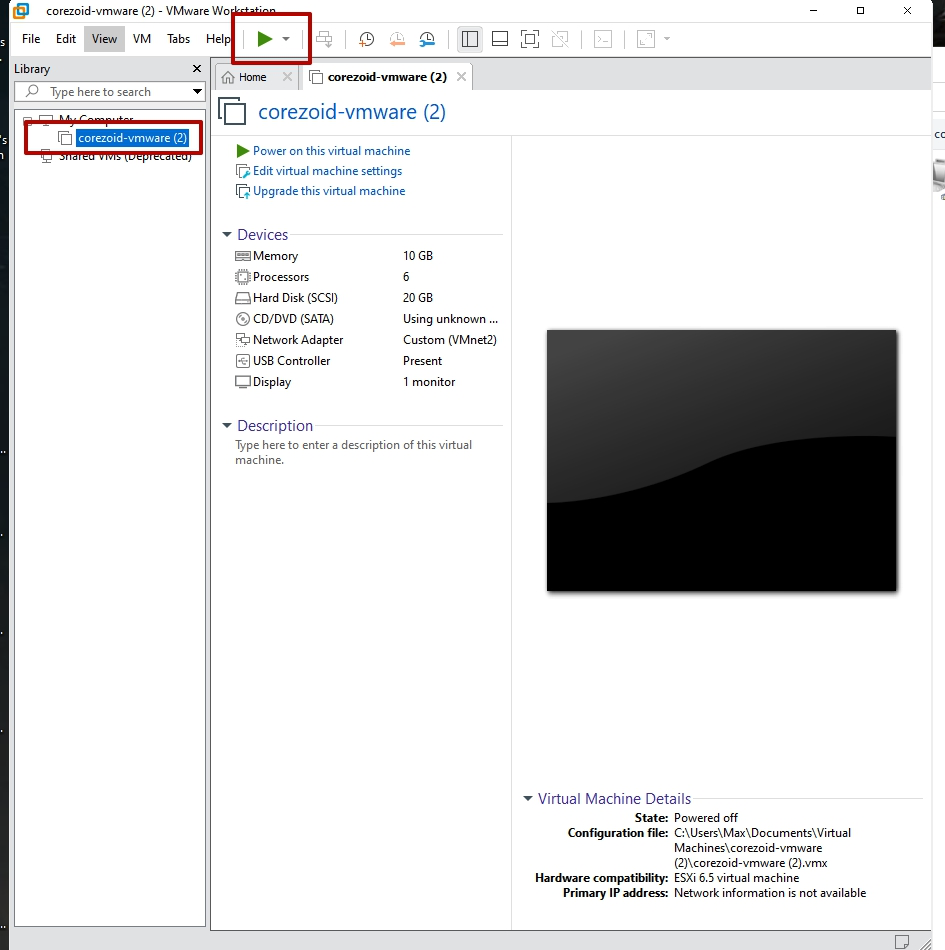
Select your virtual machine in the list and start it.
Enter the login.

Enter the password.


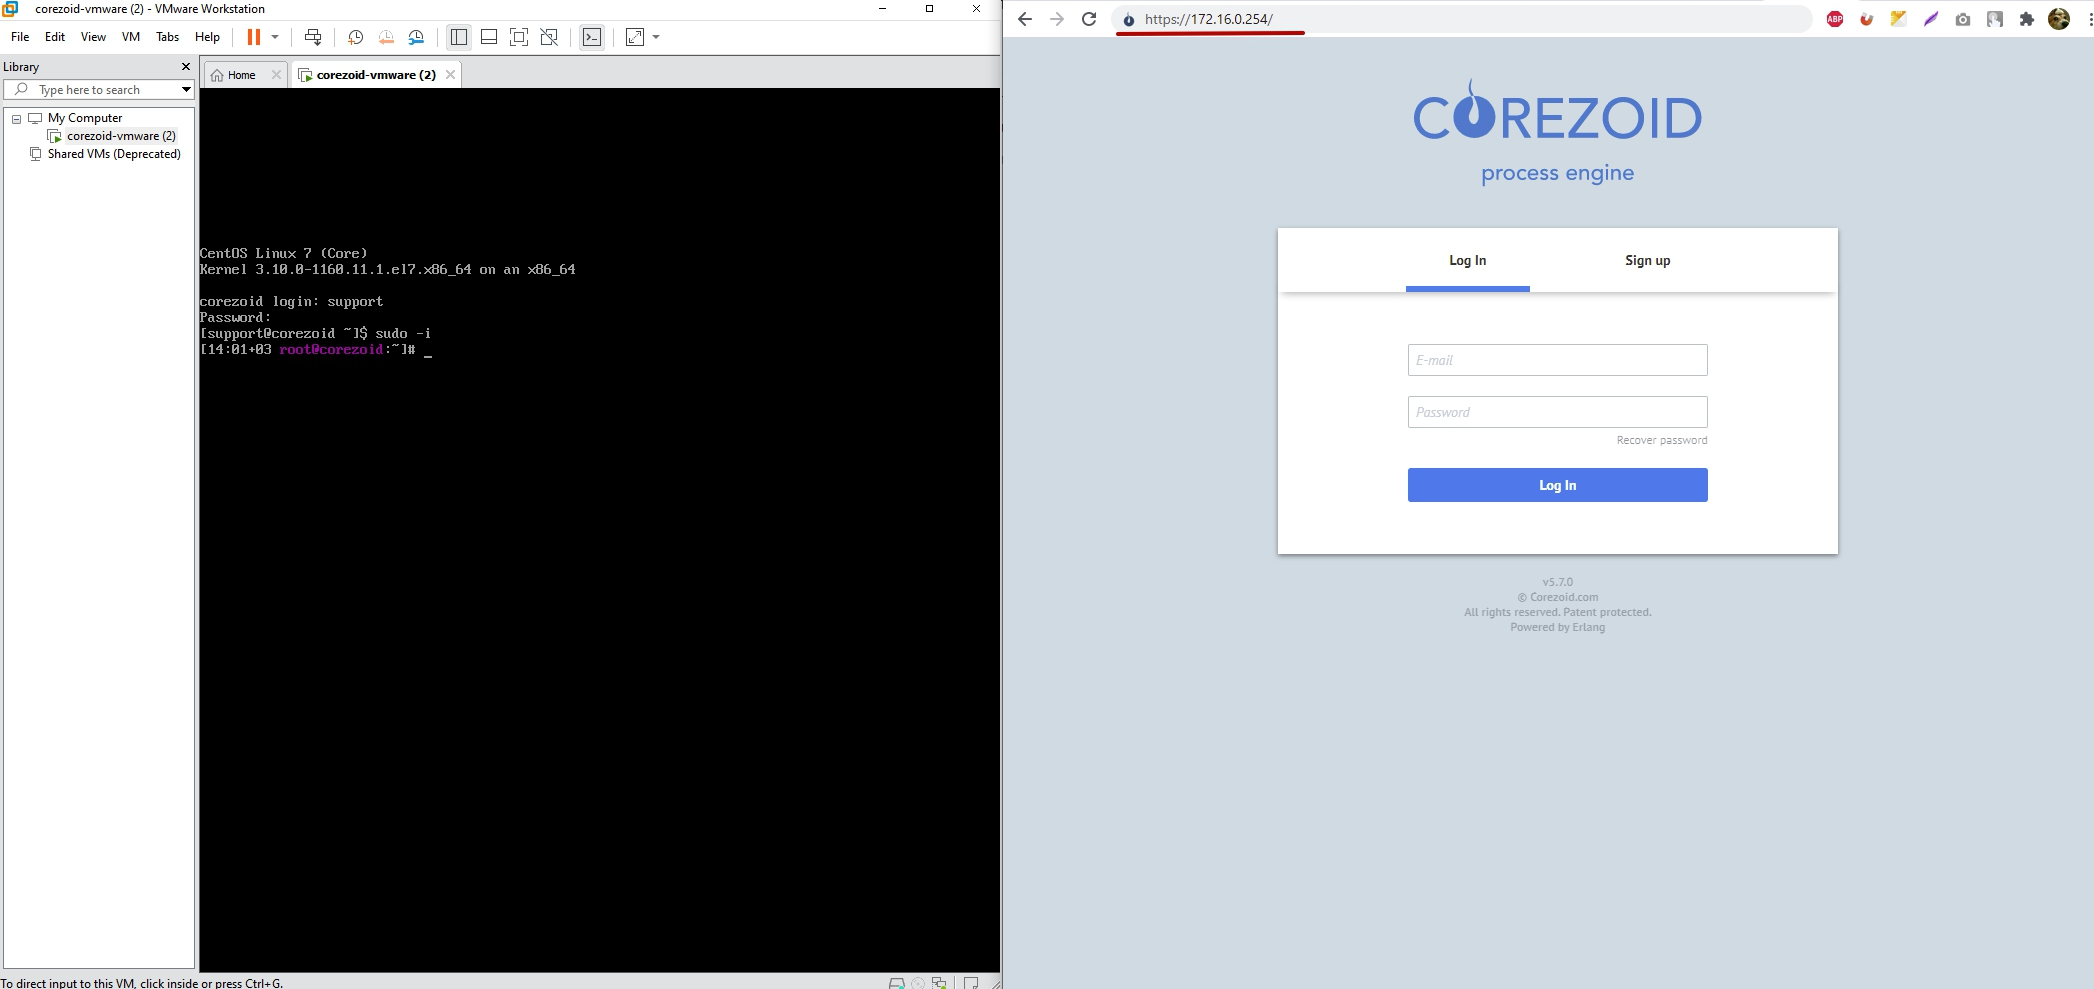
After logging in successfully, you see the Corezoid login screen.
Attaching disk image to new virtual machine
Requirements to the newly created virtual machine: 6 CPU cores, 10 GB RAM.
Launching
After installing the image, the IP address of the server is 172.16.0.254.
If necessary, you can change the IP address.
To change the web endpoint (domain or IP), you must run a script that is located in: /root/fix_domain.sh.
Web access: https://172.16.0.254 (or your value)
Web login: admin@corezoid.loc
Web password: Middleware2020-
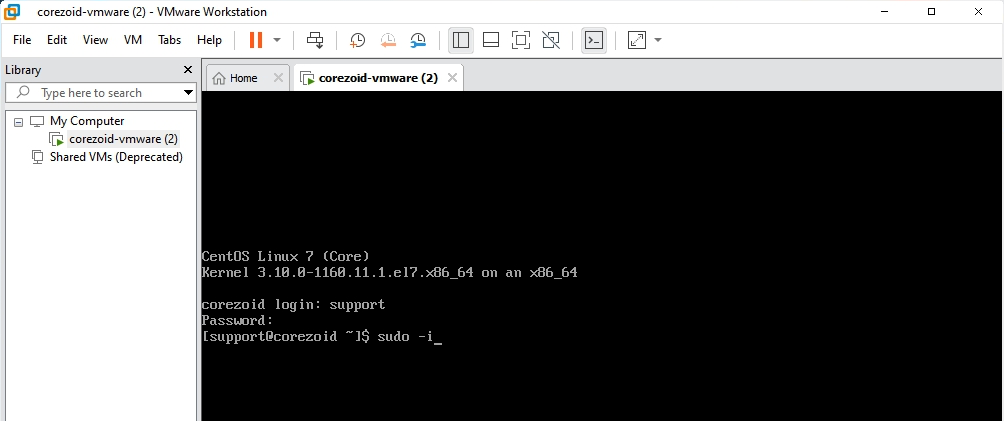
SSH access:
Login: support
Password: corezoid
Get superuser by command: sudo -i
In case of having any questions, please do not hesitate to contact us: support@corezoid.com.
Was this article helpful?